Showing posts with label Betsy Veldman. Show all posts

April 25, 2013

Papertrey Ink's April 2013 Blog Hop: Tilted


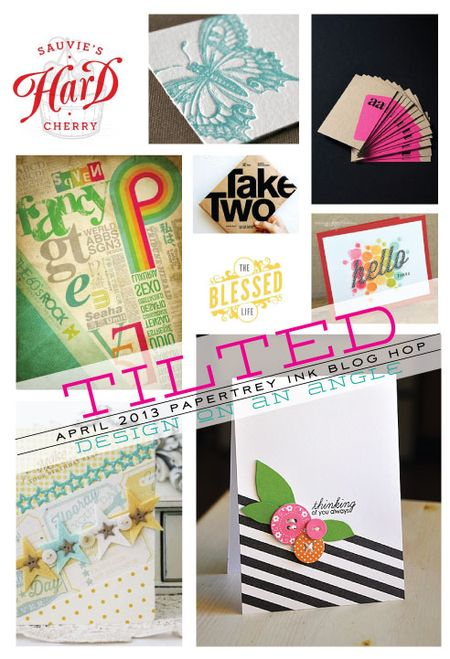
Welcome, welcome, welcome!  A bit a redundant, but I think I made you feel welcome, right?  I am so happy to have you visit today for my take on April 2013 Papertrey Ink Blog Hop's theme:


I know that there will be amazing projects featured by you.  Here is what I cooked up:
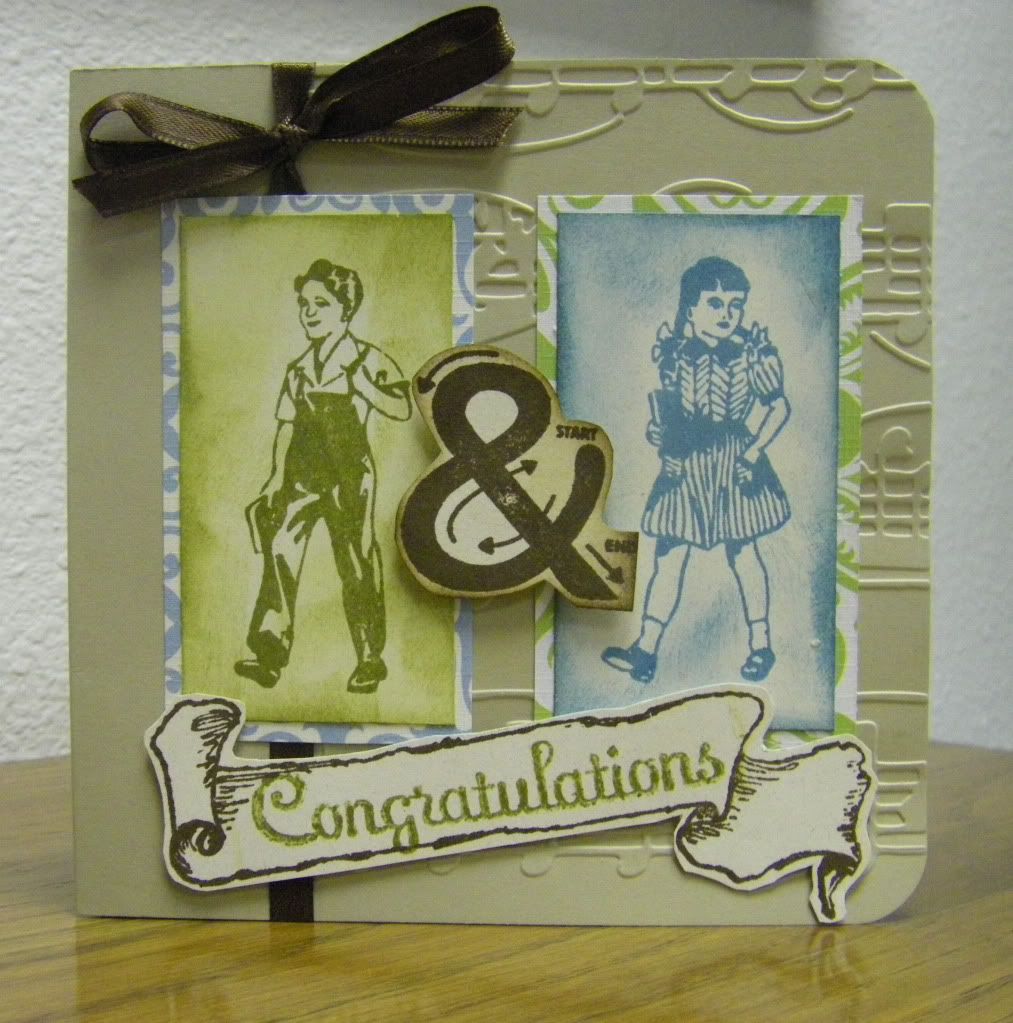
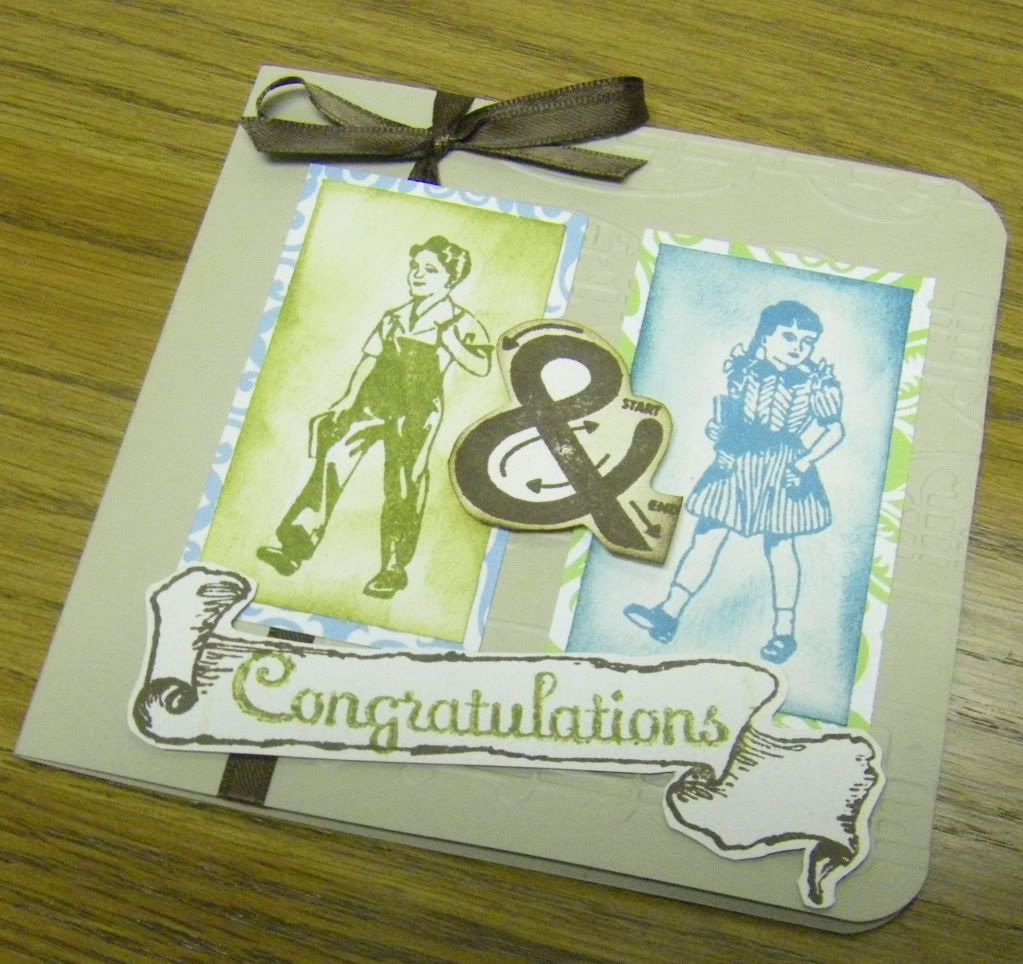
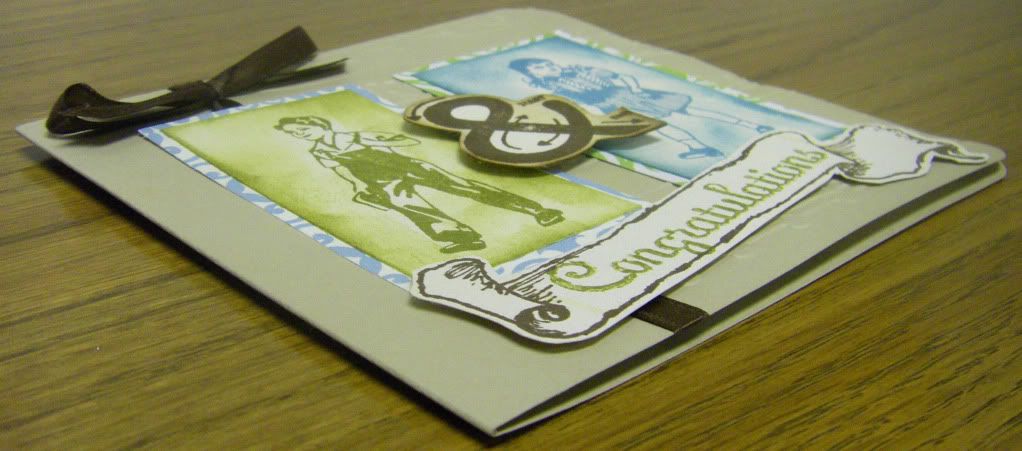
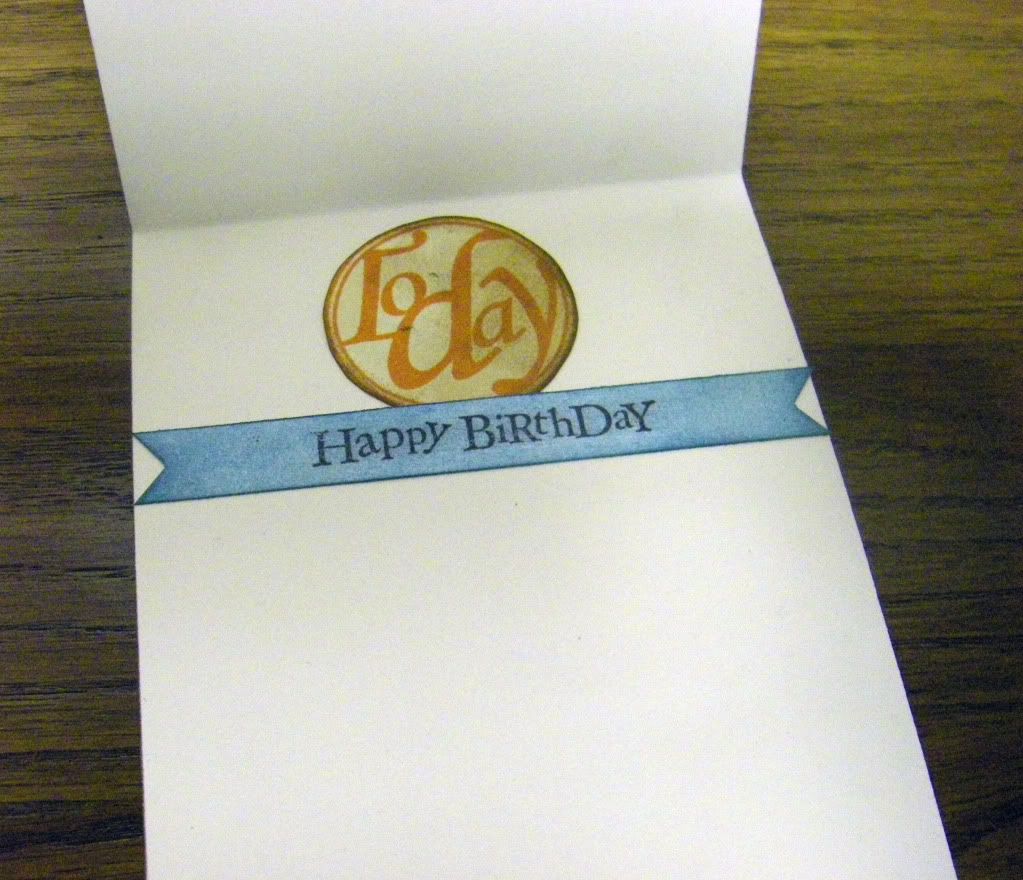
Card No. 1


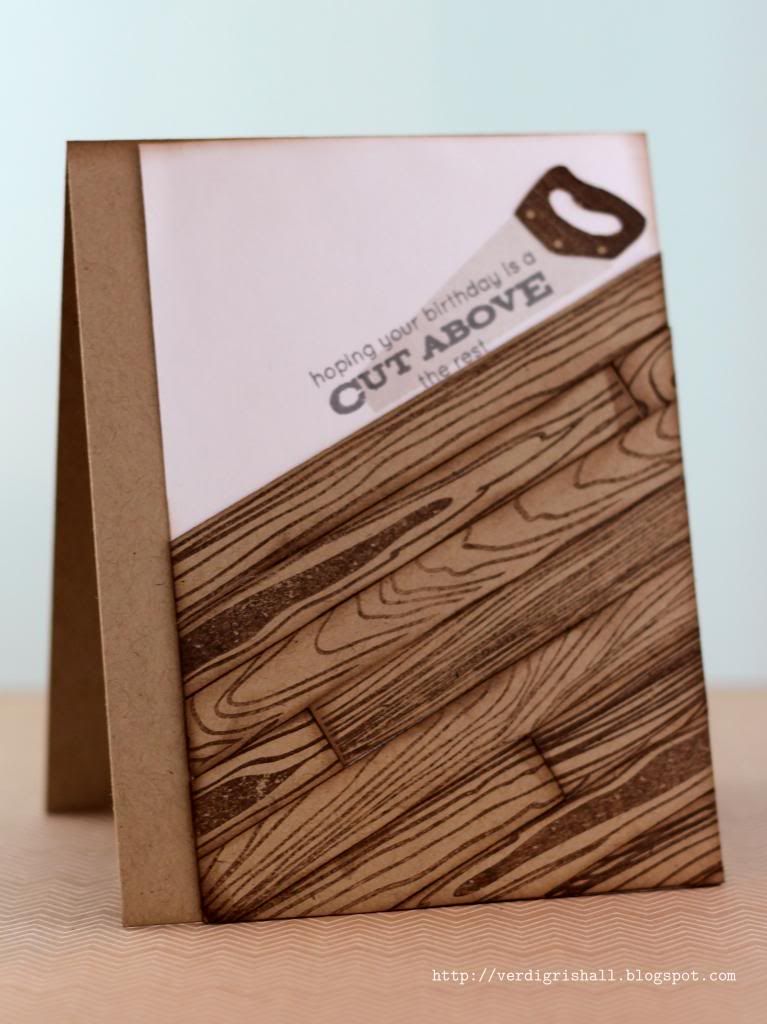
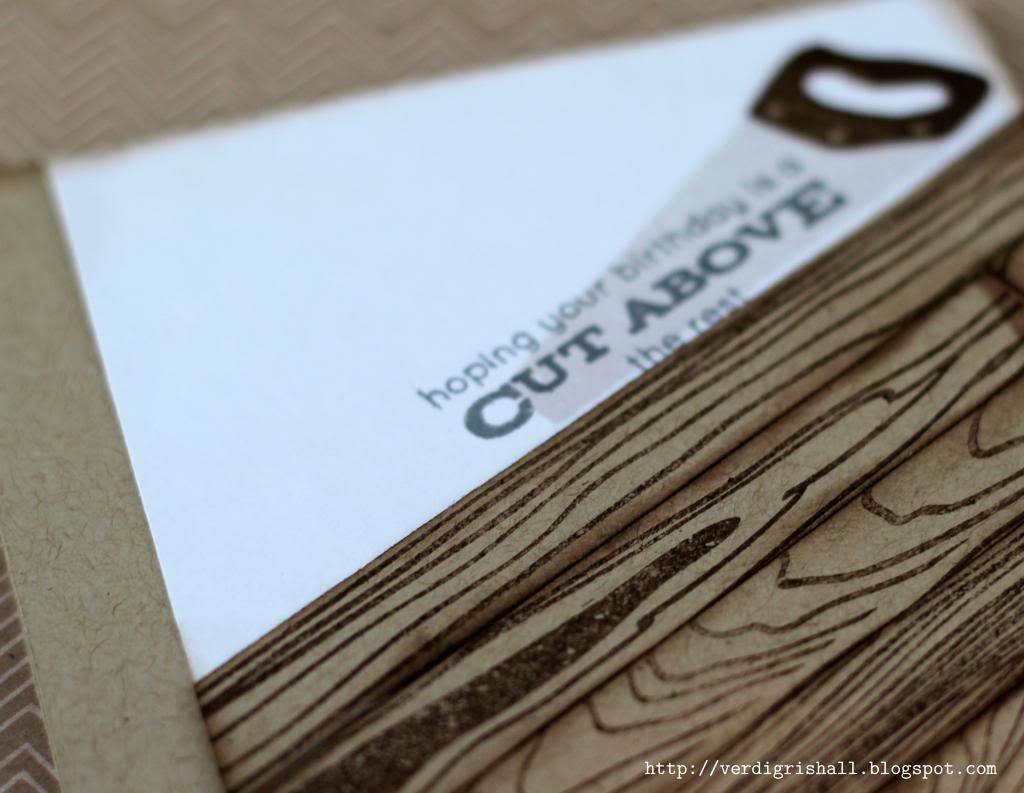
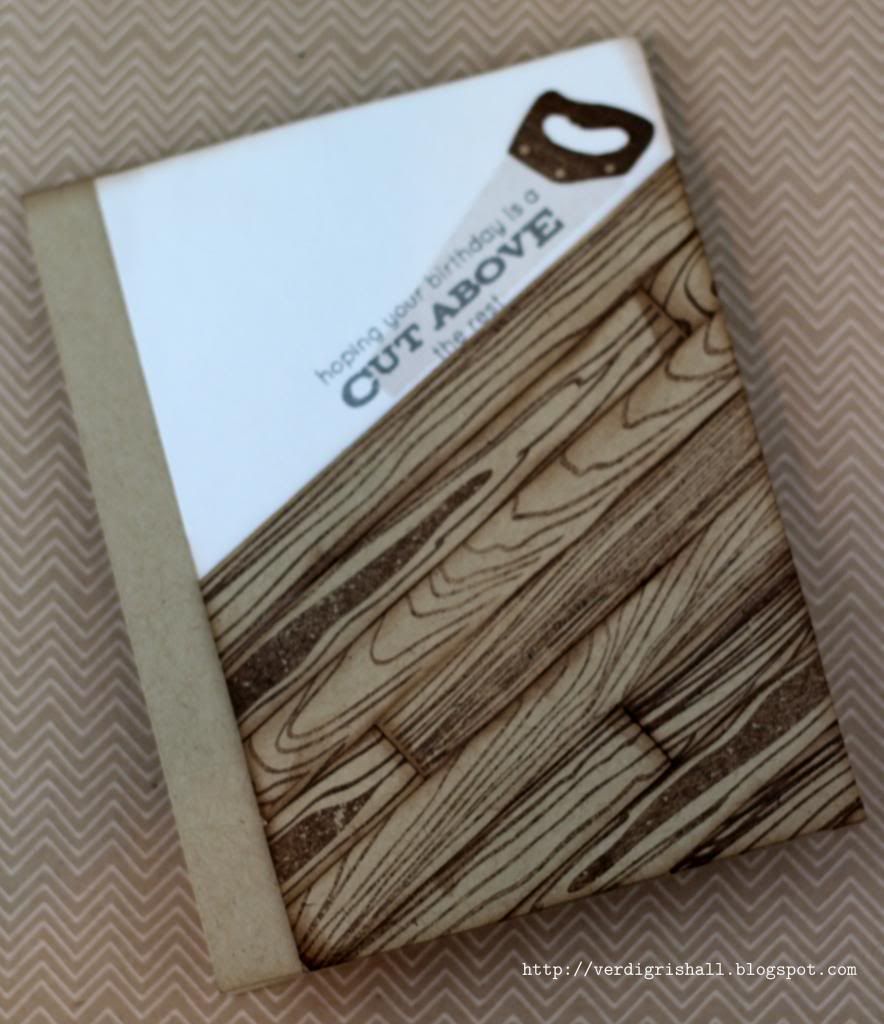
First up this handy dandy card using the new Handy Hardware set which is perfect for masculine birthdays, congratulations, encouragement, forgiveness, thank you and father's day.  The inspiration for this card came from the over-the-top-talented Betsy Veldman from this card HERE (see the second card down with the saw?  Yes, that's the one...see the resemblance?).  I stamped planks of wood using Background Basics: Woodgrain on kraft then cut them into 1/2 inch strips, inked the edges and installed them at an angle upon my card.  An even easier version of this card could be made using the Background Basics: Farm & Barn, but unfortunately I don't own that set yet.  Perhaps you do though?  It would be worth a try.  I could also see this done in a weathered wood color scheme.  I love you woodgrain...4ever.

Card No. 2


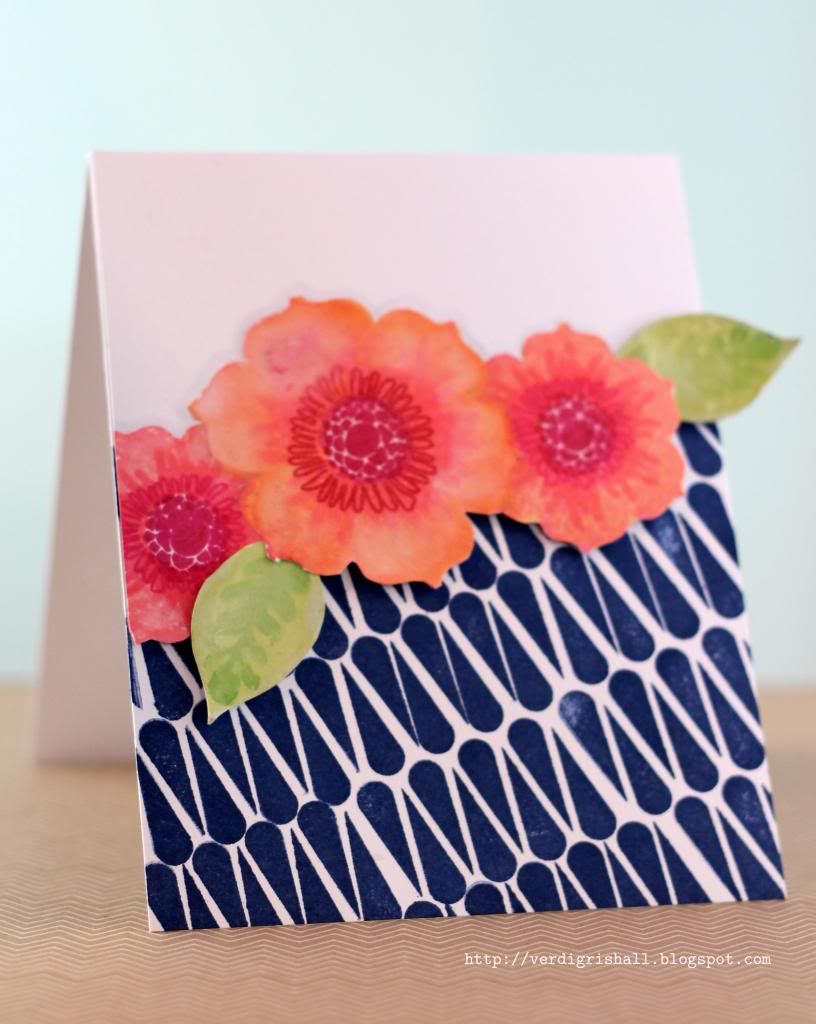
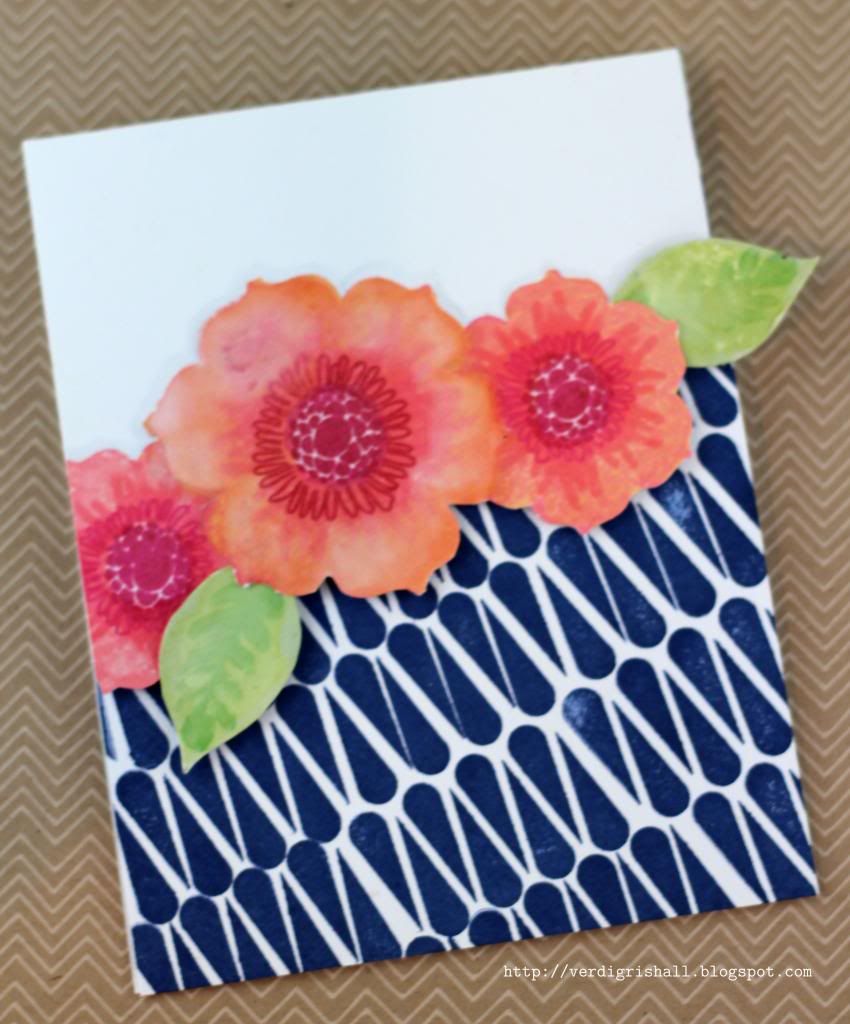
For my next card I went a different more colorful and feminine route.  I love flowers, but strangely I don't use them all that much.  I could not resist the new Happiness in Bloom set with it's bold and fun florals and then the teardrop border.  Even before I received this stamp set I had designed the card which is very similar in design to the bottom right hand card on the inspiration picture by the always inspirational Maile Belles.  I used Distress Inks with the stamp set to create my border of flowers.  I did a bit of a watercolor effect as Distress Ink fills in better and blends better when sprayed with water.  I also masked off the largest flower so it is in the foreground.  I filled in some of the areas with watered down ink and a paint brush.  For added dimension I used a gray Copic marker around the flowers.  I cut around the bottom of the flowers and added the leaves.  The background was stamped repeatedly in navy.  I have a big crush on navy at the moment.  With dimensional adhesive I adhered the flower section to the card base. 

Card No. 3


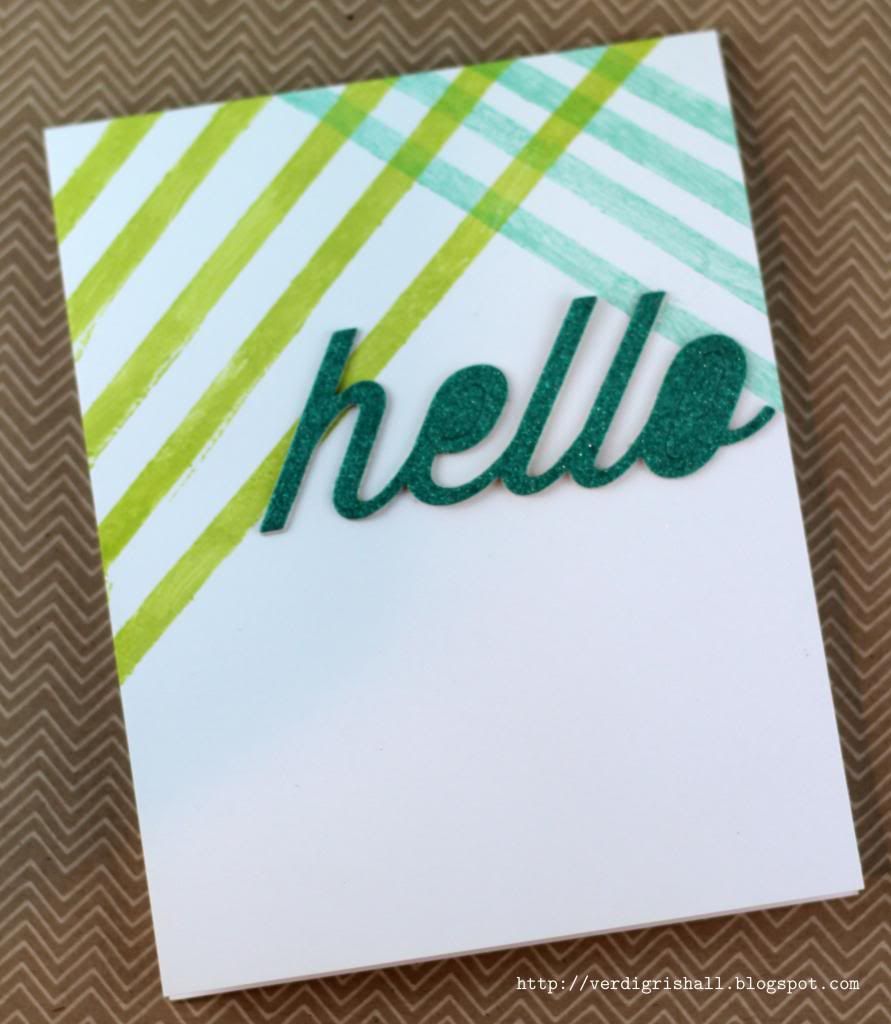
Then I did another card...clean, simple and graphic this go around.  Diagonal stripes stamped asymmetrically on the top of the card using Background Basics: Super Stripes and finished off with Wonderful Words: Hello die cut from both POW! glitter paper and from a coaster for dimension.  Hello indeed!
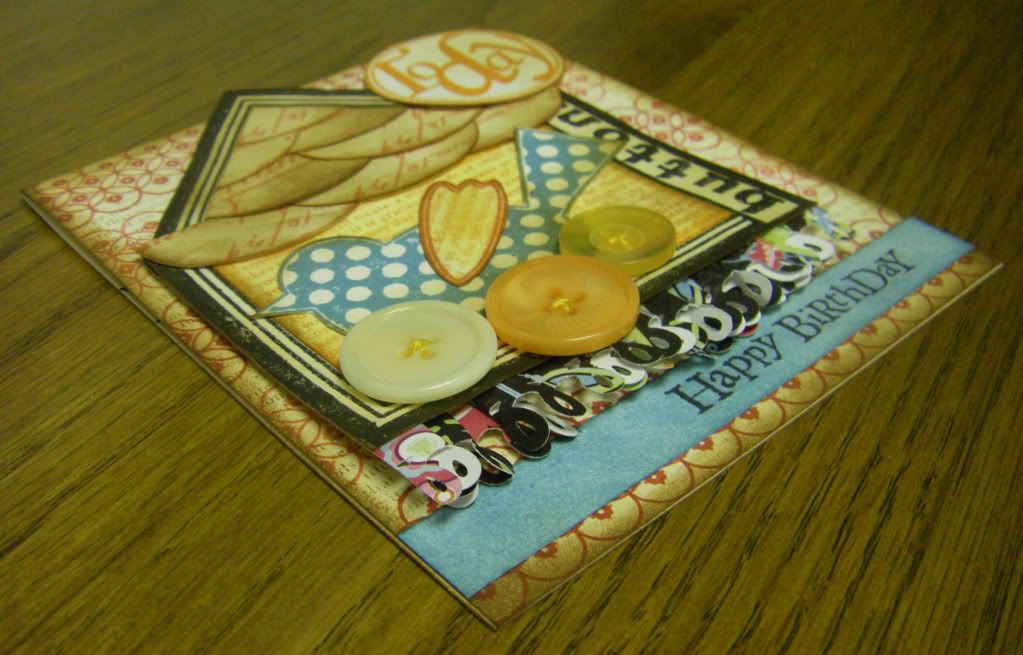
Card No. 4
  

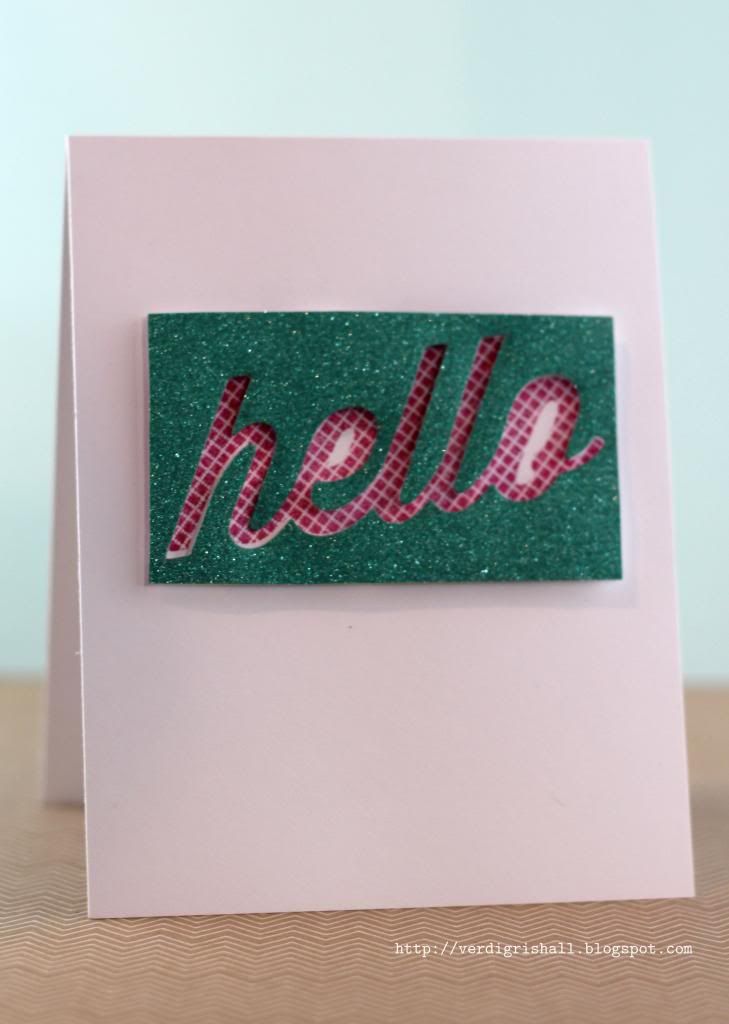
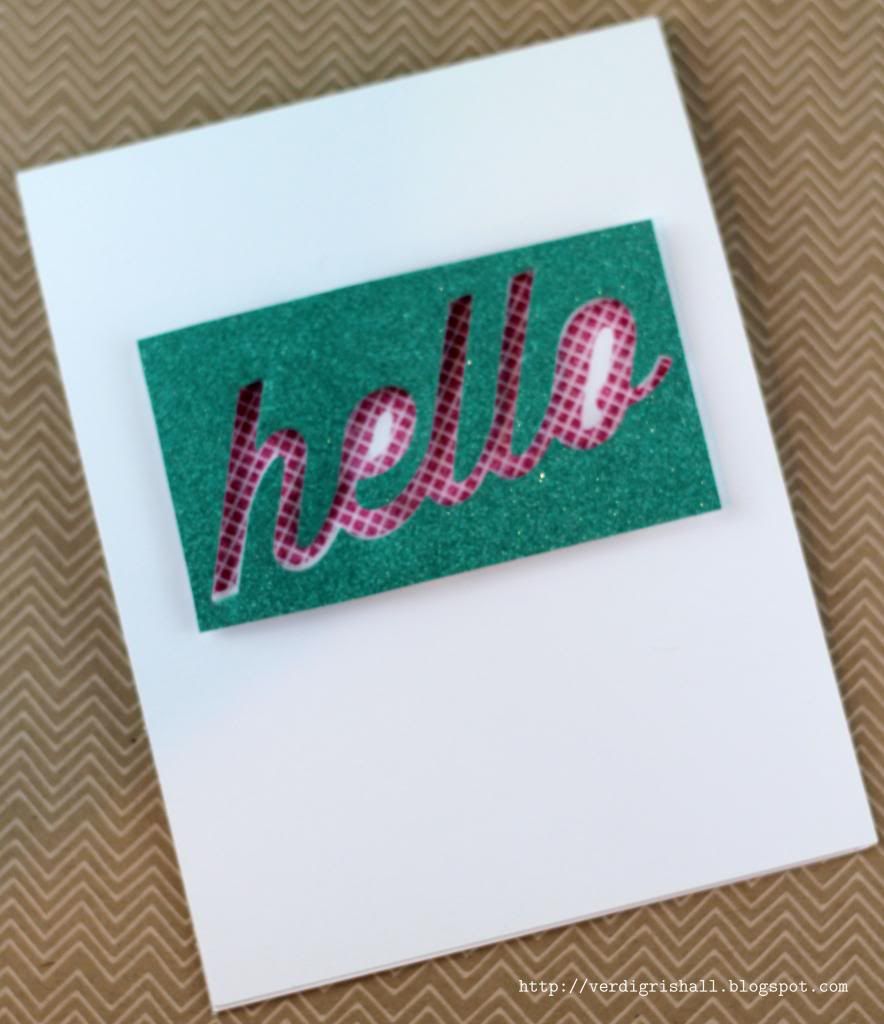
I used the negative block from the POW! glitter paper for the focal point of my last card.  The word was cut out of the paper at an angle.  Behind the glitter paper I stamped the hello from the Wonderful Words: Hello mini stamp set in raspberry fizz.  I adhered the POW! glitter paper using dimensional adhesive and voila it is one dy-no-mite card.
That's it from me.  Thank you so very much for stopping by and I hope to you come visit again soon! 

Happy hopping,
Shay.
Supplies:
Inks: soft stone, dark chocolate, limeade ice, aqua mist and raspberry fizz, Papertrey Ink; charcoal and navy shadow ink, Hero Arts; wild honey, dried marigold, worn lipstick, picked raspberry, fired brick, shabby shutters and mowed lawn, Tim Holtz Distress Ink by Ranger
Cardstock: stamper's select white and kraft, Papertrey Ink
Specialty Paper: POW! glitter paper in jade, American Crafts
Die: Wonderful Word: Hello, Papertrey Ink
Other: coasters, Papertrey Ink; Cool Gray No. 00 (C00) marker, Copic; ink blending tool and foam, Inkssentials by Ranger; Cuttlebug, Provo Craft


December 10, 2012

Mosaic Birthday Card

Dear Reader,

Over the Thanksgiving break I watched a lot of Youtube videos with my mom (my sister reluctantly and not so happily watched some too).  She is over the moon for them and also fell in love with Lawn Fawn, October Afternoon and Betsy Veldman (I think they are all pretty swell too).  She also really liked Laura Craigie's Finally Friday videos for Two Peas in a Bucket.  One such card was the inspiration for the card I made.  To see Laura Craigie's card go HERE.

My aunt's favorite color is kelly green, but she also loves red so that was the genesis of this card.  I remembered the mosaic square tile technique Laura Craigie used and decided to give it a whirl for this card.  Having punched or cut out squares a lot in the past, her technique did indeed save a lot of time and effort.


I picked out patterned paper from Crate Paper's Story Teller collection (love this collection!)...perfect colors and patterns for this card.

I will tell you a secret.  I wrapped a border of red washi around my panel of squares because of some issues with how the edges looked (they were a bit unsightly).  Like Julia Child said, no one needs to know what happened in the kitchen...or studio in this instance.

Another issue arose when I tried to stamp upon the today sticker label from the phrase stickers from the Story Teller collection...the surface did not like my inks and it became an issue so I had to find some layers to add on top to cover up the stamping fiasco.

The red grid sticker came from my much used State Fair Die Cut Stickers from the State Fair collection by Studio Calico.  The other die cuts all come from the Sidewalks Flower Sack by October Afternoon.  I sure hope they bring Flower Sacks back because they are awesome!

Last touch was the trio of pearls to create the butterfly's body.  The whole panel was then adhered to a white cardbase.

More detail:


Inside:


Thank you so much for visiting!

Happy creating,
Shay.

Supplies:
Today Square Mosaic Birthday Card
stamp: happy birthday from In & Out: Birthday, Papertrey Ink
ink: seed packet, Jenni Bowlin for Ranger
Cardstock: solar white, Neenah Paper
Patterned Paper: from Story Teller collection, Crate Paper
Other: red grid label sticker, State Fair collection by Studio Calico; today sticker label, Story Teller collection by Crate Paper; die cuts, Sidewalks collection by October Afternoon; pearls, The Paper Studio; washi tape

April 14, 2010

Using the Stockpile

This past week I created two cards I am pretty happy about.  I had a concept in my head for each and I was able to actualize it which isn't always how it works for me (I wish it was the norm!).  I set myself another challenge as well.  I have all these lovely kits I have stockpiled because I am a hoarding nut.  It is embarrassing to admit my problem, but isn't that the first step?  Hello my name is Shay and I am a hoarder of all craft supplies.  I decided enough is enough (plus I am running out of room), so I thought I would break into my Scarlet Lime kits and use those to create my cards. 

After looking through them I decided on a kit with lovely limes and turquoises for the wedding card and then I chose another with bright vibrant colors with a touch of black for my friend's birthday card.  I began on the wedding card on Sunday evening with a great idea to use my vintage boy and girl and the ampersand stamps from Studio Calico (sadly they are all retired now).  I was happily adding patterned paper and rub-ons from my Scarlet Lime kit (horrible hoarding admission time: that was the first time I had used a rub-on although I have bought more than a few over the years) when I decided my card-base was all wrong.  So Monday night I went with a more basic card-base and set the other aside for future use.  I think all turned out well with the card although it may be cleaner than my natural inclination. 


Last night I knew I had to make a card for a friend's birthday which is this upcoming weekend and needed to get in the mail pronto.  I knew I wanted to use some of my Kenner Road stamps for a vintage look (and they are gorgeous!).  I remembered seeing some wonderful projects that Katie Watson created whilst on the Kenner Road design team back in October 2009 and they proved to be an inspiration for the card I made.  The other inspiration for me is one of my favorite, favorite cardmakers of all time: Betsy Veldman

Now I didn't look at either of my inspirations when I was actually making the cards, but I know these were the visual references flashing in my head:

Katie Watson (birdhouse with stamped scallop--genius!)
Betsy Veldman (strip of background behind focal image which I began with and then because an empty card felt well empty I went for more and more!)

Here is the card I created (front and then lastly the inside):


A lucky choice of adding the buttons around the that adorable bird stamp makes it took a bit like a nest to me.  Another lucky choice was "ruffling" up a strip of punched patterned paper which just wasn't working before.  I learned the basic technique in a Basic Grey card class I took locally (you place a strip of adhesive on the backside of a long strip of paper and then pleat--fold--the paper onto itself which remains in place because of the adhesive.  The smaller the pleat, the longer the paper needs to be) and I thought why not try it with the patterned paper I had punched?  It worked out just right--adding interest, flair and some texture and I even like that a bit of the white from the back peeks through.

Thank you for calling at the Hall! I hope you enjoyed today's cards.


Boy & Girl Card
Supplies:
Stamps: Vintage Boy, Vintage Girl and Ampersand, Studio Calico; Banner (from Narrative Elements set), Inque Boutique; Congratulations (from Darcy collection), Anna Griffin
Inks: Walnut Stain, Peeling Paint and Broken China, Tim Holtz Distress Ink by Ranger Industries
Cardstock: Sand and Earthstone, Neenah Papers
Patterned Papers: Beach Caribe and Cantando (from Canta Collection), GCD Studios
Embossing Folder: Allegro, Cuttlebug by Provo Craft
Other: Crop-A-Dile Corner Chomper, We R Memory Keepers; 1/4" Ribbon, Offray; Dimensional Foam Adhesives; Cuttlebug, Provo Craft


Gypsy Bird Card
Supplies:
Stamps: Collage Bird, Vintage Seal, Today Circle and Button Card Trio, Kenner Road; Background Basics: Diamonds and Background Basics: Text Style, Papertrey Ink; Happy Birthday (from Greetings Peg Stamp Set), Inkadinkado
Inks: Black Soot, Vintage Photo, Broken China, Fired Brick, Spiced Marmalade and Worn Lipstick, Tim Holtz Distress Inks by Ranger Industries
Cardstock: White, Georgia-Pacific; Recycled 100 Natural White, Neenah Papers
Patterned Paper: Deep Black Patch (from Nancy Jane Collection), Adornit Carolee's Creations
Punch: Loop Border Punch, Martha Stewart
Other: Embroidery Floss, DMC; Buttons, from Scarlet Lime kits; Dimensional Foam Adhesives

LinkWithin

Related Posts with Thumbnails