Showing posts with label canvas. Show all posts

October 4, 2013

Paper Wings Productions' October Design Team Blog Hop


WELCOME to Paper Wing Productions' October Design Team Blog Hop and Giveaway! If you've arrived here from Norma's blog, then you're in the right place.  If you’re just stopping by for a visit, please CLICK HERE to start from the beginning.

This month we’re having some wicked fun but don't be scarred because our creations will be a treat for your eyes!  Get comfy and prepare to shriek with delight!!  This month’s main prize is a gift certificate to the Paper Wings Production’s online store (you could pick up the new devilishly delightful Nesting Components Mixed Media Kit).


For a chance to win all you need to do is:
  • be a follower of the Paper Wings Productions' blog, The Aviary­
  • visit each of the participating designer's blogs and leave a comment
  • come back and leave us a comment telling us you completed the hop
To increase your chances of winning: like our Facebook page and/or invite your friends to the hop. Be sure to leave a separate comment for each of your additional entries.

The winner will be announced on Tuesday, October 8, 2013 on The Aviary­.

Ready to see what trick or treat I have in store for you?

You be the judge....


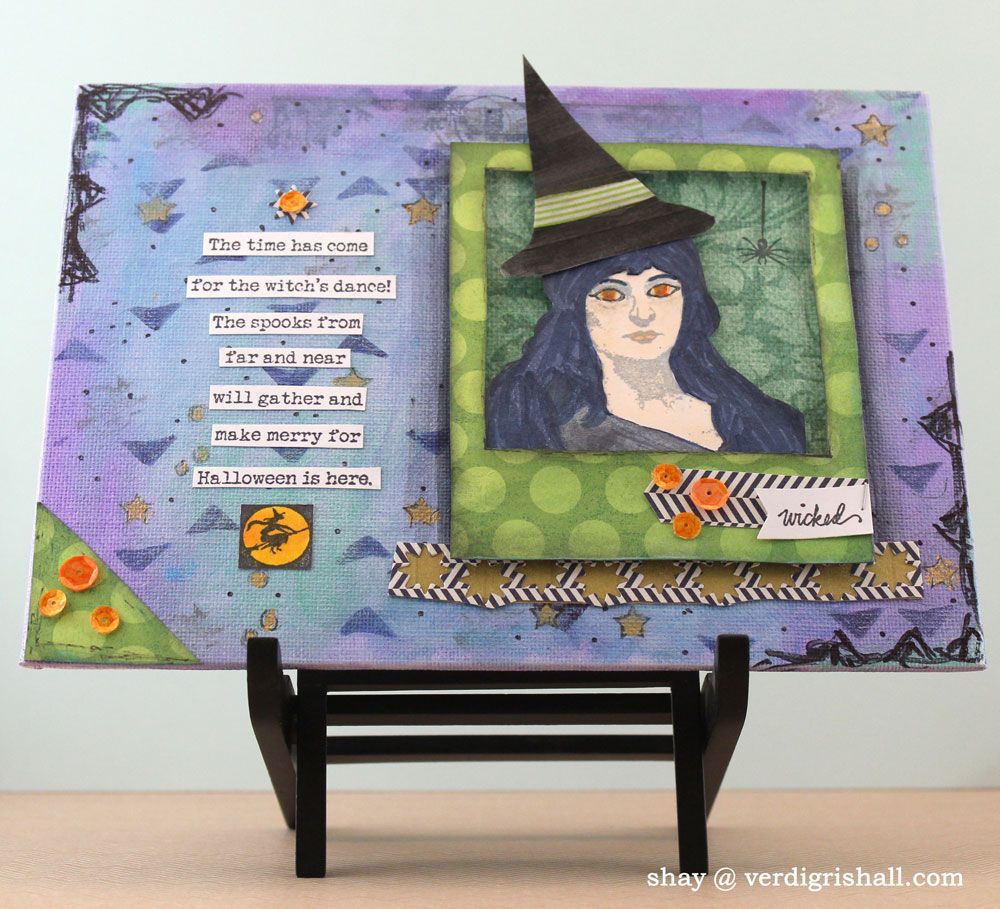
I chose to do a canvas panel again.  I love the flexibility and possibilities with one of these canvas panels plus they are a bargain when you buy them on sale at Michael's.  A bonus for stampers, the canvas panels are a firm surface that is easy to stamp upon.


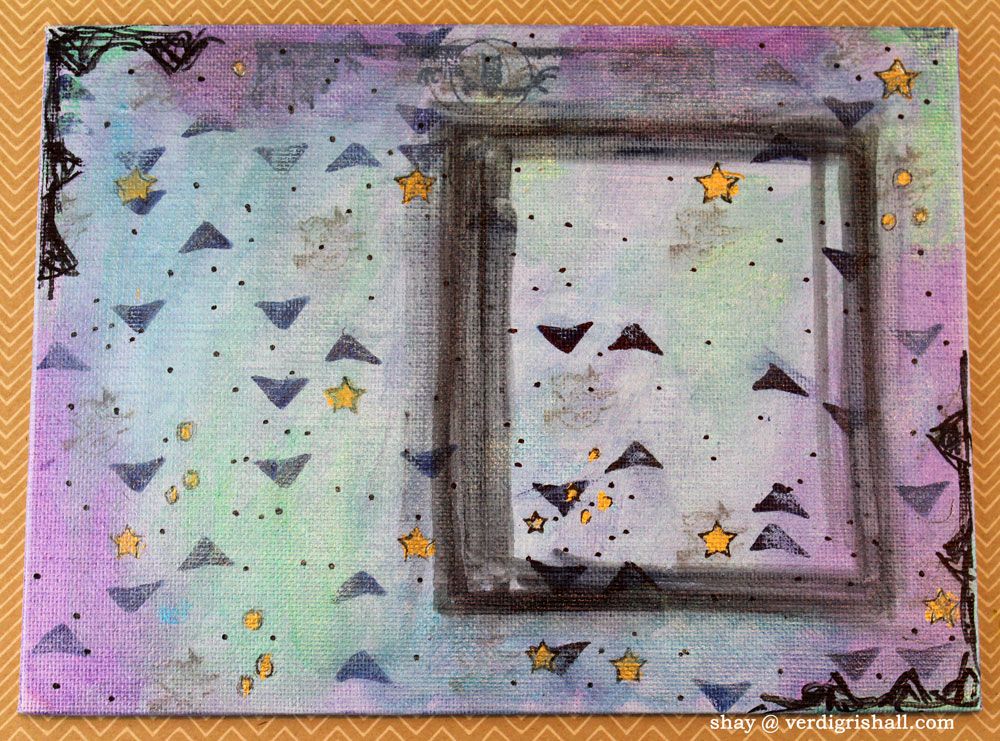
I started by scribbling on some metallic blue, green and purple Gelatos directly onto the panel and then spread the color with a wet brush.  Next I added some triangles using the Stamper's Big Brush pen and a mask randomly on the panel.  In grey ink I stamped the little witch from Witchy Halloween or Witchy Greeting randomly over the panel and dabbed off any excess ink for a faded and subtle look.  Using a gold metallic pen and a star mask I added some stars which I also outlined with a black pen.  I added some messy sketching with a Sharpie in two corners.  I also stamped the owl border from Halloween is Here on the top of the canvas in grey and then navy inks.  Where I planned to put on a focal point I drew a box to create a shadow.


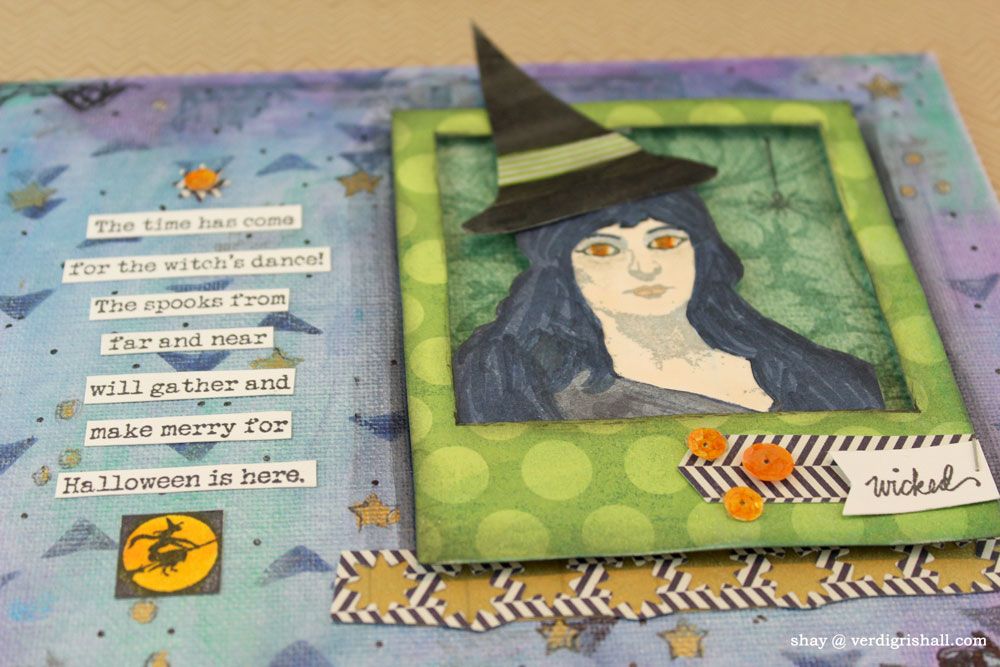
For my focal piece I began with one of my favorite ladies: Heather (to get Heather and all her friends pick up the Women Melange set) to create a witch.  I know, I know wicked witch is so cliché, but I honestly could not help myself!  I stamped Heather twice, once with navy ink and once with a light grey ink.  Using the navy inked image I colored in Heather's hair in dark blue (why shouldn't a witch have deep dark blue hair?  Just seemed right to me) and her dress.   On the light grey image I colored in Heather's skin and face making sure to make her more eerie and creepy by giving her outlined orange eyes.  I cut out Heather's face and neck from the navy image and placed the grey Heather under the navy one.  For a witch's hat I cut one out from cardstock, added a strip of green striped washi and painted it black to transform Heather into a proper witch.

I decided I wanted Wicked Witch Heather framed.  I traced a polaroid frame onto some green polka dot patterned paper, cut out and placed Heather inside using dimensional adhesive.  I backed Heather with some green damask patterned paper which I stamped with the cute little spider from Witchy Halloween or Halloween Friends in black ink.  To dress up the frame a little I added the little wicked (in case you were unsure of the wicked theme) from Witchy Halloween or Witchy Greeting, some patterned paper and sequins that I altered using a handy orange Copic (love my Copics!).

Under Heather I added a strip of patterned paper cut with a stars die with the negative space backed with gold washi.


I stamped the poem from Halloween is Here or Time Has Come onto white cardstock and then cut out each line and added them to the left of Heather.  Above the words I added a die cut star accented with a sequin.  Under the words is the witch square from Witchy Halloween or Witchy Greeting stamped in black ink and colored in with yellow and orange Copics.

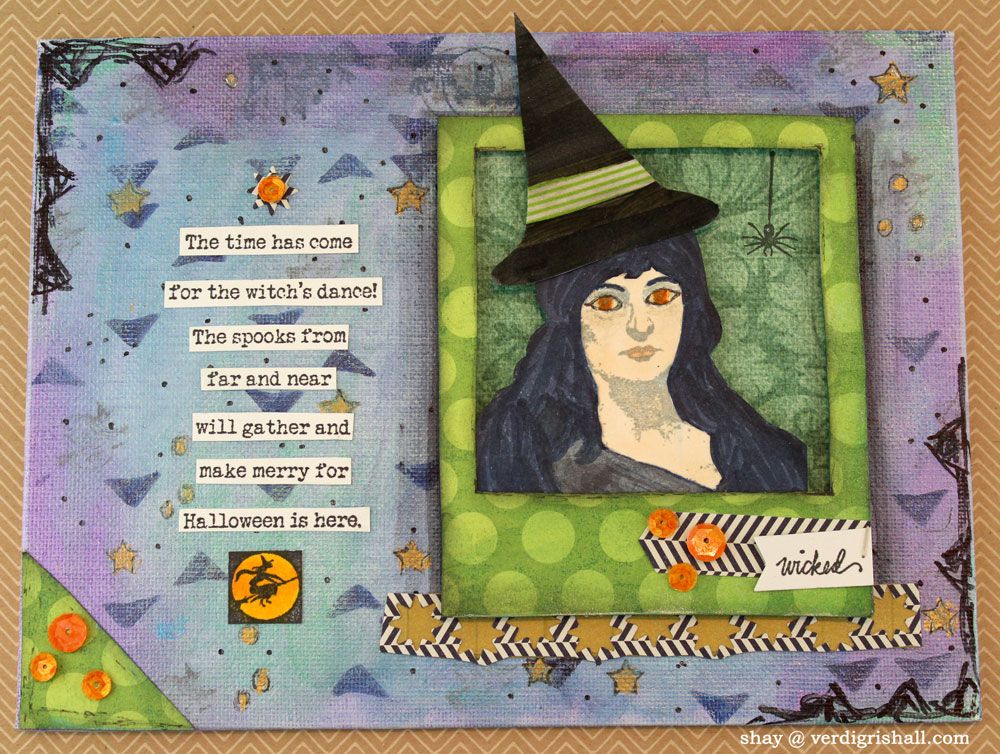
 Here is one last look at the finished panel:


If you haven't fallen asleep from reading my essay long description of what I did, I thank you for your strength and fortitude!  You also deserve a treat and I have just the thing for you: head on over to Amber's blog!

***Here is the complete line up just in case you get lost along the way***


Thank you so very much for sweeping by today and have a wickedly awesome day!

Happy creating,
Shay.

Supplies:

Stamps:


Ink: tuxedo black, Memento by Tsukineko; navy and charcoal mid-tone, Hero Arts Shadow Ink; weather vane, Jenni Bowlin for Ranger
Canvas: 6x8 canvas panel, Artist's Loft
Cardstock: white, Georgia-Pacific
Patterned Paper: "Oxford Lane" from kate & co. Collection 6x6 paper pad; Fly a Kite "Wish" Ribbon from Lime Twist Collection and Sweet Surprise from the Ooh La La Collection; My Mind's Eye
Die: Star Gazer Die Collection, Papertrey Ink
Other: Cuttlebug, Provo Craft; metallic grape, metallic blueberry and metallic mint Gelatos, Faber-Castell; cobalt blue PITT artist big brush pen, Faber-Castell; star pattern and triangles pattern Huey's Masks, Studio Calico; Pale Fruit Pink (E000), Pink Flamingo (E01), Lightening Yellow (Y18), Pumpkin Yellow (YR15), Agate (B99), Cool Gray No. 7 (C7) and clear (000) Spica,  Copic; black precision pen (05), American Crafts; white Signo, Uni-Ball; gold leafing pen, Elmer's; fine point permanent marker, Sharpie; foam dimensional adhesive; gold and green stripe washi; black acrylic paint, Delta Ceramcoat; small pearlized sequins, Inspire Lovely; coral sequins, Studio Calico; mini glue dots; Tiny Attacher, Tim Holtz

July 5, 2013

Paper Wings Productions' July Design Team Blog Hop


Ahoy there!  Welcome to the “By The Sea” Paper Wing Productions' Design Team Blog Hop and Giveaway.  If you've arrived here from Dana's blog, then you're in the right place.  If you’re just stopping by for a visit, I’d love for you to check out our hop...you will love what you find.  Please CLICK HERE to start from the beginning.

This month we’re sharing enchanting projects from down “by the sea”.  So grab a tall cold drink with a colorful umbrella naturally and let’s go “by the sea.”  There will be blog candy along the way too so make sure you stop by each blog!  This month’s main prize is a gift certificate to the new Paper Wings Productions' online store.  

For a chance to win, all you need to do is:
  • be a follower of the Paper Wings Productions blog, The Aviary
  • visit each of the participating designer's blogs and leave them some love. Then go back to The Aviary and leave a comment letting them you completed the hop. 
  • to increase your chances of winning, like the Paper Wings Productions' Facebook page and/or invite your friends to the hop. 
  • then just come back and let us know! Be sure to leave a separate comment for each of the additional entries. 

The winner will be announced on Tuesday, July 9, 2013 on The Aviary.

Are you ready to see what I have in store for you by the sea?

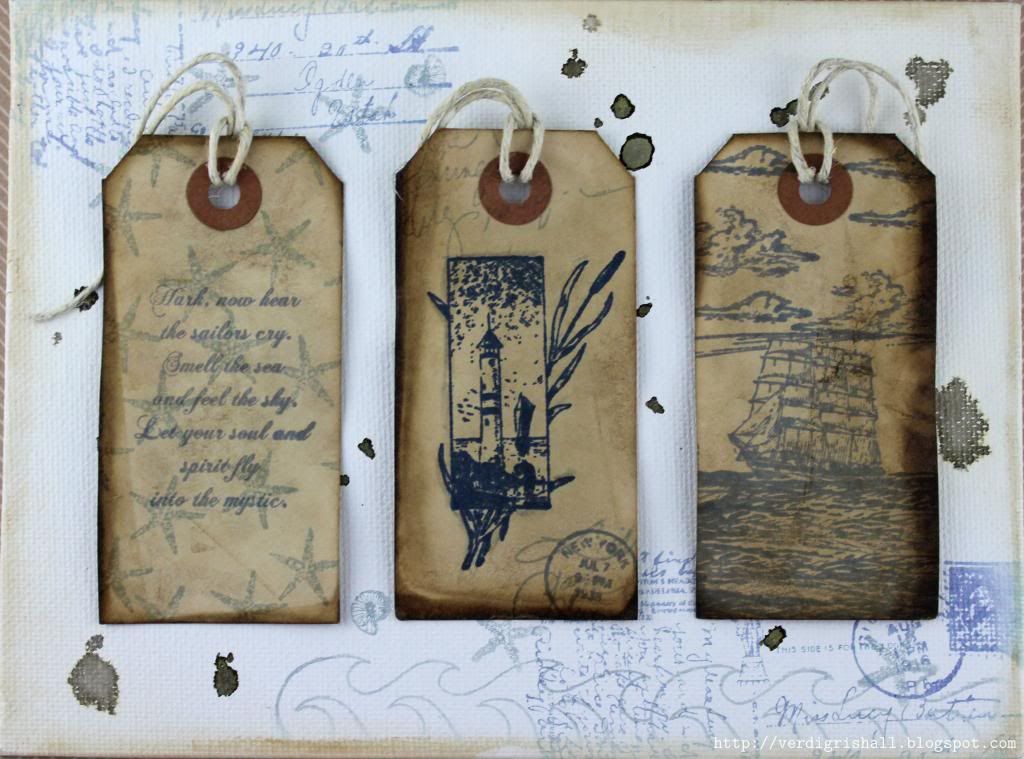
It just so happens that I am in a nautical mood and luckily Paper Wings Productions has just the stamps I need to make a nautical inspired canvas panel.


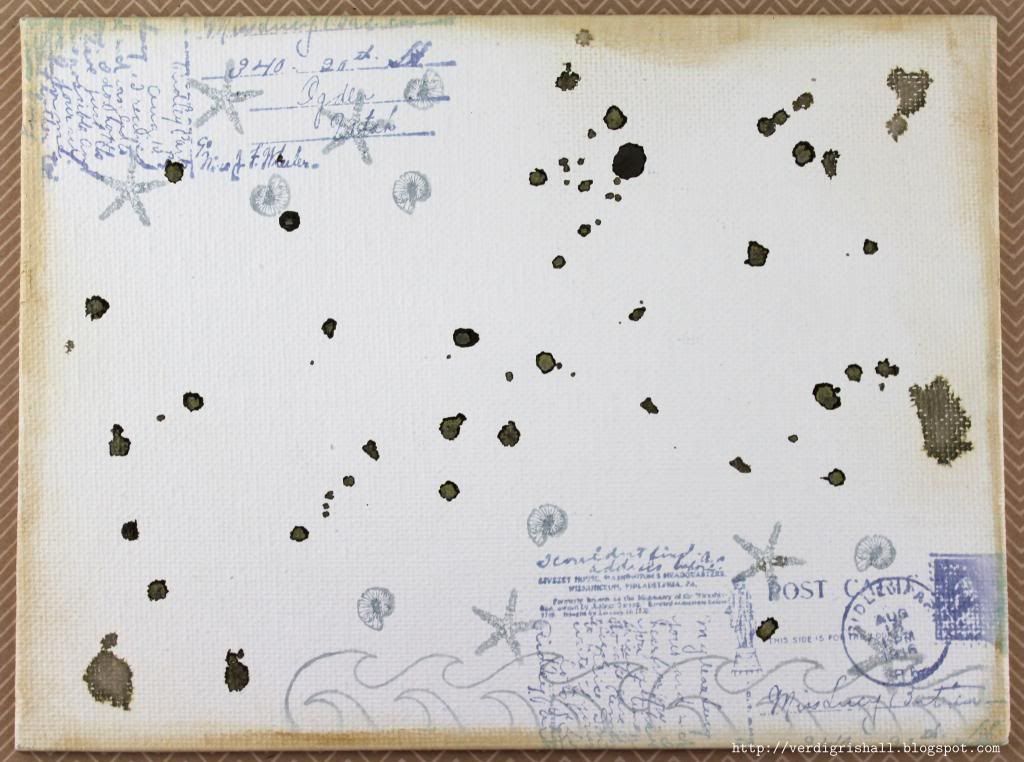
I began the canvas by stamping the waves from Mermaid on the bottom right hand side of the canvas with grey ink.  Then I over stamped the postcard in blue ink from Writing Backgrounds or Postcard.  I also stamped the postcard on the top left of the canvas.  The last bit of stamping on the canvas was to add several shells and starfish from Sea Melange or Sea.  Lastly, I added some drops of mist and distressed the edges with Distress Ink.

The finished background:


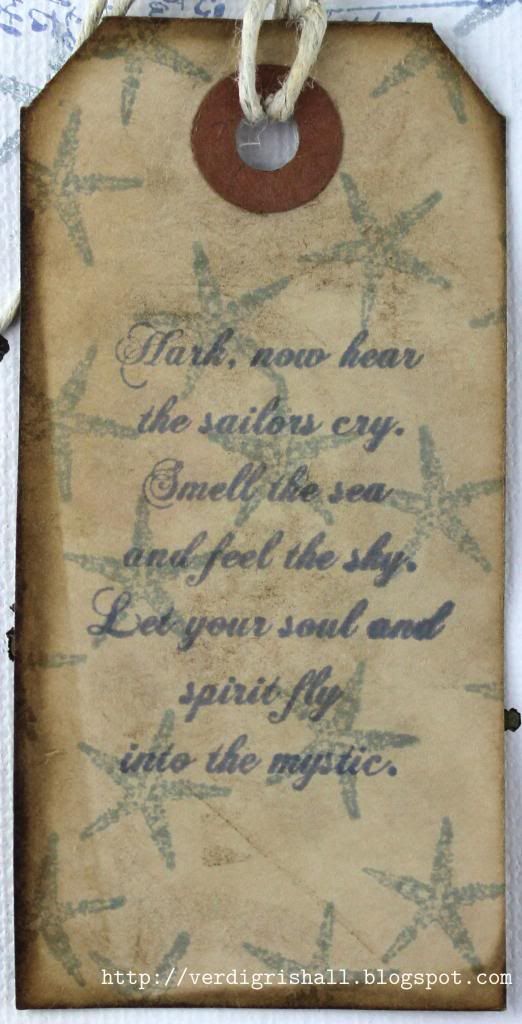
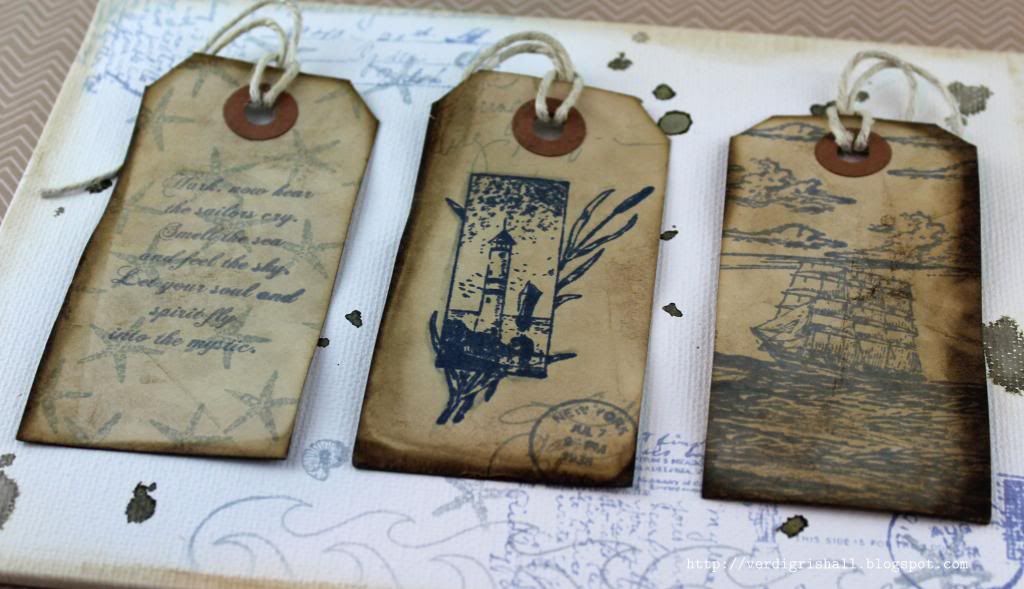
Left tag:


I stamped the starfish from Sea Melange or Sea in grey on to a coffee stained tag.  The quote from Sea Melange or Seaside was stamped in blue ink.

Center tag:


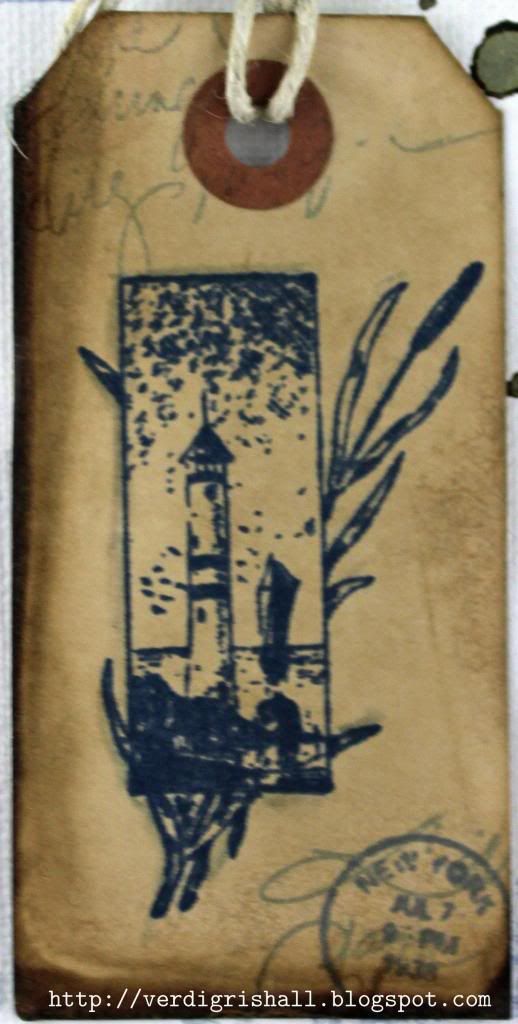
The lighthouse from Sea Melange or Seaside was stamped in navy on a coffee stained tag.  I added some depth to the image by using a Copic marker.   In blue ink I stamped the cancellation seal from Text Melange or Text on the bottom right.  I stamped part of the handwriting from Writing Backgrounds or Writing in grey over the seal and on the top left of the tag.

Right tag:


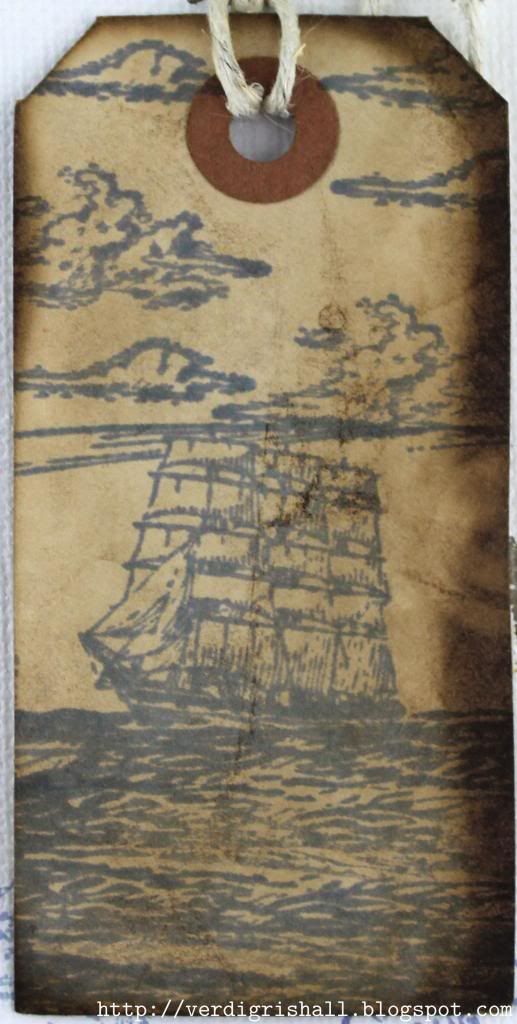
I stamped the ship scene from Sea Melange or Sea in blue on a coffee stained tag.  I stamped just the waves a few more times to fill in the bottom of the tag which turned out perfect!  I stamped the clouds from Earth & Sky Melange or Cloudy several times on the top of the tag in blue ink to finish off my scene.

And here is another look at the this seaworthy canvas:


I think this little baby is going to my papa as he also loves the nautical look.  I love when something I make can be given as a gift.  Win-win.

By the way if you want to see a couple of other by the sea projects I've made in the past for Paper Wings Productions click HERE (mermaid) and HERE (boat).  Make sure to also visit The Aviary for lots of other fabulous by the sea inspiration and much, much more!

That's it from me for now.  Make sure to head on over to finish up the hop at The Aviary.

Here is the complete line up just in case you get lost along the way:

Shay *you are here
The Aviary

It has been an absolute delight to have you visit me today and I hope this hop motivates you to ink up some Paper Wings Productions stamps!

Happy creating,
Shay.

Supplies:
Stamps:


Ink: antique linen and brushed corduroy, Tim Holtz Distress Ink by Ranger; weather vane, Jenni Bowlin for Ranger; navy and stone wash, Hero Arts Mid-Tone Shadow Ink
Other: canvas panel, Artist's Loft; coffee stained tags; Inkssentials ink blending tool, Ranger; token from midway collection sprinklers color mist, October Afternoon; hemp twine; cool gray no. 3 (C3), Copic; dimensional adhesive

March 1, 2013

Paper Wings Productions' March Design Team Blog Hop


Hello there my friends,

I am so glad you could join me to celebrate the many splendid Winged Things for the Paper Wings Productions' March Blog Hop.  If you came from Carrie's blog you are in the right place.  If not, you will want to check out The Aviary to start at the beginning so you could win this:

All you need to do is:
  1. Be a follower of the Paper Wings Productions' blog, The Aviary;
  2. Visit each of the design team's blogs including our guest designer and leave them a little love; and
  3. Go back to The Aviary and leave a comment letting them know you completed the hop.
BONUS: For extra chances to win, just like the Paper Wings Productions' Facebook page and/or invite your friends to the hop. Then just come back and let us know ! Be sure to leave a separate comment for each of the additional entries.

The winner will be announced on Tuesday, March 5th on The Aviary.

You will also want to go through the blog hop to be inspired by the awesome design team's projects.  I have seen peeks and you will love them all!

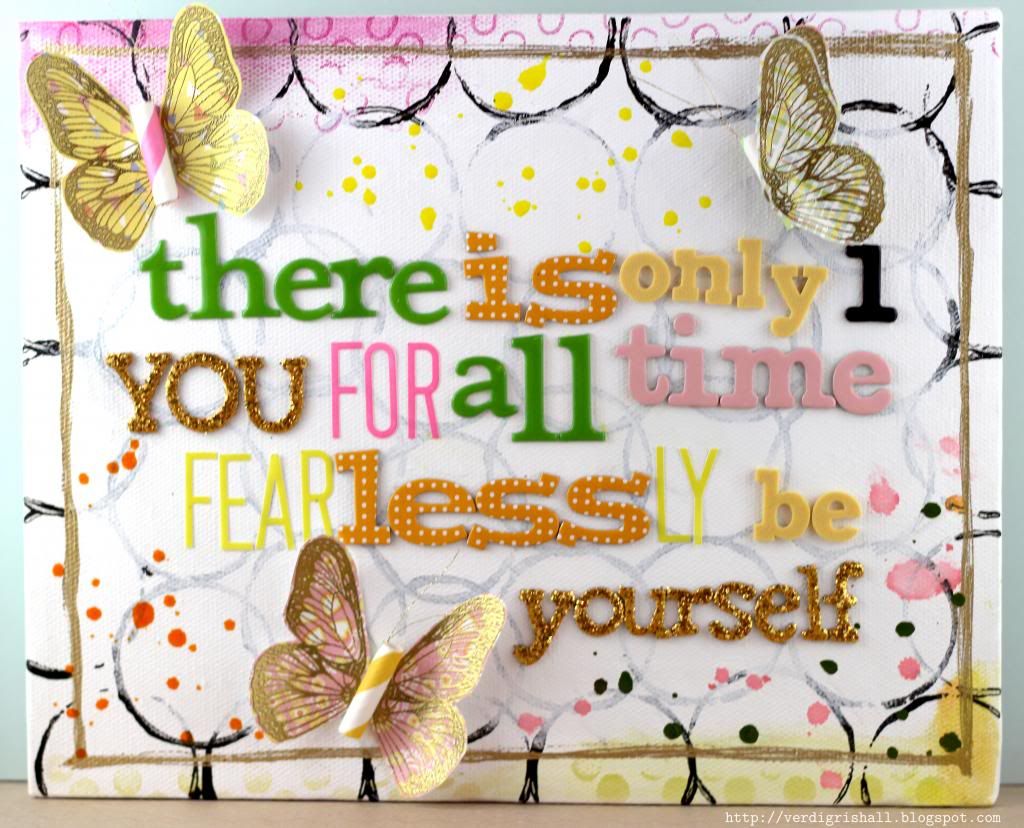
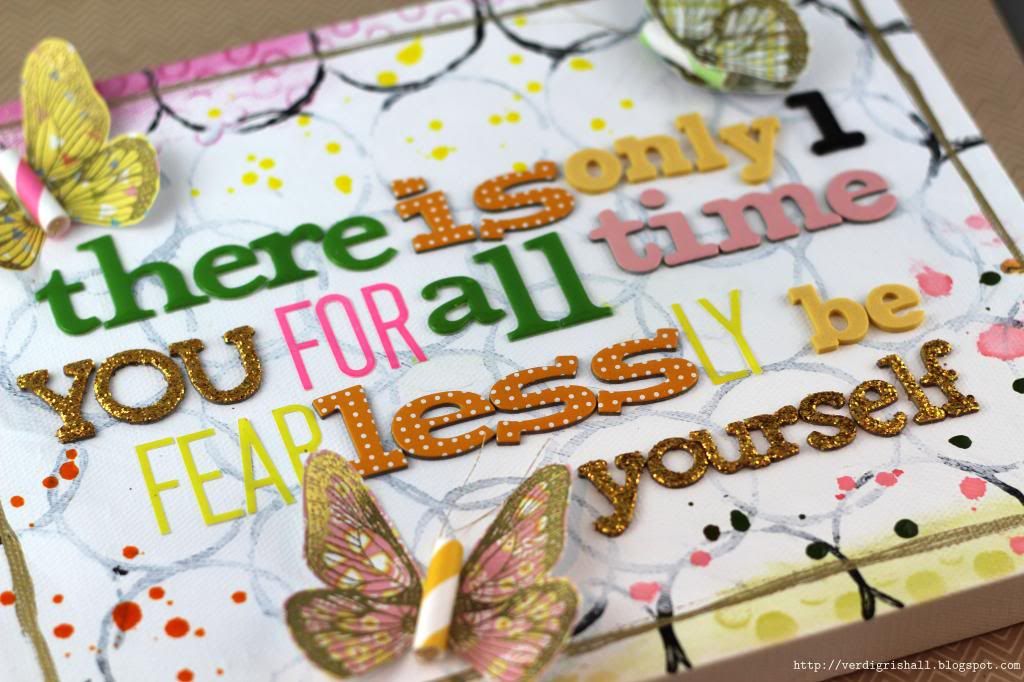
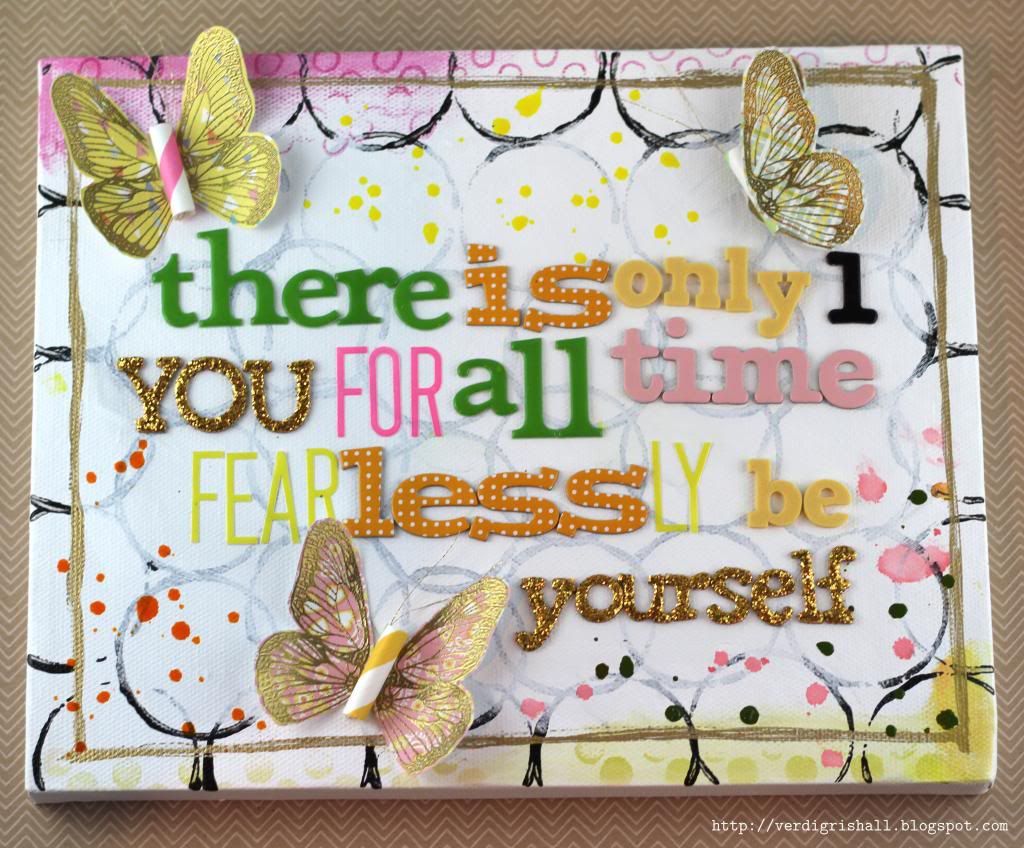
Now on to my little Winged Things project.  When I thought of the "Winged Things" theme I decided I wanted to make something using the Wings stamp set (or Butterfly Wings) that would be uplifting...which is something I very much need at the moment. So I picked out a 8x10 canvas to make a little piece to hang in my studio. This size is great as it isn't too large or too small.


I recently received the Simon Says Stamp March 2013 Card Kit and I loved the happy designs and colors in the kit including the Daphne's Closet 6x6 papers by Lawn Fawn.  All of my colors came from those papers.


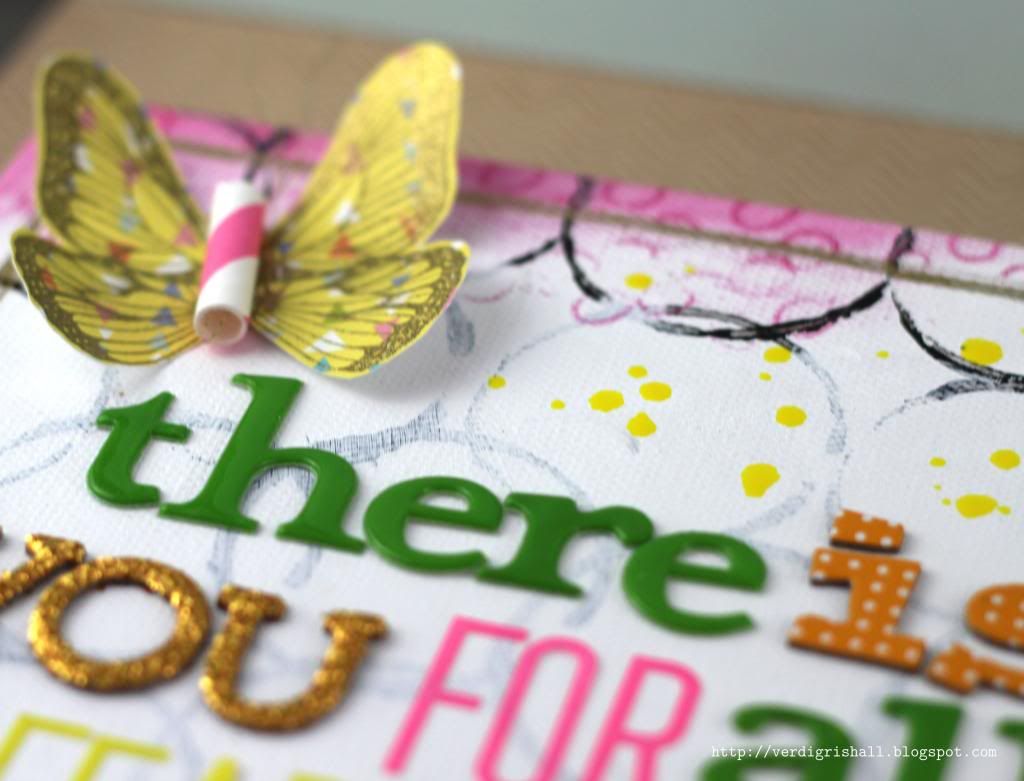
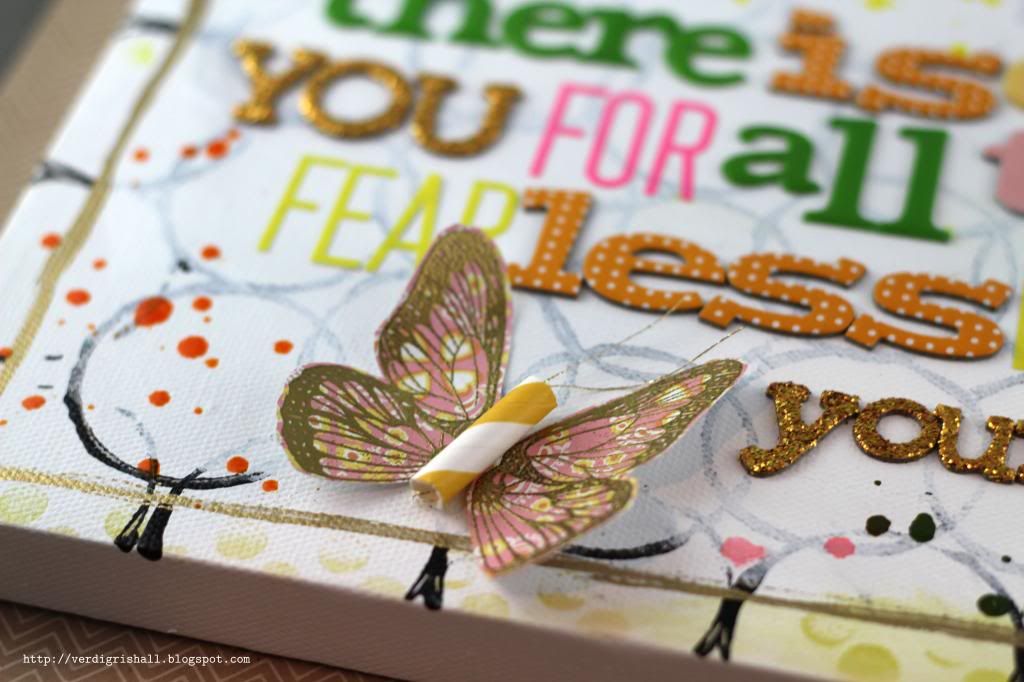
I stamped the set of butterfly wings on a different patterned paper and then gold embossed them.  I cut them out...luckily, they are an easy shape to cut.  I knew I wanted to make the body of the butterfly from the straws included in the kit and I made attenae with gold thread.  I rolled the edges of the wings to mold them and give them some dimension.


For the canvas I wanted something that the colors would pop off of.  I began by painting the canvas with gesso and then I used a toilet paper roll (who knew they could be so useful in the studio?!) to stamp black paint rings onto the canvas.  After the paint dried I added a light wash of gesso to the middle of the canvas just to soften the circles.  To the bottom edge I inked up the edge and then stamped the solid small circles from Single Dots Border in green.  To the top edge I inked up the edge and then stamped the outline small circles from Single Dots Border in fuschia.  For this application I was really happy with the haphazard stamping of clear stamps on canvas.  I added a frame with my gold leaf pen to pull in more gold (I can't get enough of it at the moment).


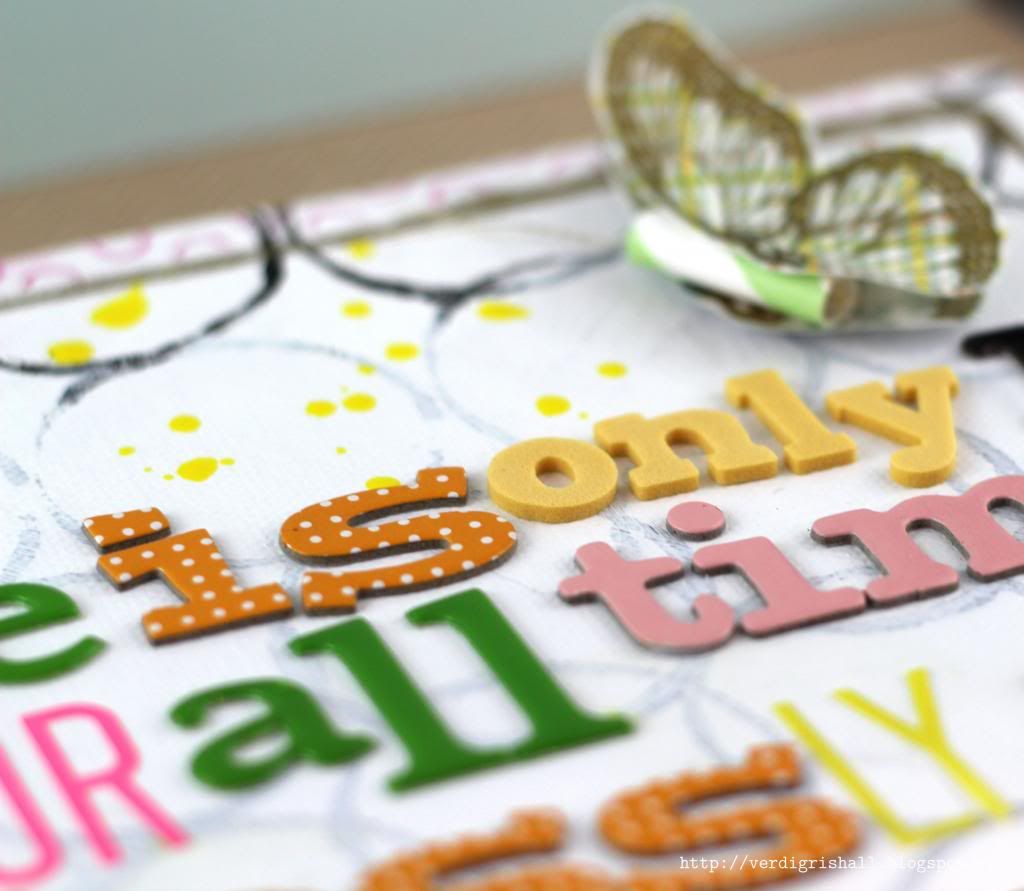
Next I went searching online for a quote I liked.  After finding a quote, I shopped my little Thickers collection for the right colors and different textures.  Of course the gold glitter Thickers came out...they seem to show up on everything I make right now.  I may have to start wearing them.  I also pulled out some neon letters from Heidi Swapp because I liked the color and shape.  I only altered the 1 by coloring black to make it stand out a bit more.  Just a note, the Thickers stick but move pretty easily.  I recommend that you adhere them permenantly with something like Glossy Accents, Diamond Glaze or even hot glue if you prefer.

 
After spelling out my quote I placed my butterflies on the canvas to figure out the placement.  I originally made 6 butterflies, but only ended up using 3 for this project.  I adhered the butterflies in place with glue dots and/or dimensional adhesive.  Lastly I added drops of sprays for added pops of color.  Easy peasy.  Just change up the colors, design and quote to suit your taste and style.


I hope this has inspired you to make something that will uplift you or someone else!  And remember to head on over to The Aviary for your chance to win.

For more uplifting ideas for Winged Things or if you get lost along the way here is the full list for the blog hop:

Heather Lynn Novinger - http://heathernovinger.blogspot.com/Dana Tatar - http://datatar.blogspot.com/
Tara Chaussee - http://secretbeesstudio.blogspot.com/
Norma Gomez - http://lilhoneybeestudios.blogspot.com/
Amber Rasmussen - http://sew-ink.blogspot.com
Carrie Avery - http://www.carrieavery.com/
Shay - http://verdigrishall.blogspot.com/  <-----You are here
The Aviary -  http://paper-wings-productions.blogspot.com/

Thank you so much for visiting! 

Happy hopping,
Shay.

Supplies:

Stamps: Wings or Butterfly Wings and Single Dots Border, Paper Wings Productions
Ink: VersaMark, Tsukineko; limeade ice and raspberry fizz, Papertrey Ink
Kit: March 2013 Card Kit includes 6x6 paper from Daphne's Closet by Lawn Fawn and paper straws, Simon Says Stamp
Other: detail metallic gold embossing powder, JudiKins; gesso, Claudine Hellmuth Studio by Ranger; metallic sequin black acrylic paint, Folk Art by Plaid; gold decorative sewing thread, Coats; gold glitter sunrise, orange chipboard flat, yellow foam Eric, pink chipboard bliss, green puffy honey Thickers, American Crafts; day glow neon letters, Heidi Swapp; sherbert, buttercup and Doris Mister Huey's Color Mists, Studio Calico; pink balloon sprinklers, October Afternoon; gold leafing pen, Elmer's; black fine point permenant marker, Sharpie; canvas

April 25, 2012

Thinking Outside the Card

Dear Reader,

Over at The Aviary (Paper Wings Productions' blog), we announced a challenge using a Flight Plan (a guide to follow).  Julie did an awesome job creating all of the graphics and the Flight Plan.  Julie and I realized we also needed to meet the challenge.


Due to a suggestion by my friend, Ellen, I decided to move away from the card.  I was torn between a canvas or an art journal page.  I went with the canvas simply because I have stockpiled them and wanted to use another one up.


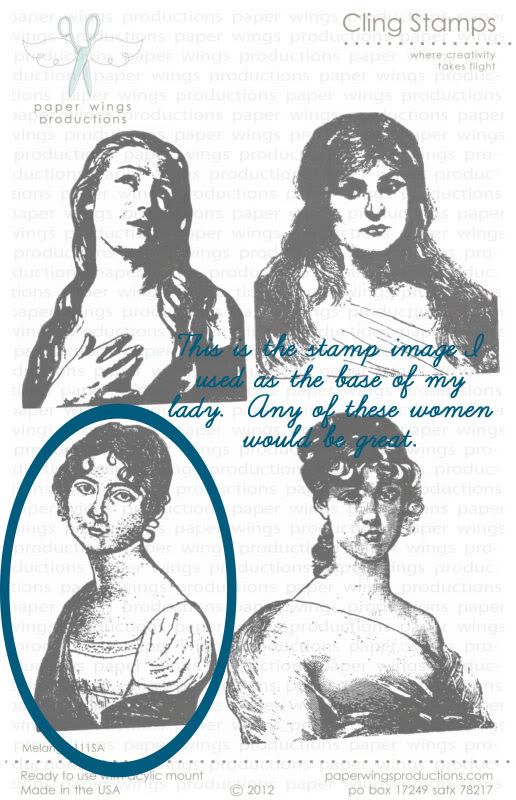
Inspired by She Art by Christy Thomlinson, I decided I wanted a lady to be the focus of the canvas and what would be better than to use one of the women from Melange Women to be the foundation of my lady?  I also happen to be a lover of Regencies (I just happened to recently devour The Temporary Wife by Mary Balogh--I laughed, I cried...there is a deathbed scene that is flagrantly sentimental, but sentimental nonetheless so this may have also been a mitigating factor).  I sort of did this all wrong.  I started with the background which is fine, but then I stamped the lady's face into the gel and then decided to try again by stamping her face on a piece of orange polka dot paper.  I drew over her features and then I painted in her face which meant I was drawing in her face more than once.  Next time I am going to try stamping on a piece of paper, painting in the skin and then stamping over again to try to keep the integrity of the image.  I think she ended up looking a bit like Cher. 


Anyway, I painted in a full empire waist dress on the lady when she only had the bust.  Luckily, empire waist dresses are some of the easiest to paint.  For added interest and texture to the canvas I used the new doily stencil by Christy Tomlinson by Pink Paislee with some paints over the lady and in the top right hand corner of the canvas. I also added panels from Melange 4 Architecture which I stamped onto the orange polka dotted pattern paper by Basic Grey and stamped some flourishes from Flourish Fun 1 in the background.  The last touch was some generous sprays of Studio Calico's Mister Huey's Shine.

Look for another canvas using Paper Wings Productions' Melange stamps this week on The Aviary.

Thanks for stopping by!

Happy creating,
Shay.

LinkWithin

Related Posts with Thumbnails