Showing posts with label lawn fawn. Show all posts

June 10, 2013

Man Oh Man Monday No. 14 | Father's Day Edition No. 6

We continue on with Father's Day as it is less than a week away.  Have you gotten your card done or bought?  

I am putting a tiny spotlight on hybrid Father's Day cards today.  Hybrid simply means using something created on a computer (digital) and then printed to make something physical.  You can create the digital design/sentiment yourself, purchase other people's designs from various online stores or create something for yourself using purchased designs.  There are some truly amazing digital products and designers out there.  For recommendations, let me know because I can do a detailed list.

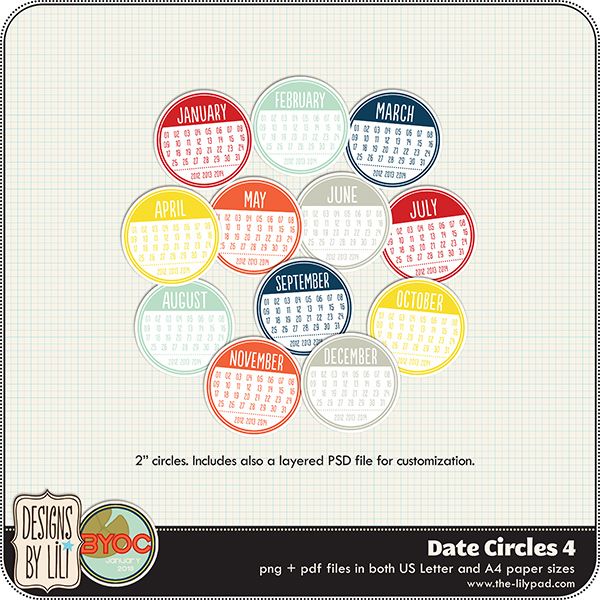
For the cards today I started with Shine, this digital journaling card product by Emily Merritt Designs:


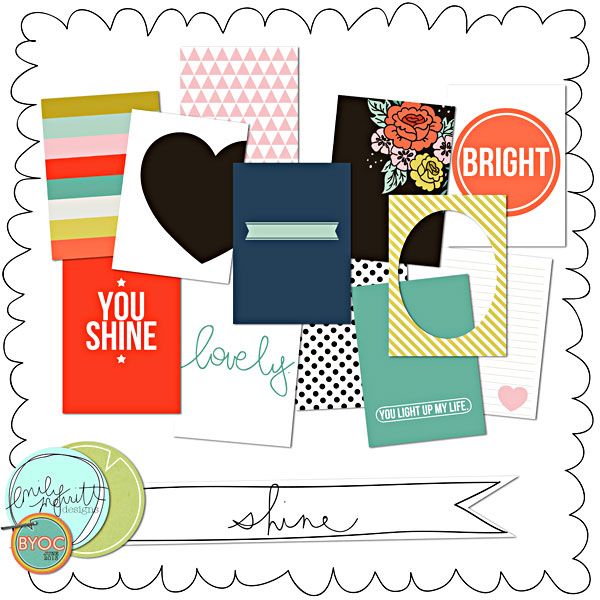
This mix of journaling cards has it all: feminine, masculine and gender neutral for young and older alike for all sorts of occasions with bright happy colors.  Included are convenient pdf files for easy printing of the journaling cards. I printed out one of the pdf files. My printer makes everything look distressed (a positive spin on the lack of quality) so don't assume that your print quality will be as poor as mine.  I just go with it until I get it fixed.  If you like the distressed look I have found that using an eraser on the image...well...for lack of a better word...erases some of the ink.

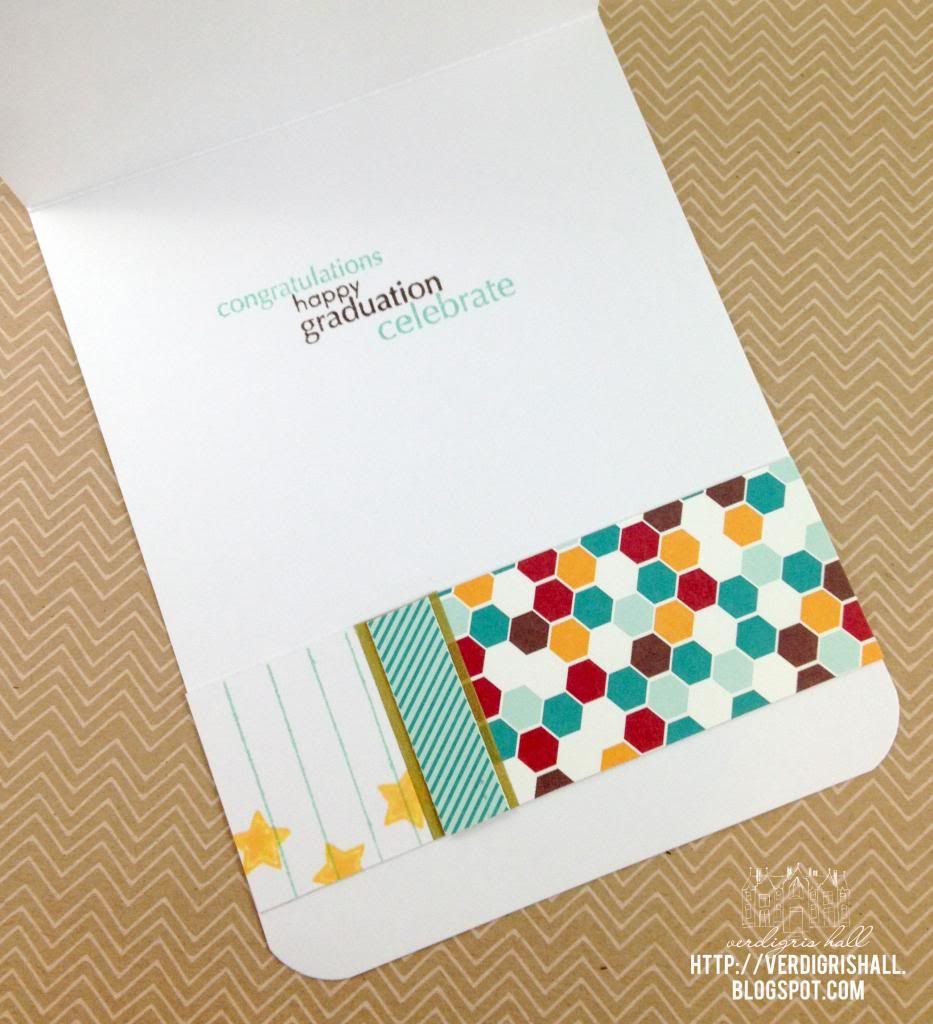
I chose to make cards from the "you shine" and "you light up my life" journaling cards.  I am still on a sun ray/sun burst kick so these cards are inspired by that idea as well.
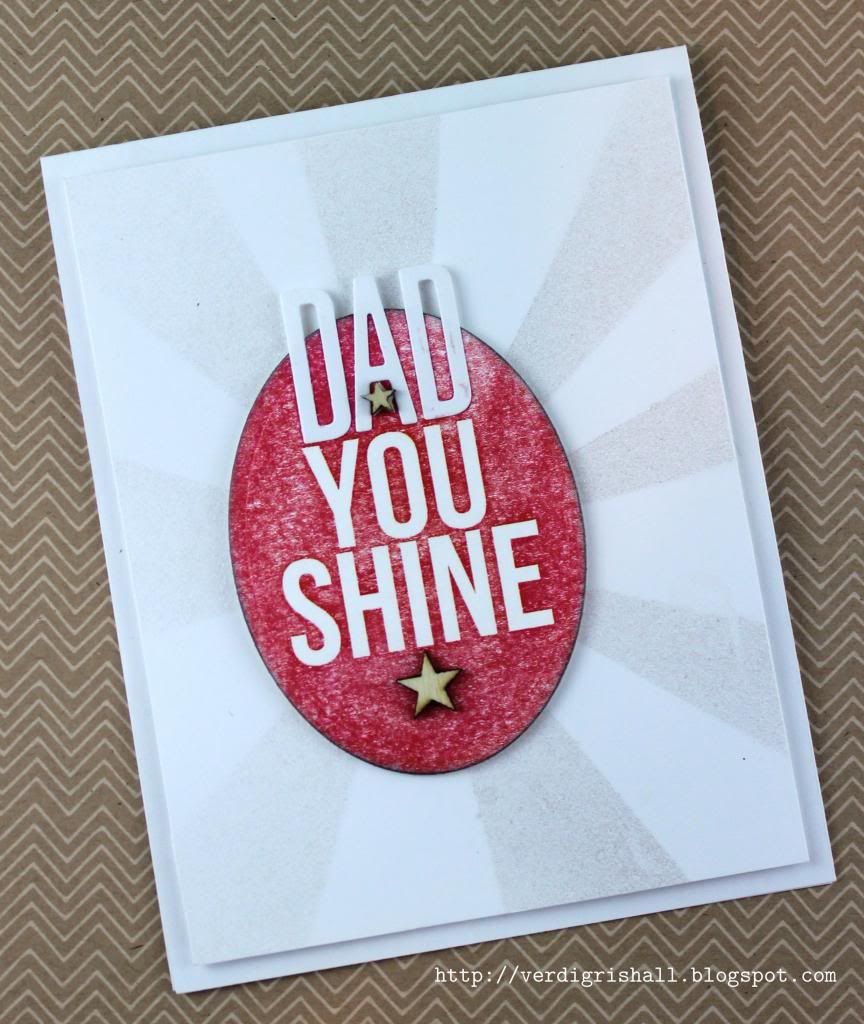
Card No. 1

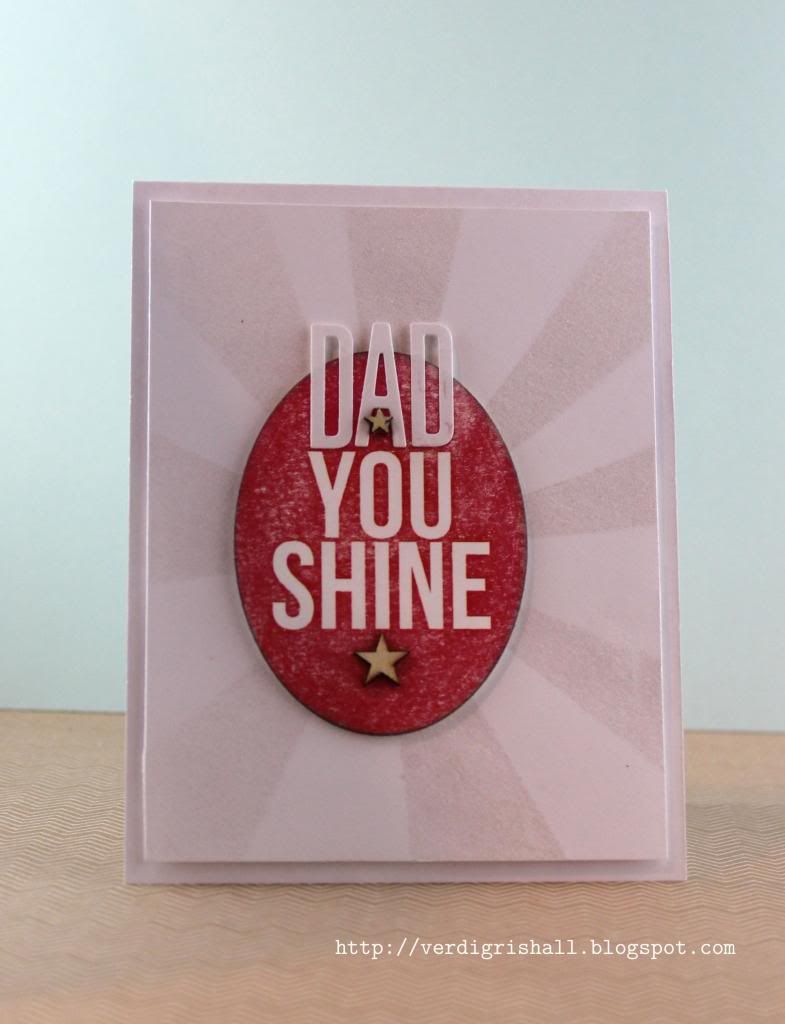
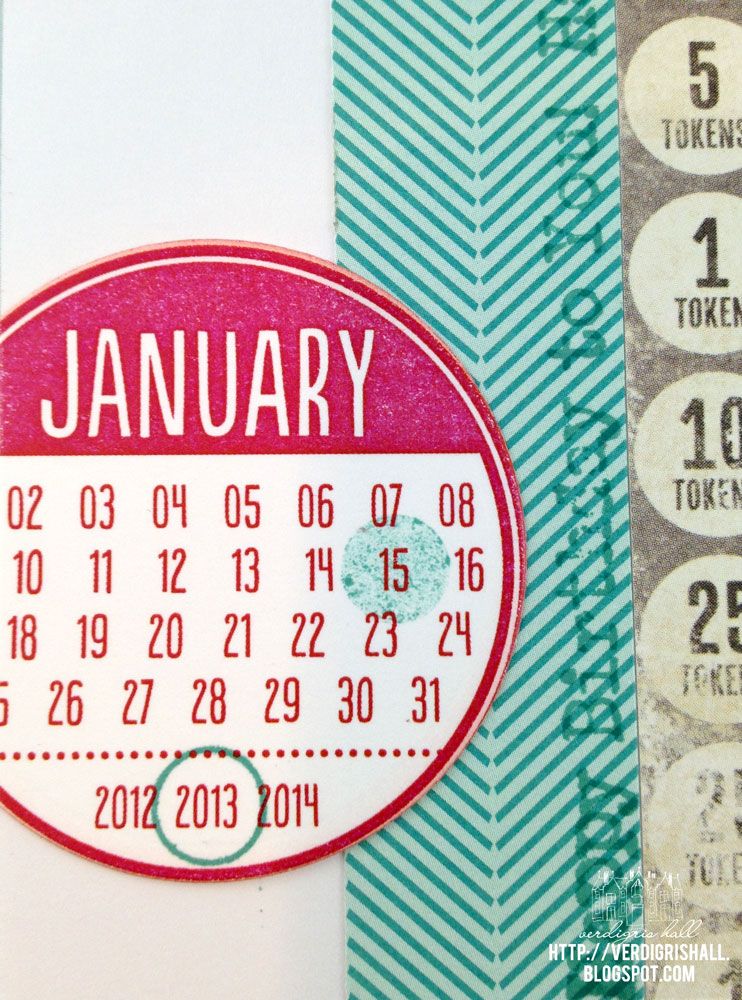
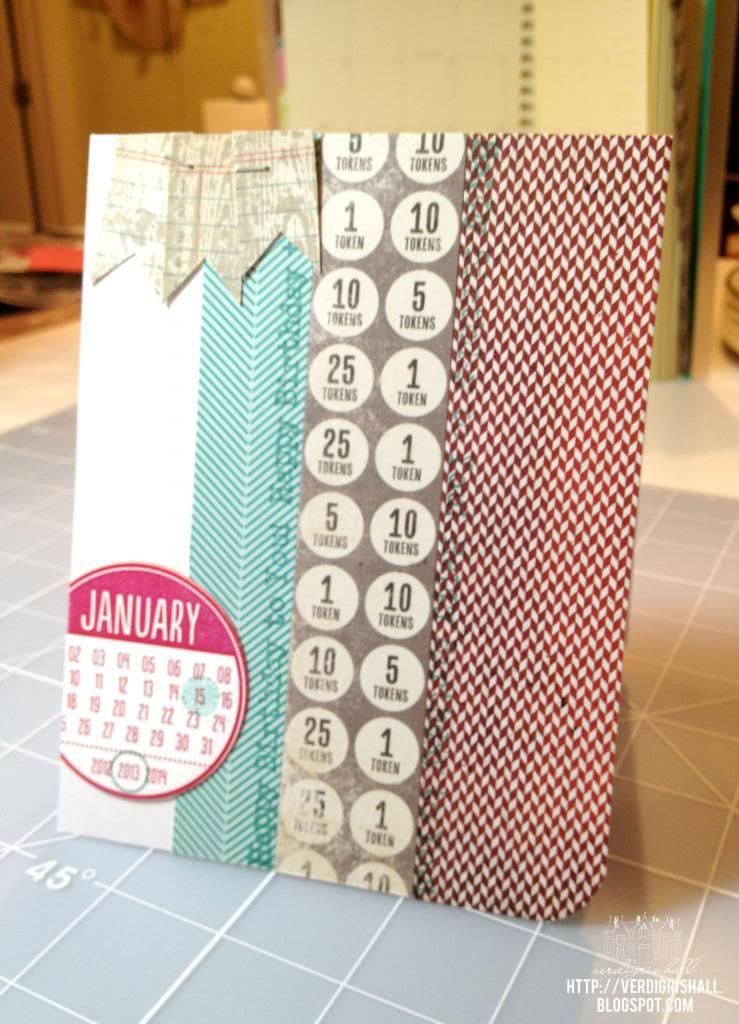
For you shine I cut the sentiment using an oval die and decided to use my Studio Calico burst mask with Mister Huey's Calico Shine on white cardstock for a cool subtle tone on tone look.  I added "dad" using the Headline alphabet die and a couple of star wood veneers.  Simple, bold and interesting. 
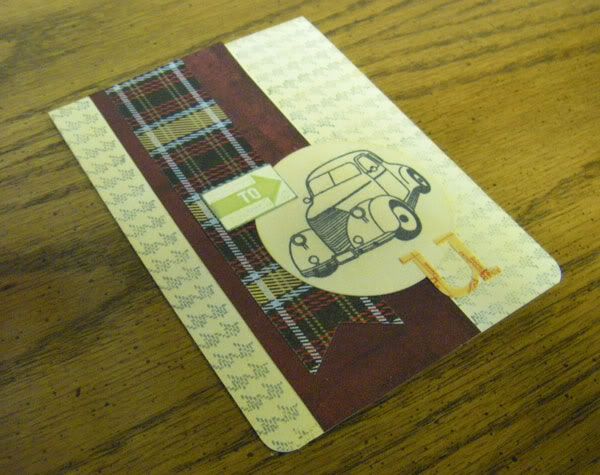
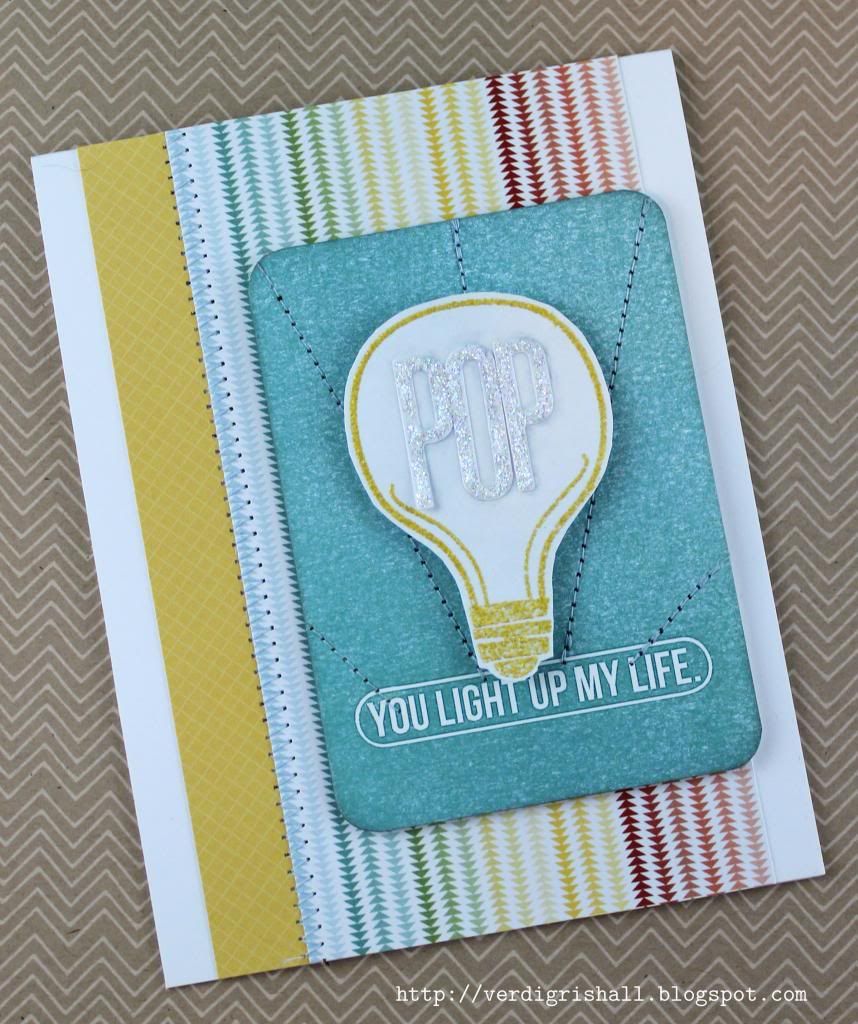

Truly, in person the shine looks really cool.
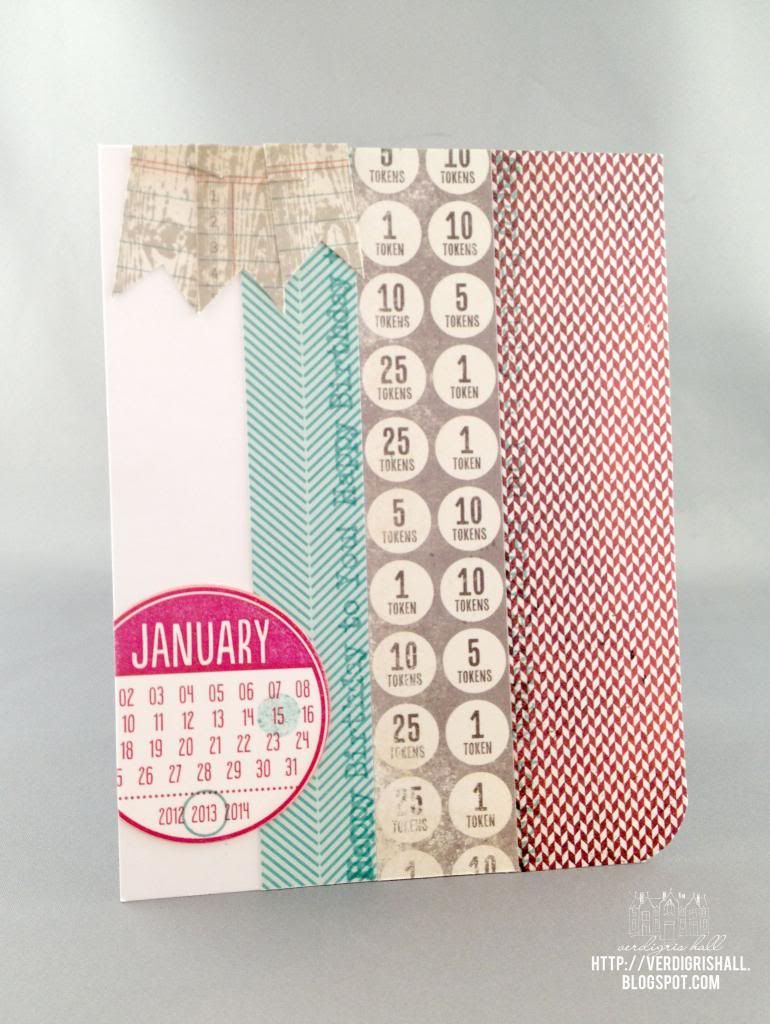
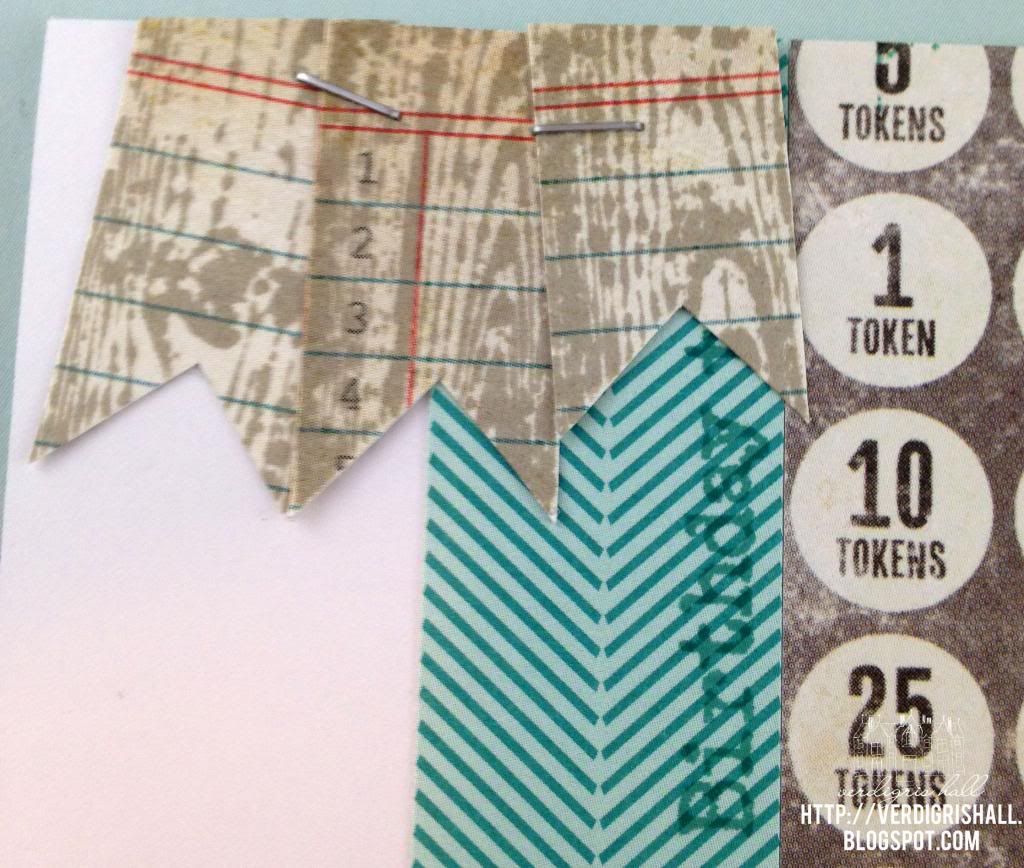
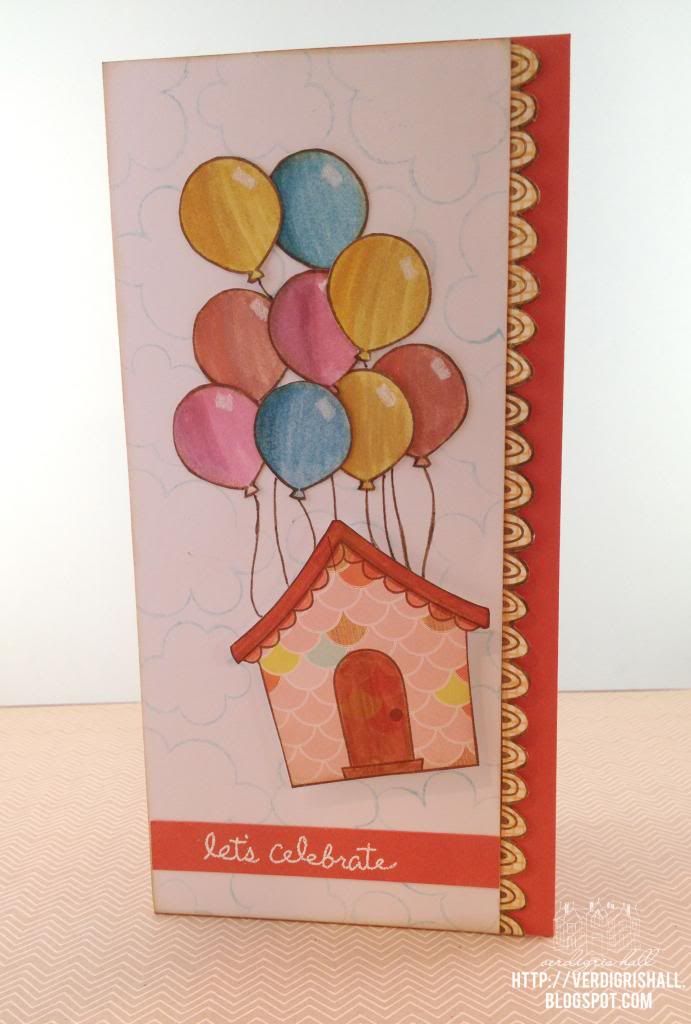
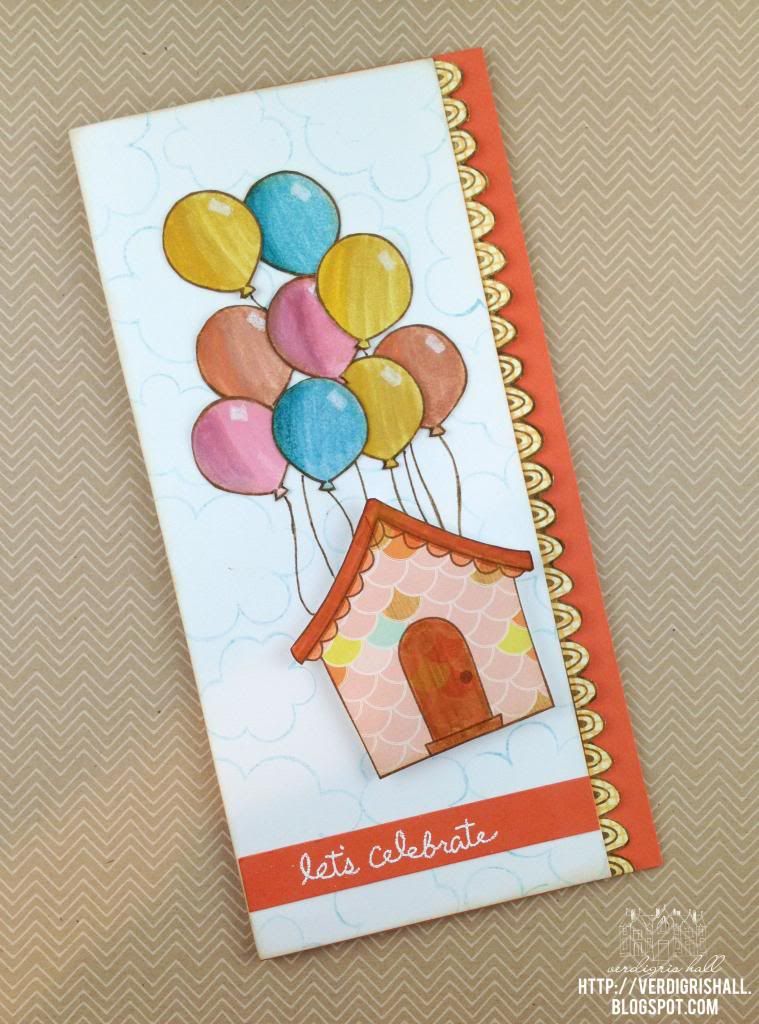

Card No. 2


For You Light Up My Life I decided to add a cute light bulb from a Lawn Fawn stamp set made for Studio Calico's Spencer's Card Kit.  I pulled out some new mustard embossing powder to emboss the image.  I also did some sewing on this card as I had the sewing machine out still after this project.  I am still a bit shocked by how easy it was to sew on paper.  Maybe I am finally mature enough to sew!  I am only about 1 or 2 decades behind everyone else (as usual).   I used the Headline alphabet die once again and added a touch of shimmer and interest by adding stickles to the "pop".


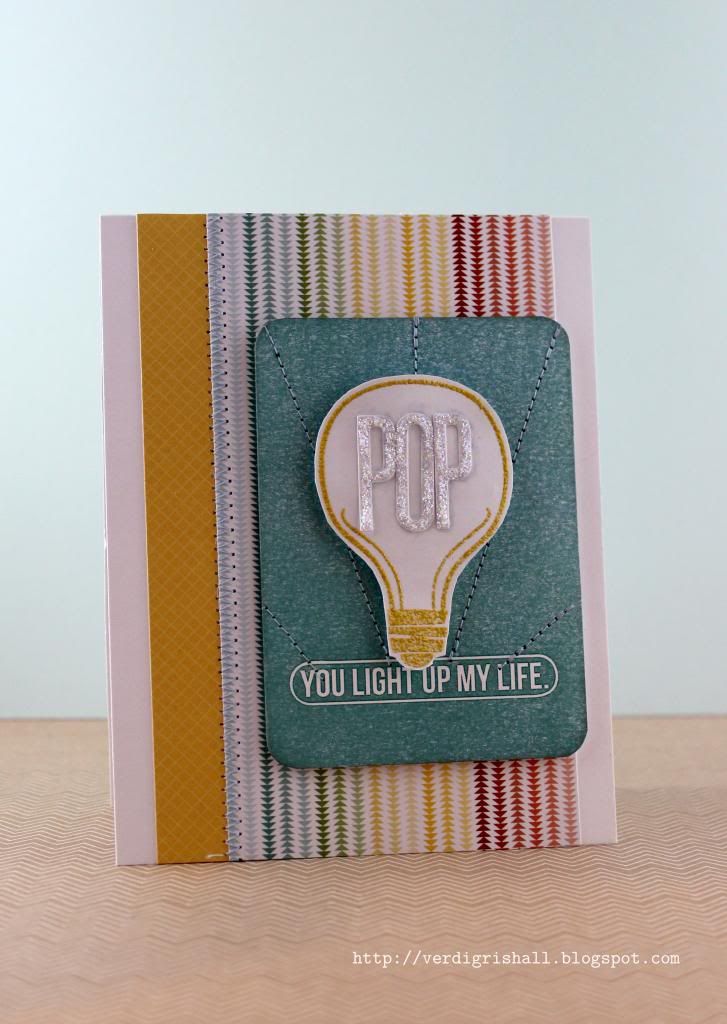
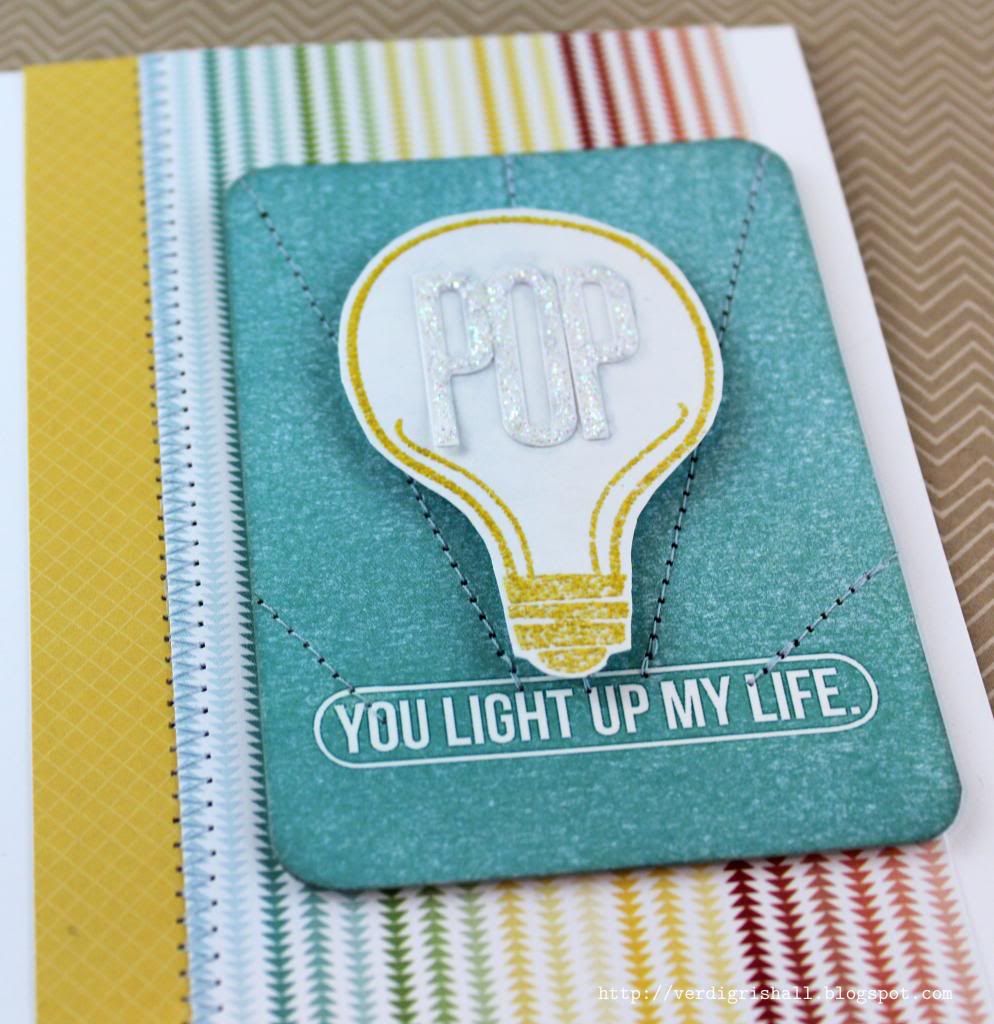
Fun, colorful and easy.

I may or may not be around again for a bonus MOMM Father's Day Edition this week because I recently received some new stamps that are meant to be inked up!  If I don't, I hope you have a delightful Father's Day celebrating the fathers/father figures that have enriched your life!

Happy creating,
Shay.

P.S. I am submitting these cards to the Simon Says Stamp Challenge blog for Masculine/Father's Day.

P.S.S. You can find me on Paper Wings Productions' The Aviary tomorrow for Tutorial Tuesday.

Supplies:
Digital product: ShineEmily Merritt Designs
Stamp: from Spencer's Card Kit, Lawn Fawn for Studio Calico 
Ink: Versamark, Tsukineko; black soot, Tim Holtz Distress Ink by Ranger
Cardstock: solar white, Neenah Paper; stamper's select white, Papertrey Ink; white, Georgia Pacific
Patterned Paper: Snippets 6x6 paper pad, Studio Calico
Other: Mister Huey's 12x12 burst mask, Studio Calico; Mister Huey's Calico Shine, Studio Calico; sewing machine, Brother; oval nestabilities die, SpellbindersHeadline alphabet die, Papertrey Ink; Cuttlebug, Provo Craft; star dust stickles, Ranger; mustard Zap! embossing powder, American Crafts; star wood veneer, Studio Calico; Crop-A-Dile Corner Chomper, We R Memory Keepers; dimensional adhesive; embossing heat gun; Inkssentials ink blending tool, Ranger

March 1, 2013

Paper Wings Productions' March Design Team Blog Hop


Hello there my friends,

I am so glad you could join me to celebrate the many splendid Winged Things for the Paper Wings Productions' March Blog Hop.  If you came from Carrie's blog you are in the right place.  If not, you will want to check out The Aviary to start at the beginning so you could win this:

All you need to do is:
  1. Be a follower of the Paper Wings Productions' blog, The Aviary;
  2. Visit each of the design team's blogs including our guest designer and leave them a little love; and
  3. Go back to The Aviary and leave a comment letting them know you completed the hop.
BONUS: For extra chances to win, just like the Paper Wings Productions' Facebook page and/or invite your friends to the hop. Then just come back and let us know ! Be sure to leave a separate comment for each of the additional entries.

The winner will be announced on Tuesday, March 5th on The Aviary.

You will also want to go through the blog hop to be inspired by the awesome design team's projects.  I have seen peeks and you will love them all!

Now on to my little Winged Things project.  When I thought of the "Winged Things" theme I decided I wanted to make something using the Wings stamp set (or Butterfly Wings) that would be uplifting...which is something I very much need at the moment. So I picked out a 8x10 canvas to make a little piece to hang in my studio. This size is great as it isn't too large or too small.


I recently received the Simon Says Stamp March 2013 Card Kit and I loved the happy designs and colors in the kit including the Daphne's Closet 6x6 papers by Lawn Fawn.  All of my colors came from those papers.


I stamped the set of butterfly wings on a different patterned paper and then gold embossed them.  I cut them out...luckily, they are an easy shape to cut.  I knew I wanted to make the body of the butterfly from the straws included in the kit and I made attenae with gold thread.  I rolled the edges of the wings to mold them and give them some dimension.


For the canvas I wanted something that the colors would pop off of.  I began by painting the canvas with gesso and then I used a toilet paper roll (who knew they could be so useful in the studio?!) to stamp black paint rings onto the canvas.  After the paint dried I added a light wash of gesso to the middle of the canvas just to soften the circles.  To the bottom edge I inked up the edge and then stamped the solid small circles from Single Dots Border in green.  To the top edge I inked up the edge and then stamped the outline small circles from Single Dots Border in fuschia.  For this application I was really happy with the haphazard stamping of clear stamps on canvas.  I added a frame with my gold leaf pen to pull in more gold (I can't get enough of it at the moment).


Next I went searching online for a quote I liked.  After finding a quote, I shopped my little Thickers collection for the right colors and different textures.  Of course the gold glitter Thickers came out...they seem to show up on everything I make right now.  I may have to start wearing them.  I also pulled out some neon letters from Heidi Swapp because I liked the color and shape.  I only altered the 1 by coloring black to make it stand out a bit more.  Just a note, the Thickers stick but move pretty easily.  I recommend that you adhere them permenantly with something like Glossy Accents, Diamond Glaze or even hot glue if you prefer.

 
After spelling out my quote I placed my butterflies on the canvas to figure out the placement.  I originally made 6 butterflies, but only ended up using 3 for this project.  I adhered the butterflies in place with glue dots and/or dimensional adhesive.  Lastly I added drops of sprays for added pops of color.  Easy peasy.  Just change up the colors, design and quote to suit your taste and style.


I hope this has inspired you to make something that will uplift you or someone else!  And remember to head on over to The Aviary for your chance to win.

For more uplifting ideas for Winged Things or if you get lost along the way here is the full list for the blog hop:

Heather Lynn Novinger - http://heathernovinger.blogspot.com/Dana Tatar - http://datatar.blogspot.com/
Tara Chaussee - http://secretbeesstudio.blogspot.com/
Norma Gomez - http://lilhoneybeestudios.blogspot.com/
Amber Rasmussen - http://sew-ink.blogspot.com
Carrie Avery - http://www.carrieavery.com/
Shay - http://verdigrishall.blogspot.com/  <-----You are here
The Aviary -  http://paper-wings-productions.blogspot.com/

Thank you so much for visiting! 

Happy hopping,
Shay.

Supplies:

Stamps: Wings or Butterfly Wings and Single Dots Border, Paper Wings Productions
Ink: VersaMark, Tsukineko; limeade ice and raspberry fizz, Papertrey Ink
Kit: March 2013 Card Kit includes 6x6 paper from Daphne's Closet by Lawn Fawn and paper straws, Simon Says Stamp
Other: detail metallic gold embossing powder, JudiKins; gesso, Claudine Hellmuth Studio by Ranger; metallic sequin black acrylic paint, Folk Art by Plaid; gold decorative sewing thread, Coats; gold glitter sunrise, orange chipboard flat, yellow foam Eric, pink chipboard bliss, green puffy honey Thickers, American Crafts; day glow neon letters, Heidi Swapp; sherbert, buttercup and Doris Mister Huey's Color Mists, Studio Calico; pink balloon sprinklers, October Afternoon; gold leafing pen, Elmer's; black fine point permenant marker, Sharpie; canvas

February 13, 2013

Lawnscaping Challenge No. 51: Be My Valentine!


Dear Reader,

I am back with another Lawnscaping Challenge entry.  This time it's all about Valentine's...Lawnscaping Challenge No. 51: Be My Valentine! 

I was inspired by the circle of hearts in the right hand corner and the colors of white, pink and chocolate.  Here is what I came up with:


I started out by cutting hearts from white tissue paper that I then spritzed with pink spray.  I arranged them on a piece of white cardstock and stamped the heart from Bee Mine on each heart.  I added some gold thread to the center and finished the heart flower with a gold embossed heart.  I stamped the herringbone/chevron stamp from Interlocking Backdrops in pale pink and stamped happy valentine's from Happy Everything in brown ink.  I then shook drops of pink and white spray onto the entire panel.  I adhered it all to the piece of chocolate brown cardstock gold embossed with the heart border from Belinda's Borders.

That's it from me tonight.  Thank you so much for stopping by and I hope your Valentine's day is filled with a whole lot of love and chocolate.

Happy creating,
Shay.

happy valentine's card
Supplies:
Stamps: Bee Mine, Belinda's Borders,  Happy Everything and Interlocking Backdrops, Lawn Fawn
Ink: VersaMark, Tsukineko; chewing gum and cough syrup, Jenni Bowlin for Ranger; cup o' joe mid-tone shadow ink, Hero Arts
Cardstock: dark chocolate, Papertrey Ink; white, Georgia Pacific
Other: detail metallic gold embossing powder, JudiKins; pink baloon Sprinklers, October Afternoon; calico white Mister Huey's Color Mists, Studio Calico; gold thread; white tissue paper; dimensional adhesive

January 30, 2013

Winter Wonderland: Lawnscaping Challenge No. 50


Dear Reader,

I am making a last minute entry into the Lawnscaping Challenge No. 50 Winter Wonderland.  Lawn Fawn is adorable and the ladies of Lawnscaping are adorable so how could I not be motivated to make something?

I also realized that this little number is going to be entered into Moxie Fab World's Make a Card with a Window Challenge (Challenge No. 60).  Love when these sort of serendipitous occurrences happen!

I am suddenly back into embossing and putting my embossing folder collection to work!  This morning I saw a video by My Craft Channel about embossing acetate and decided to give it a whirl.

Here is the card I cooked up:


Because I added dimensional adhesive behind the little reindeer you can see the white from inside the card, but it still looks pretty cute.  The gold embossing on the reindeer doesn't really show up too well...in real life it is a sweet little touch all colored in with Tim Holtz Distress Markers.

Perhaps you can see the gold a bit better here as well as the scene behind the acetate:


I used Let It Snow and Critters in the Snow by Lawn Fawn for this little number with lots of white embossing powder and Versamark on some unusual choices of paper from Basic Grey's Soleil 6x6 paper pad and the wood grain from Studio Calico's Heyday 6x6 paper pad.  With some additions of a Spellbinder's circle Nestabilities die and winter themed Cuttlebug embossing (I did sand it lightly to help the pattern show a bit better).

Here is a little better view of the embossed acetate:


And a last look at the card:


I am bit pressed for time so that's it from me tonight.

Thank you so much for stopping by to visit!

Happy creating,
Shay.

Let It Snow Snowglobe Card
Supplies:
Stamps: Let It Snow and Critters in the Snow, Lawn Fawn
Ink: Versamark, Tsuineko
Cardstock: Georgia Pacific
Patterned Paper: Soleil 6x6 paper pad, Basic Grey; Heyday 6x6 paper pad, Studio Calico
Other: opaque white embossing powder and detail metallic gold embossing powder, JudiKins; Tim Holtz Distress Markers, Ranger Ink; Corner Chomper, We R Memory Keepers; circle Nestabilities die, Spellbinders; embossing folder, Cuttlebug; acetate from packaging

January 22, 2013

Congratulations You Did It Graduation Card

Dear Reader,

I feel very blessed to have been named an honorable gnome for this past Lawnscaping Challenge (No. 49).  I was among a group of very talented stampers and you sure don't want to miss their entries.  Thank you to everyone who has commented on my card, it surely does brighten my day!

Now onto a bit of a companion card to the hybrid birthday card I shared with you Friday HERE.  I mentioned that I had Lawn Fawn's Dewey Decimal Petite Paper Pad out for a graduation card I made and this is that card.  The lad graduated from a college with the school colors of maroon and gold.  I found that one of the patterns in Dewey Decimal had a golden yellow and a maroon-like color in addition to aqua, teal, bright white and chocolate brown.  Perfect!  I also love the library/school theme to the Dewey Decimal which completely supports graduation and all the papers are from that paper pad.


I also pulled out several stamp sets from Papertrey Ink (mostly from the Tag-Its series which have great basic seasonal sentiments) to get some proper congratulatory sentiments.  I also tried out my Hero Arts Mid-Tone Shadow Ink in cup o'joe and butter bar...great coverage and color. Some finishing touches were gold washi to add a touch of the gold from the school colors (I added a strip of aqua and teal patterned paper over it because I didn't want *too* much gold) and a little teal lawn trimmings by Lawn Fawn which is a great accent for any gender.

Here is a more detailed shot of all the stamping and you can really appreciate the colors in that hexagon tile patterned paper (love!).


Inside the card in which I added a wide strip of some of my excess from the front of the card and stamping with the cup o'joe Hero Arts Shadow Ink along with aqua mist ink by Papertrey Ink:


That's a wrap on this card.  Thanks for stopping by to visit!

Happy creating,
Shay.

Congratulations You Did It Graduation Card
Supplies:
Stamps: Everyday Classics (retired limited edition); Tag-Its # 4; Tag-Its #6 and Fillable Frames #12, Papertrey Ink
Ink: cup o'joe and butter bar Mid-Tone Shadow Inks, Hero Arts; aqua mist, Papertrey Ink
Cardstock: white, Georgia Pacific
Patterned paper: Dewey Decimal Petite Paper Pad (6x6), Lawn Fawn
Other: Crop-A-Dile Corner Chomper, We R Memory Keepers; vivid triple pack cord lawn trimmings, Lawn Fawn; gold washi, Freckled Fawn (I think)

January 18, 2013

Dated: Hybrid Card for a Guy

Dear Reader,

How are you this fine Friday?   Exceedingly well I hope!

My mom was always big on sending birthday cards to family.  A few years ago I took over and began making handmade cards for my family (and friends although I was failed miserably last year...crash and burn style).

I am here today to share a masculine birthday card.  The first in a series I will be making this year.  Perhaps you remember the cards I made a couple of years ago which you can see again HERE (more than likely not)...I am using a similar philosophy this year as well.

I am a collector lover of digital products.  It is amazing the multitude of amazing designers out there.  It was actually a product by Designs by Lili (you may also know her as the designer of such marvels as Clementine Edition, Baby Editions, Jade Edition and Seasons Mini Kit of Project Life...she's good) that was the spark for this card's design (and those in the future).

Meet Date Circles 4 (Hint, hint: they and everything at The Lilypad (one of my favorite digital shops) are on sale this weekend--January 18-January 21, 2013):


Pretty darn cool, huh?  I love the dates, circular design and colors of these Date Circles 4.


I placed the images of all the months I needed onto a Word document and printed them out on a single sheet of white cardstock.  Our new printer is a little off in color (it must need adjustment) as the orange came out red and the red a little more of a pink-red, but regardless they are still cool.

I began with a white cardbase (my favorite) to begin the card.  I already had Lawn Fawn's Dewey Decimal petite paper pad (6x6 paper) out from another card (boy, this is has become a go-to paper collection) and I thought the aqua/teal would be great with the red January circle.  I also picked out a piece of patterned paper with numbers and circles from My Mind's Eye Miss Caroline collection (Dilly Dally "Celebrate" Token) in a wonderful grey...red, grey, white and aqua/teal a winning combination.  The red herringbone piece of paper came from Basic Grey's Clippings collection 6x6 paper pad.  All of these papers are cut into strips of various widths for interest and adhered to the cardbase.

I wanted to use the "happy birthday to you" from Studio Calico/Hero Arts stamp set Calico Borders and I also wanted to bring in more of the teal color.  I found to my delight that Tim Holtz Distress Ink by Ranger in evergreen bough is a perfect match.  I stamped it once on the teal strip and also on the red strip (it is hard to see but there subtly).

Using the reverse side of the My Mind's Eye Token paper (a cool ledger that coincidentally had the red and teal color too!), I stamped the woodgrain banners (woodgrain + banner = awesome) from the "Baby" stamp set from My Mind's Eye Miss Caroline Howdy Doody in wet cement Hero Arts Shadow Ink Mid-Tone, cut them out and adhered them together with my handy dandy Tim Holtz Tiny Attacher and then adhered them to the top left border of the card.


Lastly, I used the outline circle and solid circle from Cocoa Daisy's Day in the Life: Pick a Date Calendar stamp to highlight the day and year in the evergreen bough ink on red January calendar and then adhered it all to the card (making sure to cut off the overhang of the January circle) and I rounded the bottom right hand corner of the card.  By the way, check out Cocoa Daisy's stamps because they are pretty fantastic.


And there you have it, a personalized hybrid card for a guy (picture of the card in its natural habitat or place of origin aka my studio).


Thank you so much for taking the time to visit!

Have a brilliant weekend,

Shay.

Happy Birthday to You Birthday Card
Supplies:
Digital: Date Circles 4, Designs by Lili at The Lilypad
Stamps: Calico Borders, Studio Calico/Hero Arts; Baby from Miss Caroline collection, My Mind's Eye; A Day in the Life: Pick a Date Calendar stamp, Cocoa Daisy
Ink: evergreen bough, Tim Holtz Distress Ink by Ranger; wet cement, Hero Arts Shadow Ink Mid-Tone
Cardstock: solar white, Neenah Papers; white, Georgia Pacific
Patterned Paper: Dewey Decimal Petite Paper Pad, Lawn Fawn; Clippings 6x6 Paper Pad, Basic Grey; Token from Dilly Dally "Celebrate" Miss Caroline collection, My Mind's Eye
Other: Tiny Attacher, Tim Holtz; Crop-A-Dile Corner Chomper, We R Memory Keepers 

January 16, 2013

Let's Party: Lawnscaping Challenge No. 49

Dear Reader,

In the effort to thicken my skin, push myself out of my comfort zone, develop my skills and use some of the new Lawn Fawn stamps I received for the holidays, I am entering a Lawnscaping Challenge for the first time.  That and I have been meaning to do it for ages now because it features adorable and clever projects. 

Lawnscaping Challenge No. 49 is all about celebrating Lawnscaping's birthday.


My inspiration came from the movie "Up" which I happen to love.  What is more fun than a house with a huge amount of pretty balloons allowing it to float in the sky? 


My color scheme came from a patterned paper from Studio Calico's (along with Tim and Beck aka Sassafras) Heyday 6x6 paper pad.  I stamped the house in brown sugar by Jenni Bowlin for Ranger from Sweet Christmas and then colored in sections of the house using Distress Markers. 

For the background I stamped a piece of white cardstock with the clouds from Sunny Skies in speckled egg by Jenni Bowlin for Ranger.  For a paler color on the background I stamped all the clouds after stamping off on a piece of scrap paper.  The scallop border is a border from Belinda's Borders that I felt mimiced the scallop design found on the patterned paper of the house that I stamped in brown sugar by Jenni Bowlin for Ranger on a piece of Crush paper from Studio Calico's Heyday collection.  I adhered it to the back of the cloud paper.

The balloons from Admit One are colored in with Distress Markers and highlighted a bit with a white Signo Uniball pen.  I like how the coloring looks streaky which somehow reminds me of a real balloon.  I attached the balloons to the card and drew in strings with my vintage photo Distress Marker.  I adhered the house on with foam adhesive.

The cloud panel was then adhered to a piece of orange cardstock (Stampin' Up! I believe).  The sentiment is from Sophie's Sentiments that I embossed using Tsukineko's VersaMark ink and opaque white embossing powder by JudiKins.

Here is a little more of a detailed shot of the card.  I think it turned out pretty cute and could work as an invitation or a birthday card (or any sort of celebratory event in fact).


 Happy birthday, Lawnscaping and I hope you enjoy many more years of challenges to come!

Thank you so much for taking the time to visit.

Happy creating,

Shay.

Let's Celebrate card
Supplies:
Ink: speckled egg and brown sugar, Jenni Bowlin for Ranger; VersaMark, Tsukineko
Cardstock: white, Georgia Pacific; orange, Stampin' Up!
Patterned Paper: Crush from Heyday collection and Heyday 6x6 paper pad, Studio Calico
Other: Tim Holtz Distress Markers, Ranger; white Signo pen, Uniball; opaque white embossing powder, JudiKins; foam adhesive, American Crafts

December 6, 2012

Lawn Fawn's 2013 Winter CHA Challenge: ABCs

Dear Reader,

I am once again attempting Lawn Fawn's Winter CHA challenge.  For a flashback of last year's entries go HERE.

This time around I took on their ABCs (alphabets).  I went with something a bit different and graphic in monotones. I can see myself playing around for more variations and patterns.


My first card uses the "w" from Quinn's ABCs to create a cool pattern.  The sentiment was built using Smitty's ABCs and I wanted to play off the "w" by including the word why.


Here is another shot to see the pattern and dimension a little better:


Next, I took on the letter "x" from Quinn's ABCs to again create a great background.  X is perfect for xmas so I stamped, cut out, colored in and then added some Martha Stewart glitter glue in turquoise and gold to the "merry mas" all from Quinn's ABCs.  To make the one "x" stand out I did not color it in.


One more picture to see the pattern, dimension and glitter (although it is more glittery in person):


I think they turned out pretty cute and a fun way to use some of my favorite alphabet stamp sets.

Happy creating,
Shay.

Supplies:
why, hello card
stamps: Quinn's ABCs and Smitty's ABCs, Lawn Fawn
ink: seed packet, Jenni Bowlin for Ranger
cardstock: white, Georgia-Pacific; dark green from stash
Copics: YG11 Mignonette
other: embroidery floss


merry xmas card
stamps: Quinn's ABCsLawn Fawn
ink: spice tin, Jenni
cardstock: white, Georgia-Pacific; Night of Navy, Stampin' Up!
Copics: Bo1 Mint Blue and BG07 Petroleum Blue
other: turquiose and gold glitter glue, Martha Stewart Crafts

January 11, 2012

Clean & Simple Card Making: Lessons 1 & 2

Dear Reader,

I am currently enrolled in the Clean & Simple Card Making class at Online Card Classes.  Last night when I should have been going to sleep (in fact I put the dogs to bed and they happily slept without me), I went into the studio to catch up on the videos for the class and try my hand at the lessons.  I was really inspired by Julie Ebersole's (I really loved her video and I hope she does more videos in which she talks as she has such great energy and an infectious laugh) one layer cards so I tried my hand at that first.


This card should have been a breeze and once I figured out exactly what I wanted to do, it was.  With full disclosure, I ended up making it 3 times.  The first time I used too heavy of a hand with the background and hearts.  The second time it turned out well with a simpler background and only one heart, but I didn't like the size of the card.  The last time was the charm.

I wanted to create a Valentine's card with the cute plane from Bon Voyage by Lawn Fawn and have a banner sign being pulled by it with a customized sentiment.  I love all of the abcs by Lawn Fawn as they are designed to make it easy to stamp any word or sentiment you desire.  I wanted to stamp "sending" so I used my Smitty's ABCs and paired that with the sweet "love" from Sophie's Sentiments (suggestion: if you are new to Lawn Fawn start with Sophie's Sentiments along with whatever other stamp sets catch your fancy) and then added a little heart from Cruising Through Life in red for a little interest and drama (in the future I may fill in the heart with stickles or just a marker or emboss it, but I wanted this card to be a simple stamp and ink card).  The banner is a two sided ribbon banner from Bannerific, but I wanted one side to be plain so I simply removed the ink from one edge of the inked up stamp and once stamped filled in the area with a marker as I wanted it and added the attachment to the plane.  I stamped the banner and plane first, then masked them off before stamping the cloud background.  Lastly, I rounded the bottom right corner.


The second card I made uses one of the simple sketches by Kristina Werner.  I needed a masculine birthday card so I grabbed my Oxford 6x6 patterned paper pad by Basic Grey.  Stuck in there was a strip of the claret colored paper I had left over from a previous card so that was my jumping off point.  I began with a white card and stamped the Dash Pattern background stamp by Basic Grey/Hero Arts, but after adding the plaid strip of paper over the claret the white wasn't right so I colored all the white cardstock using my Antique Linen Distress Ink.  As my card is for a relative that has an interest in cars I used the vintage car from the Going stamp set by Hero Arts on a circle cut using a Spellbinders' die and also decided to also use the "to arrow" image in the set for further interest and to begin a sentiment.  I embossed the "to arrow" stamp and filled in the unembossed section with Shabby Shutters Distress Ink with white embossing powder, but since I changed the color scheme away from bright white I colored over the white embossed image with some Copic markers.  Usually I would have used some dimensional adhesive on a card, but I wanted to go away from my usual modus operandi (can you tell I have been reading some mystery novels?) on this card.  I added a "u" sticker from Studio Calico and rounded the bottom corners of the card.

Thanks for stopping by! 

Happy creating,
Shay.


{sending love card}
stamps: (sending)smitty's abcs, (plane&cloud)bon voyage, (heart)cruising through life, (love)sophie's sentiments; banner(bannerific), Lawn Fawn
ink: tuxedo black, Memento; soap powder & cough syrup, Jenni Bowlin for Ranger
cardstock: white, Georgia Pacific
marker: soft black memory marker, American Crafts
other: crop-a-dile corner chomper, We R Memory Keepers

{to u card}
stamps: (to arrow&car)going, Hero Arts; dash pattern, Basic Grey/Hero Arts
ink: tuxedo black, Memento; shabby shutter, antique linen & black soot, Tim Holtz Distress Ink by Ranger; weather vane, Jenni Bowlin for Ranger; versamark, Tsukineko
embossing powder: opaque white, Judi Kins
cardstock: white, Georgia Pacific
patterned paper: oxford 6x6 paper pad, Basic Grey
markers: Copic
die: from nesties classic & standard circles nestabilities set, Spellbinders
stickers: u from documentary collection alphabet stickers, Studio Calico
other: crop-a-dile corner chomper, We R Memory Keepers; cuttlebug, Provo Craft

LinkWithin

Related Posts with Thumbnails