Showing posts with label valentine's. Show all posts

February 13, 2013

Lawnscaping Challenge No. 51: Be My Valentine!


Dear Reader,

I am back with another Lawnscaping Challenge entry.  This time it's all about Valentine's...Lawnscaping Challenge No. 51: Be My Valentine! 

I was inspired by the circle of hearts in the right hand corner and the colors of white, pink and chocolate.  Here is what I came up with:


I started out by cutting hearts from white tissue paper that I then spritzed with pink spray.  I arranged them on a piece of white cardstock and stamped the heart from Bee Mine on each heart.  I added some gold thread to the center and finished the heart flower with a gold embossed heart.  I stamped the herringbone/chevron stamp from Interlocking Backdrops in pale pink and stamped happy valentine's from Happy Everything in brown ink.  I then shook drops of pink and white spray onto the entire panel.  I adhered it all to the piece of chocolate brown cardstock gold embossed with the heart border from Belinda's Borders.

That's it from me tonight.  Thank you so much for stopping by and I hope your Valentine's day is filled with a whole lot of love and chocolate.

Happy creating,
Shay.

happy valentine's card
Supplies:
Stamps: Bee Mine, Belinda's Borders,  Happy Everything and Interlocking Backdrops, Lawn Fawn
Ink: VersaMark, Tsukineko; chewing gum and cough syrup, Jenni Bowlin for Ranger; cup o' joe mid-tone shadow ink, Hero Arts
Cardstock: dark chocolate, Papertrey Ink; white, Georgia Pacific
Other: detail metallic gold embossing powder, JudiKins; pink baloon Sprinklers, October Afternoon; calico white Mister Huey's Color Mists, Studio Calico; gold thread; white tissue paper; dimensional adhesive

February 10, 2013

Papertrey Ink's 6th Anniversary: Sketch Challenge

Dear Reader,

I am back with a couple of cards I created using the card sketches over on Nichole Heady's blog for Papertrey Ink.  You can find the sketches HERE.  I decided to try my hand at Sketch No. 2 and Sketch No. 3. 


For Sketch No. 2 I was immediately reminded of the free printable by Heather Nichols that I had not yet had an opportunity to use.  I also happened to have a piece of vellum I had cut earlier in the day using the doubled-ended banner die from vellum and from there this card practically made itself!  I embossed birthday from Botanical Silhouettes with white embossing powder and then I inked the vellum with spring rain and aqua mist inks to get it the light happy blue that mimicked the blue I was covering up on the printable.  I folded the banner for more dimension and that made it easier to attach to the printable without seeing the adhesive.  The printable is adhered using dimensional adhesive to a kraft panel that I notched with 3/4" circle punch on each side.  I tied some hemp twine around the notches and adhered the kraft panel to a white card base with dimensional adhesive.


For Sketch No. 3 I decided to use the XOXO border die to create the v pattern.  I cut the XOXO four times from dark chocolate, pure poppy, raspberry fizz and hibiscus burst card stock.  I love that one of the remnants from the die are several dots.  I used one of each color dot on the bend of the v which I adhered with dimensional adhesive.  I then added a little bling onto each dot.  For the last touch to the card I stamped the sentiment in raspberry fizz ink from Heart Prints.

And there you have it.  I hope you had a delightful weekend and that your Monday is a brilliant beginning to your week.

Thank you so much for visiting!

Happy creating,
Shay.

Supplies:
Stamps: Botanical Silhouettes (limited edition) and Heart Prints, Papertrey Ink
Ink: VersaMark, Tsukineko; spring rain, aqua mist and raspberry fizz, Papertrey Ink
Cardstock: white, Georgia Pacific; white (printable), Neenah Paper; kraft, dark chocolate, pure poppy, raspberry fizz and hibiscus burst, Papertrey Ink
Paper: vellum
Other: opaque white embossing powder, JudiKins; double-ended banners die, Papertrey Ink; 3/4" circle punch, Stampin' Up!; hemp twine; dimensional adhesive; XOXO border die, Papertrey Ink; clear jewels

February 8, 2013

A Peek at What's Featured on The Aviary

Dear Reader,

You can find me today blogging on Paper Wings Productions' blog, The Aviary.  I am featuring handmade Valentines like those given and received in elementary school.  I have such warm and happy memories of them and thought I would whip some up for family and friends.

Here are some peeks:


To see more please visit The Aviary.
 
Thank you for taking the time to visit!

Happy creating,
Shay.

February 6, 2013

Papertrey Ink's 6th Anniversary Free Designer Printables: Maile Belles

Dear Reader,

I am back again with another Papertrey Ink's 6th Anniversary celebratory project.  Today, February 6th, is all about the stamp/product designers and they have an offering of a free printable to use for a chance to win a set of personalized stamps!  Pretty cool if you ask me.  For more information check HERE.

I had a hard time picking one.  I started with the oh so pretty printable by the uber-gifted Maile Belles and tried doing something clean and simple in honor of Ms. Belles


Our new printer is a bit off on color printing as you may well see, but it is a lovely design.  I stamped one of the frames from Mat Stack 1 Collection (I believe Maile Belles did this at one point with a frame). several times to create a larger decorative medallion in soft stone ink.  I cut out the printable using the Limitless Layers: 1 3/4" circle dies (because my cutting was slightly wonky I inked the edges with grey and a little brown ink)that I then adhered with dimensional adhesive over the medallion .  I had a leftover heart punch (from a coffee stained manila tag) that I placed slightly under the the printable and I finished it off with a sticker from EK Success.

A detailed shot:

 
I really like how this pretty little number turned out.  Thank you, Maile Belles!
 
Thank you so much for stopping by to visit!
 
Happy creating,
Shay.

A Little Thing Called Love Card
Supplies:
Printable: Maile Belles/Papertrey Ink
Stamp: Mat Stack 1 Collection: Papertrey Ink
Ink: soft stone, Papertrey Ink
Cardstock: Georgia Pacific and Neenah Paper
Other: Limitless Layers: 1 3/4" circle dies, Papertrey Ink; heart punch, Stampin' Up!; coffee stained manila tag, stash; heart dimensional stickers, EK Success

February 1, 2013

Paper Wing Productions' February Design Team Blog Hop


Dear Reader,

You are in for a sweet treat.  Today is February's Paper Wings Productions Design Team Blog Hop and we are celebrating love of course!

If you are here from Amber's blog then you are in just the right place.  If you lost your way start at The Aviary where one lucky follower will win this fabulous blog candy and the chance to be featured as a guest designer in a future hop!!!


All you need to do is:
  1. Be a follower of the Paper Wings Productions blog, The Aviary;
  2. Visit each of the design team's blogs including our guest designer and leave them a little love; and 
  3. Go back to The Aviary and leave a comment letting them know you completed the hop. 
BONUS: For extra chances to win, just like the Paper Wings Productions Facebook page and/or invite your friends to the hop. Then just come back and let us know! Be sure to leave a separate comment for each of the additional entries.

The winner will be announced on Tuesday, February 5th on The Aviary.

Since you already have stopped off at many of the design team member's blogs you know how talented they all are and it is an honor to be featured amongst them.

I thought about what would make my home feel loved and I came up with a little love banner.  I chose the colors of raspberry, white, aqua, denim blue, chocolate brown and gold.  I designed the whole banner around the gorgeous elaborate frame from the Dia De Los Muertos Mujer stamp set.


I went all out girlie with this project...pink, hearts, gold, doilies and sequins to name a few feminine touches.  I know this picture isn't very detailed (and the color is just a wee bit off)...don't worry you can see each panel better if you keep on reading.

Here's how I made the banner:

I embossed the frame 4 times with gold embossing powder (it is so lovely in gold) onto a piece of raspberry pink patterned paper.  These pink panels were adhered with foam adhesive to a brown polka dot panel that has a strip of gold washi on them and kraft photo corners on each corner.  Under the brown panel are halves of doilies placed on each side.  I adhered my brown panels to blue panels.  I punched a hole in the top left and right corners of the blue panels to weave my gold ribbon through.

To decorate each of the pink panels I added a chipboard letter I embossed in gold using the handwriting from Writings Backgrounds or Writing and then I inked the letters with brown ink and sprayed them with mist in a blue for a cool resist.  The heart already has a resist pattern on it so I simply sprayed it with the same mist and then inked edges with brown. I adhered the letters and heart (happily they all already had adhesive on them) to their respective pink panels.

I then stamped in brown ink the double sided banner twice from Tabs and Banners onto blue striped patterned paper and cut each in half, inking the edges with brown ink.  I added each piece of the banner with my Tiny Attacher to the pink panel and finished it off with a heart sticker.  My last bit of embellishment was to add a sprinkle of iridescent brown sequins (using mini glue dots made this easy).

Now for more detailed shots of each panel (with better color too):

First up "L":


See what I mean about that gold embossed frame from the Dia De Los Muertos Mujer stamp set?  Stunning!

The heart "O":


"V":


And "E":


And there you have it, a very pretty banner to add to your home decor this Valentine's Day or to gift to a friend or family member.

Make sure to head on over to Carrie's blog next!

Here is the complete line up just in case you get lost along the way:

Lisa Fish - http://indymermaid.blogspot.com/
Dana Tatar - http://datatar.blogspot.com/
Norma Gomez - http://lilhoneybeestudios.blogspot.com/
Tara Chaussee- http://secretbeesstudio.blogspot.com/
Amber Rasmussen - http://sew-ink.blogspot.com
Shay - http://verdigrishall.blogspot.com/ <===You are here
Carrie Avery - http://www.carrieavery.com/
Paper Wings Productions' blog, The Aviary­ - http://paper-wings-productions.blogspot.com/

Thank you so much for joining me today and I hope your day is full of love!

Happy creating,
Shay.

Love Banner
Supplies:
Stamps: Dia De Los Muertoes Mujer, Writings Backgrounds or Writing, Tabs and Banners, Paper Wings Productions
Ink: Versamark, Tsukineko; Tim Holtz Distress Ink in brushed corduroy, Ranger Ink
Patterned Paper: Pretty Paper "Full of Flowers" and Hattie "Buddies" from Stella and Rose, My Mind's Eye; Conference Call and Dress Code from Ready Set Go, Amy Tangerine/American Crafts
Other: heart Artisan Chipboard, Pink Paislee; chipboard letters, the Paper Studio; lagoon Sprinklers, October Afternoon; gold washi; detail metallic gold embossing powder, JudiKins; Tiny Attacher; hearts stickers, EK Success; brown sequins; 4" doilies, Hobby Lobby; kraft photo corners; gold wired ribbon

January 30, 2013

A Peek at What's Up at The Aviary

Dear Reader,

Today you can find me blogging away on The Aviary doing a masculine spin on Valentine's Day cards.  Here is a peek (or two) and for more information please visit The Aviary.


Also, make sure to check out the The Aviary this Friday for another Blog Hop bursting with love themed inspiration!

Thank you so much for visiting!

Happy creating,
Shay.

January 11, 2012

Clean & Simple Card Making: Lessons 1 & 2

Dear Reader,

I am currently enrolled in the Clean & Simple Card Making class at Online Card Classes.  Last night when I should have been going to sleep (in fact I put the dogs to bed and they happily slept without me), I went into the studio to catch up on the videos for the class and try my hand at the lessons.  I was really inspired by Julie Ebersole's (I really loved her video and I hope she does more videos in which she talks as she has such great energy and an infectious laugh) one layer cards so I tried my hand at that first.


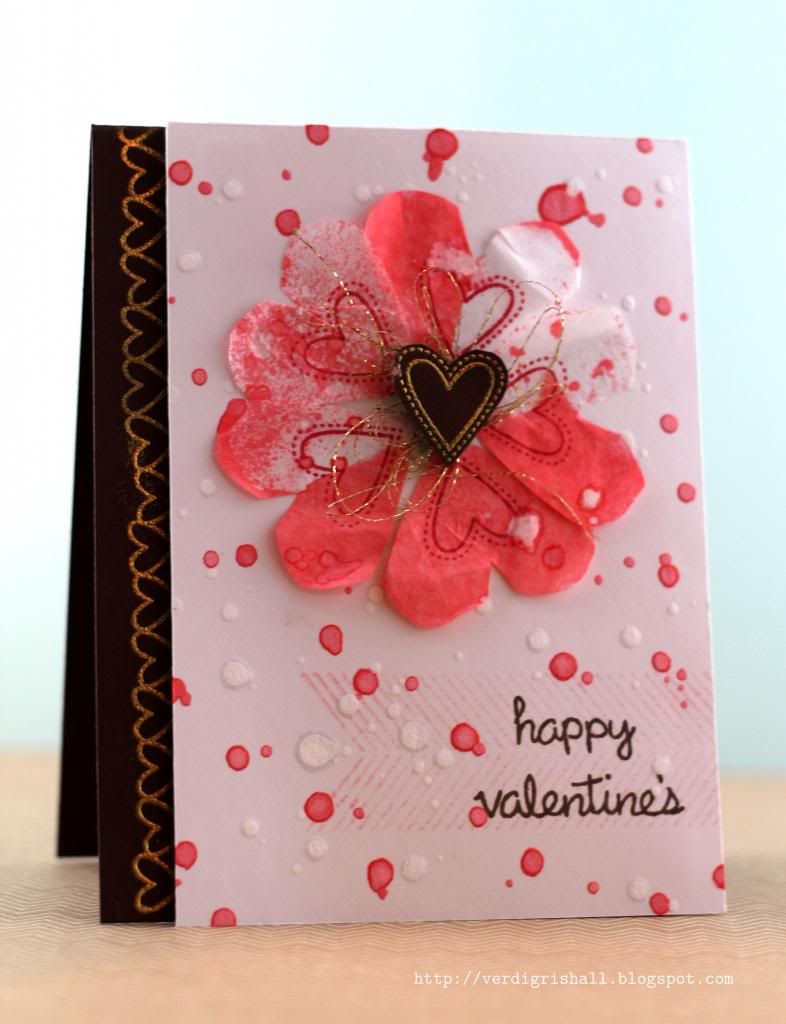
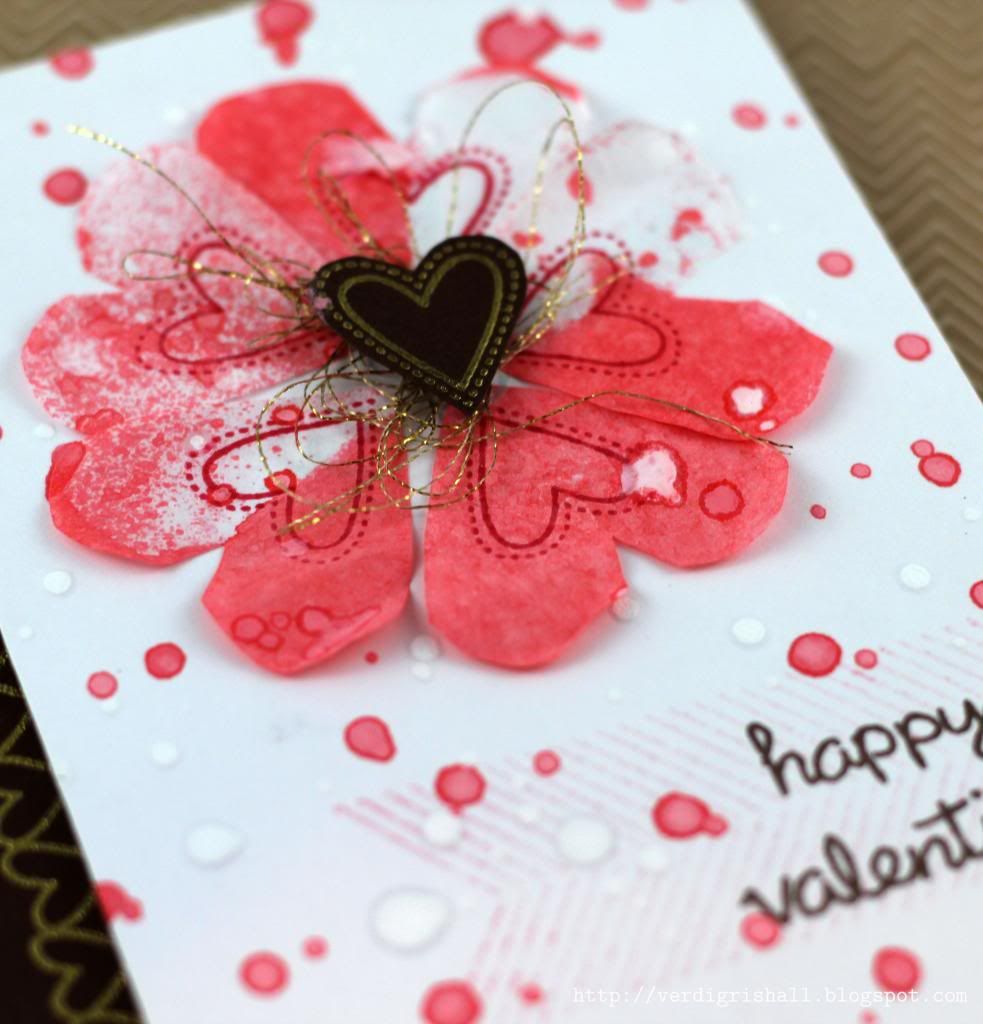
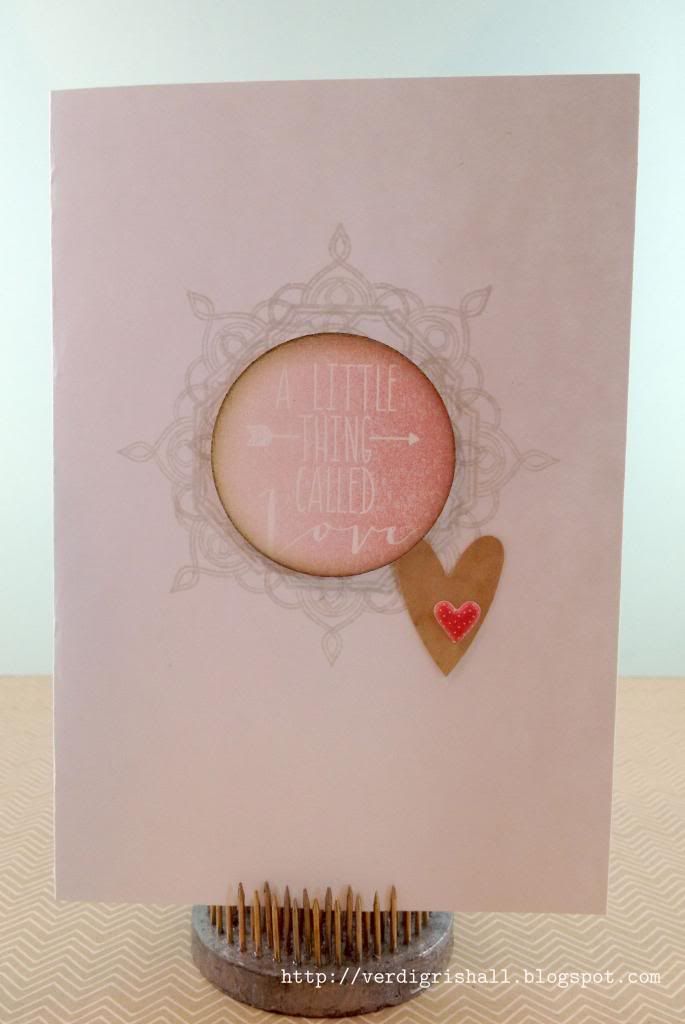
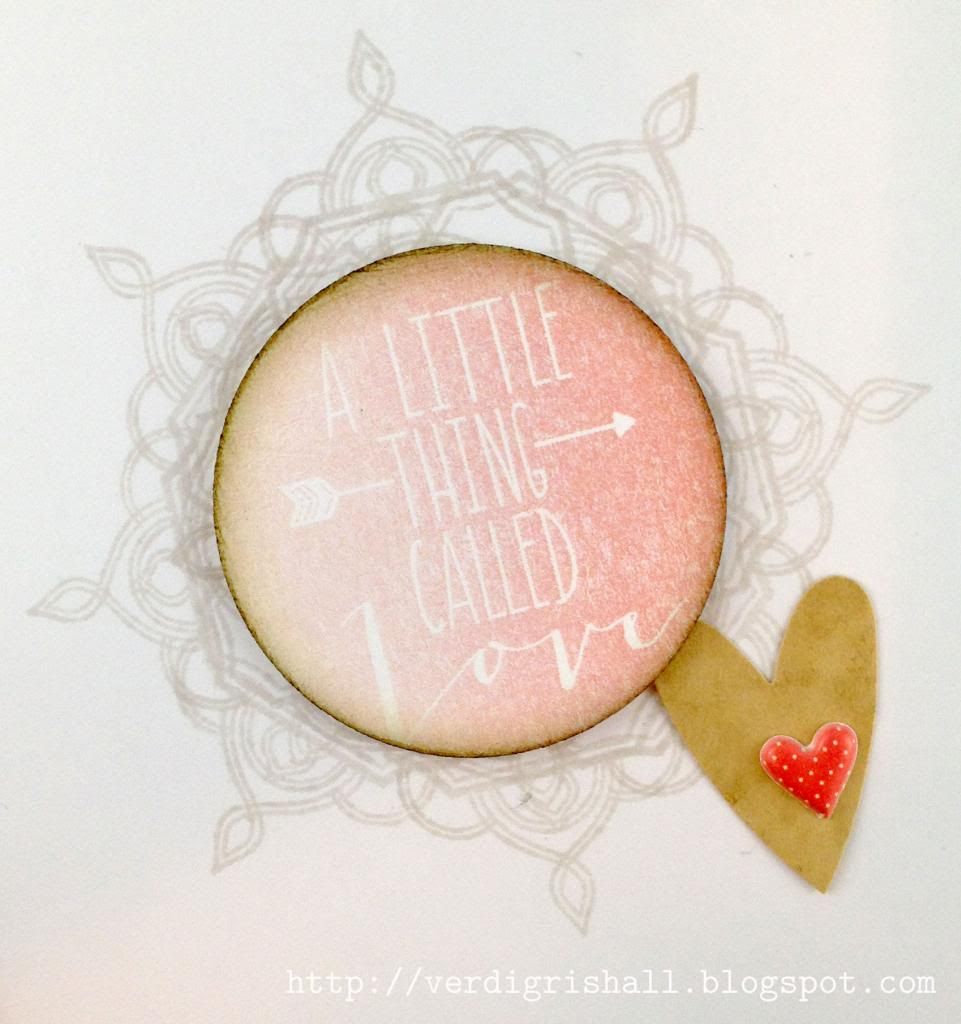
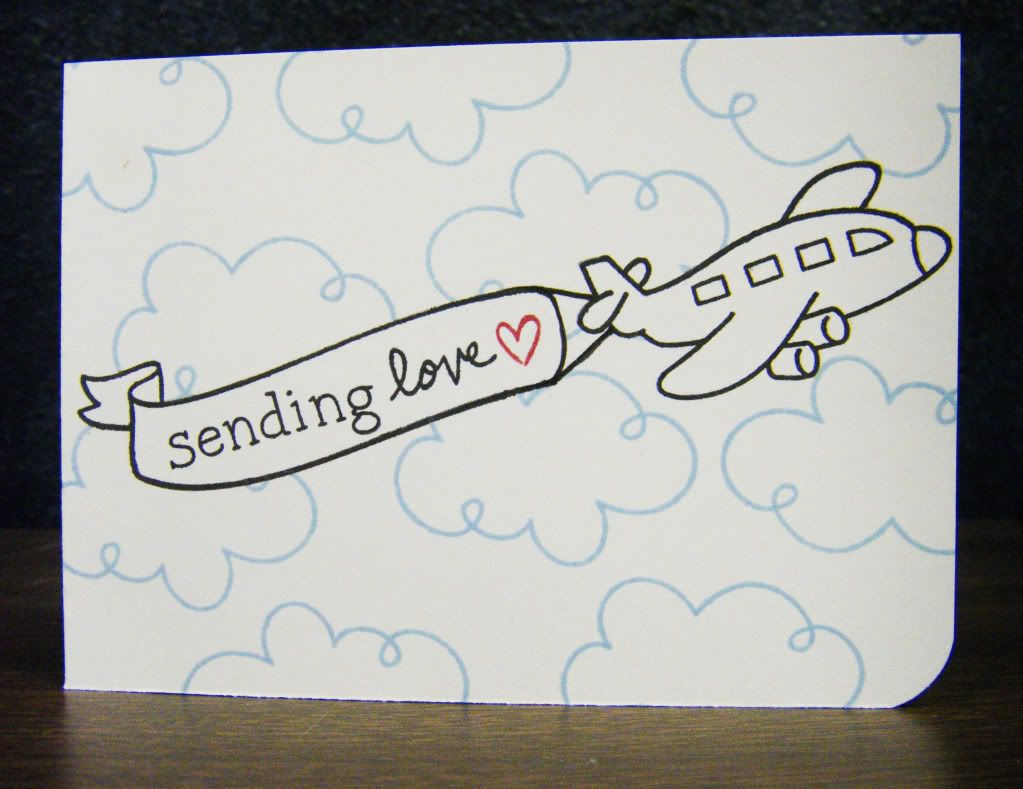
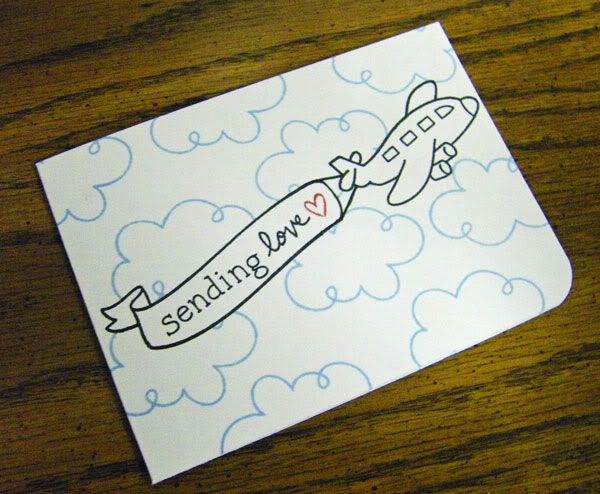
This card should have been a breeze and once I figured out exactly what I wanted to do, it was.  With full disclosure, I ended up making it 3 times.  The first time I used too heavy of a hand with the background and hearts.  The second time it turned out well with a simpler background and only one heart, but I didn't like the size of the card.  The last time was the charm.

I wanted to create a Valentine's card with the cute plane from Bon Voyage by Lawn Fawn and have a banner sign being pulled by it with a customized sentiment.  I love all of the abcs by Lawn Fawn as they are designed to make it easy to stamp any word or sentiment you desire.  I wanted to stamp "sending" so I used my Smitty's ABCs and paired that with the sweet "love" from Sophie's Sentiments (suggestion: if you are new to Lawn Fawn start with Sophie's Sentiments along with whatever other stamp sets catch your fancy) and then added a little heart from Cruising Through Life in red for a little interest and drama (in the future I may fill in the heart with stickles or just a marker or emboss it, but I wanted this card to be a simple stamp and ink card).  The banner is a two sided ribbon banner from Bannerific, but I wanted one side to be plain so I simply removed the ink from one edge of the inked up stamp and once stamped filled in the area with a marker as I wanted it and added the attachment to the plane.  I stamped the banner and plane first, then masked them off before stamping the cloud background.  Lastly, I rounded the bottom right corner.


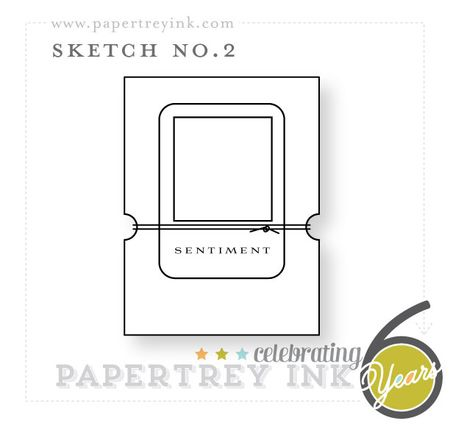
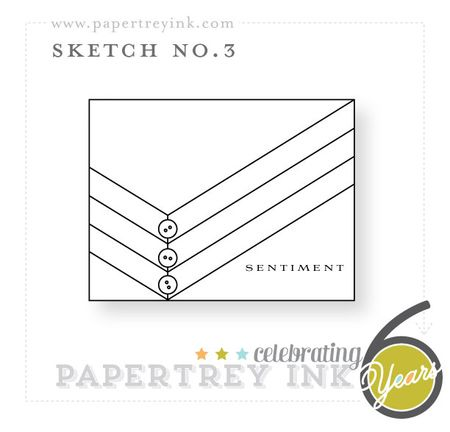
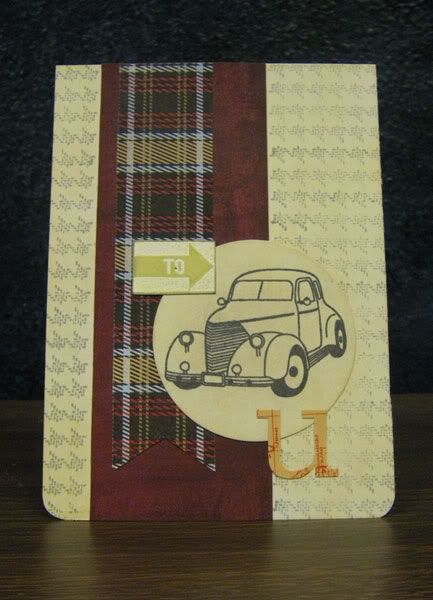
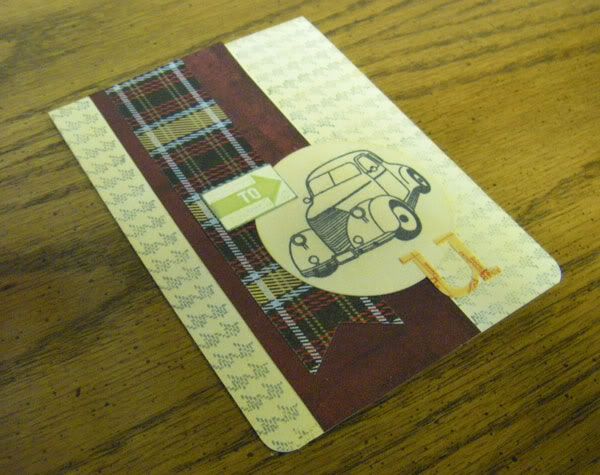
The second card I made uses one of the simple sketches by Kristina Werner.  I needed a masculine birthday card so I grabbed my Oxford 6x6 patterned paper pad by Basic Grey.  Stuck in there was a strip of the claret colored paper I had left over from a previous card so that was my jumping off point.  I began with a white card and stamped the Dash Pattern background stamp by Basic Grey/Hero Arts, but after adding the plaid strip of paper over the claret the white wasn't right so I colored all the white cardstock using my Antique Linen Distress Ink.  As my card is for a relative that has an interest in cars I used the vintage car from the Going stamp set by Hero Arts on a circle cut using a Spellbinders' die and also decided to also use the "to arrow" image in the set for further interest and to begin a sentiment.  I embossed the "to arrow" stamp and filled in the unembossed section with Shabby Shutters Distress Ink with white embossing powder, but since I changed the color scheme away from bright white I colored over the white embossed image with some Copic markers.  Usually I would have used some dimensional adhesive on a card, but I wanted to go away from my usual modus operandi (can you tell I have been reading some mystery novels?) on this card.  I added a "u" sticker from Studio Calico and rounded the bottom corners of the card.

Thanks for stopping by! 

Happy creating,
Shay.


{sending love card}
stamps: (sending)smitty's abcs, (plane&cloud)bon voyage, (heart)cruising through life, (love)sophie's sentiments; banner(bannerific), Lawn Fawn
ink: tuxedo black, Memento; soap powder & cough syrup, Jenni Bowlin for Ranger
cardstock: white, Georgia Pacific
marker: soft black memory marker, American Crafts
other: crop-a-dile corner chomper, We R Memory Keepers

{to u card}
stamps: (to arrow&car)going, Hero Arts; dash pattern, Basic Grey/Hero Arts
ink: tuxedo black, Memento; shabby shutter, antique linen & black soot, Tim Holtz Distress Ink by Ranger; weather vane, Jenni Bowlin for Ranger; versamark, Tsukineko
embossing powder: opaque white, Judi Kins
cardstock: white, Georgia Pacific
patterned paper: oxford 6x6 paper pad, Basic Grey
markers: Copic
die: from nesties classic & standard circles nestabilities set, Spellbinders
stickers: u from documentary collection alphabet stickers, Studio Calico
other: crop-a-dile corner chomper, We R Memory Keepers; cuttlebug, Provo Craft

LinkWithin

Related Posts with Thumbnails