January 12, 2012

Ladies with Sass


Dear Reader,

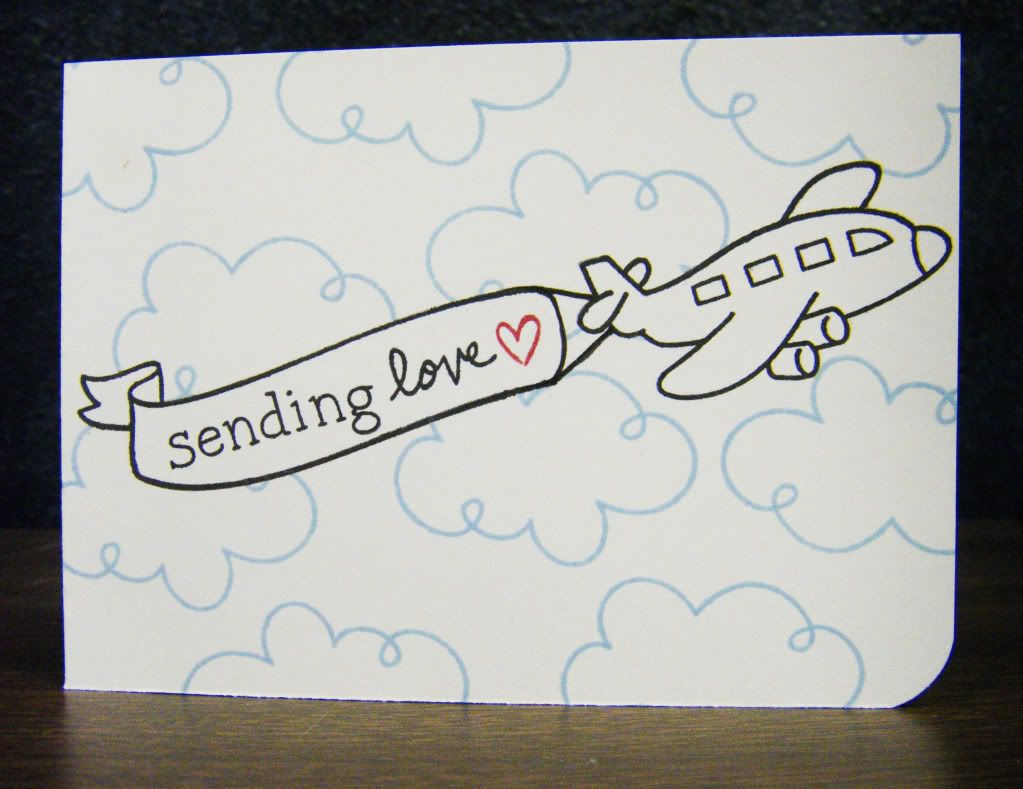
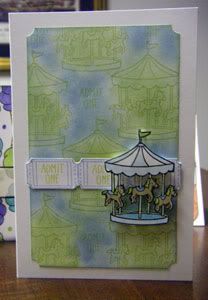
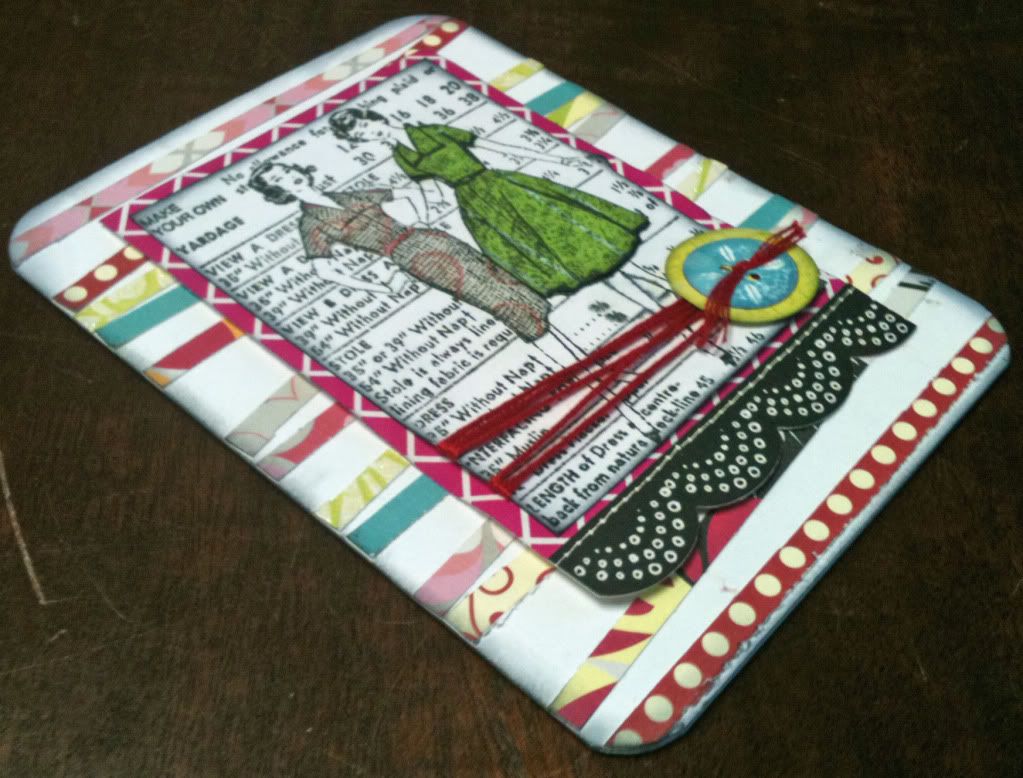
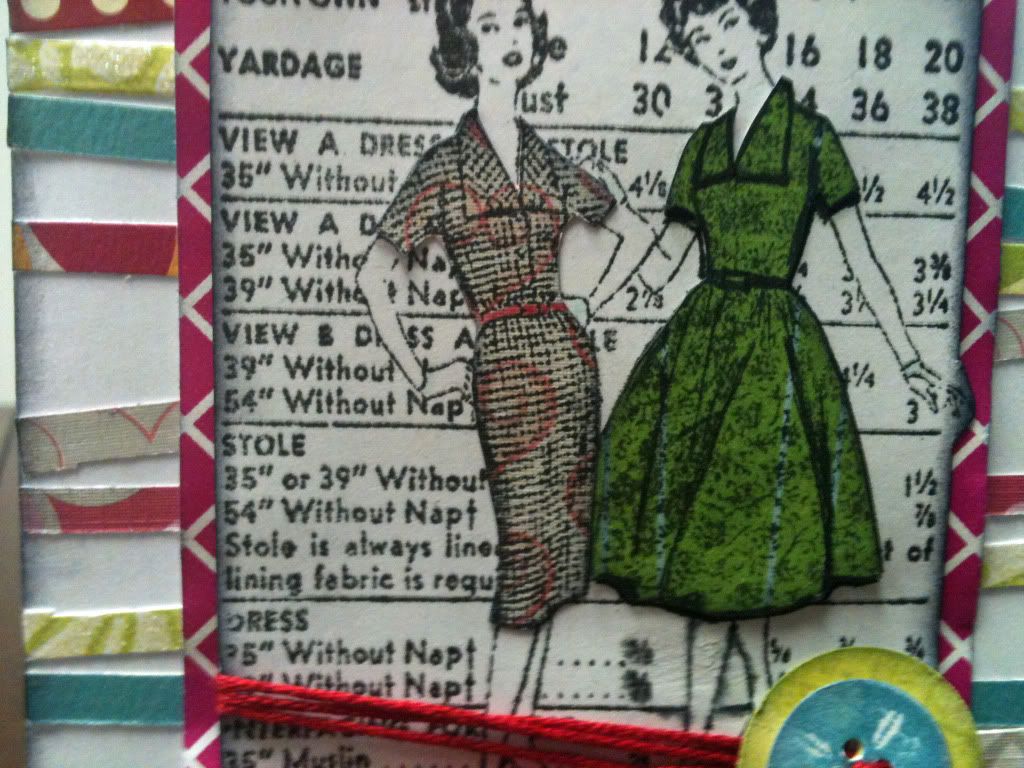
I have a card to share with you today.  It is a snappy little number with a matching envelope. I made this birthday card for my college aged cousin so I wanted something fun, a bit funky, but with a fashion theme.  I went with the Make Your Own stamp by Hero Arts and used up a lot of strips of scraps I had on hand of bright and fresh patterned paper to create a background and also to paper piece the ladies' dresses.  The button image is a stamp from Button Boutique by Papertrey Ink.


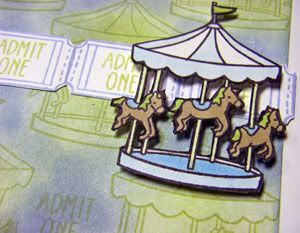
Norma Desmond time (every time I think close up I see that scene: "All right, Mr. DeMille, I'm ready for my close-up."):
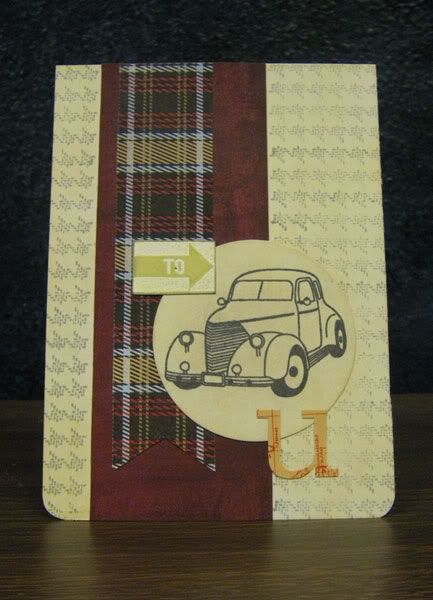
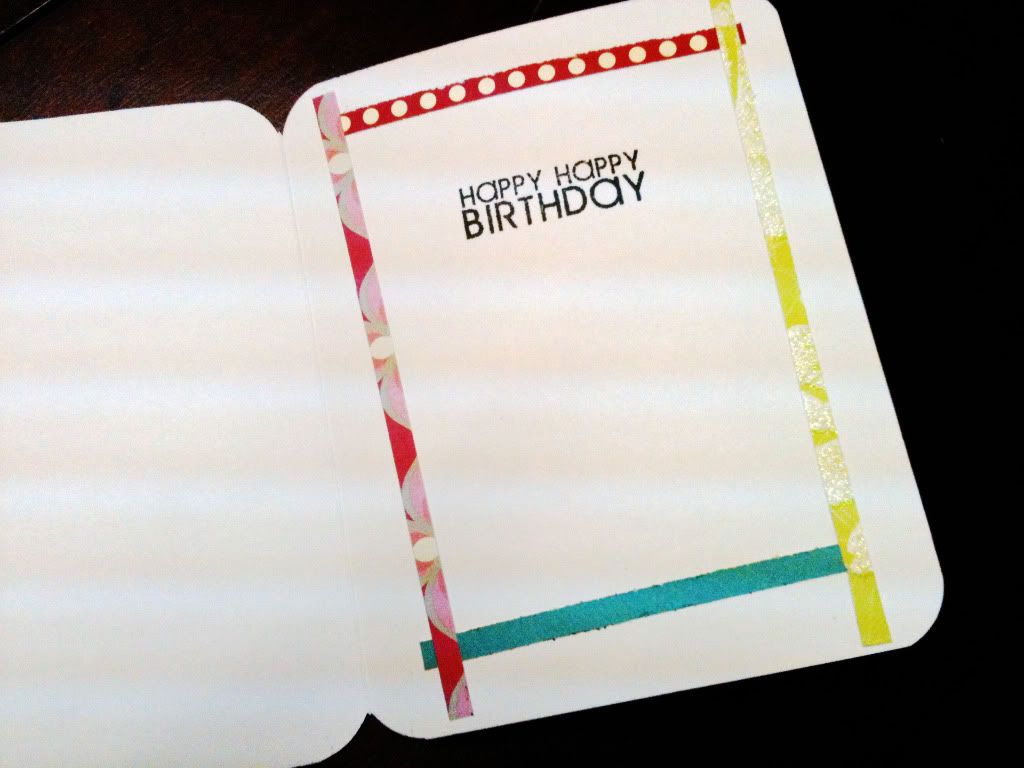

Inside:


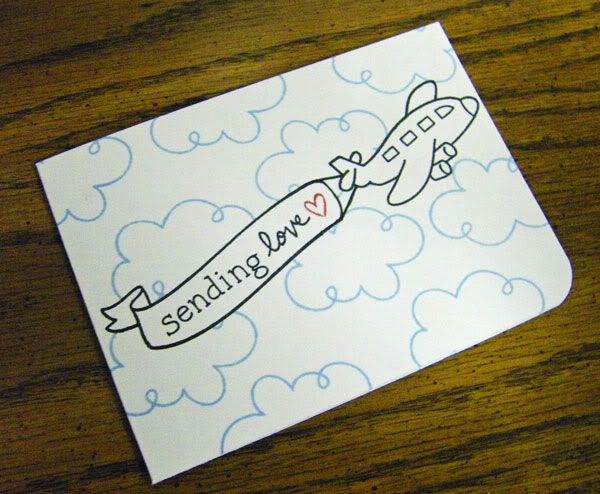
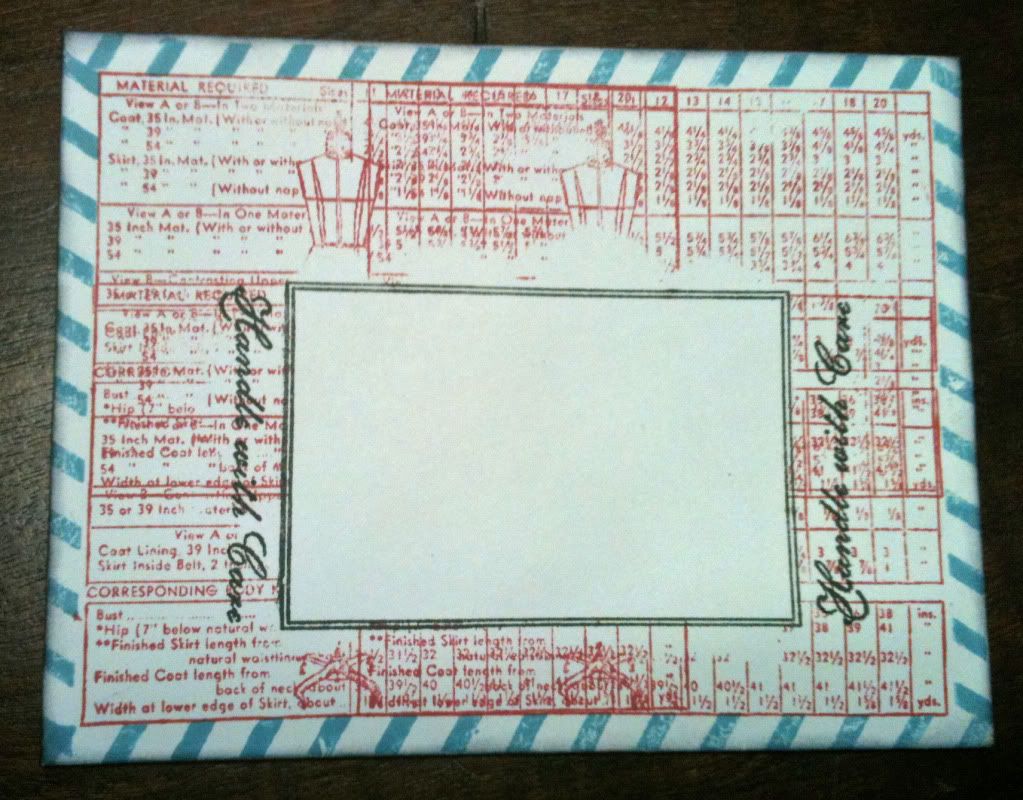
Last year, when time permitted I would try to create matching envelopes for my cards as I love that something extra a decorated envelope gives. 

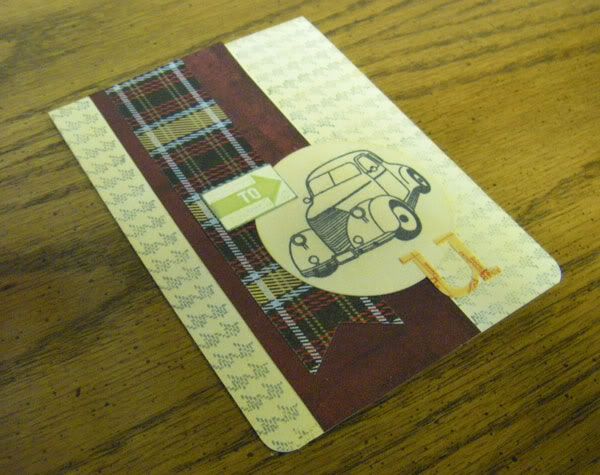
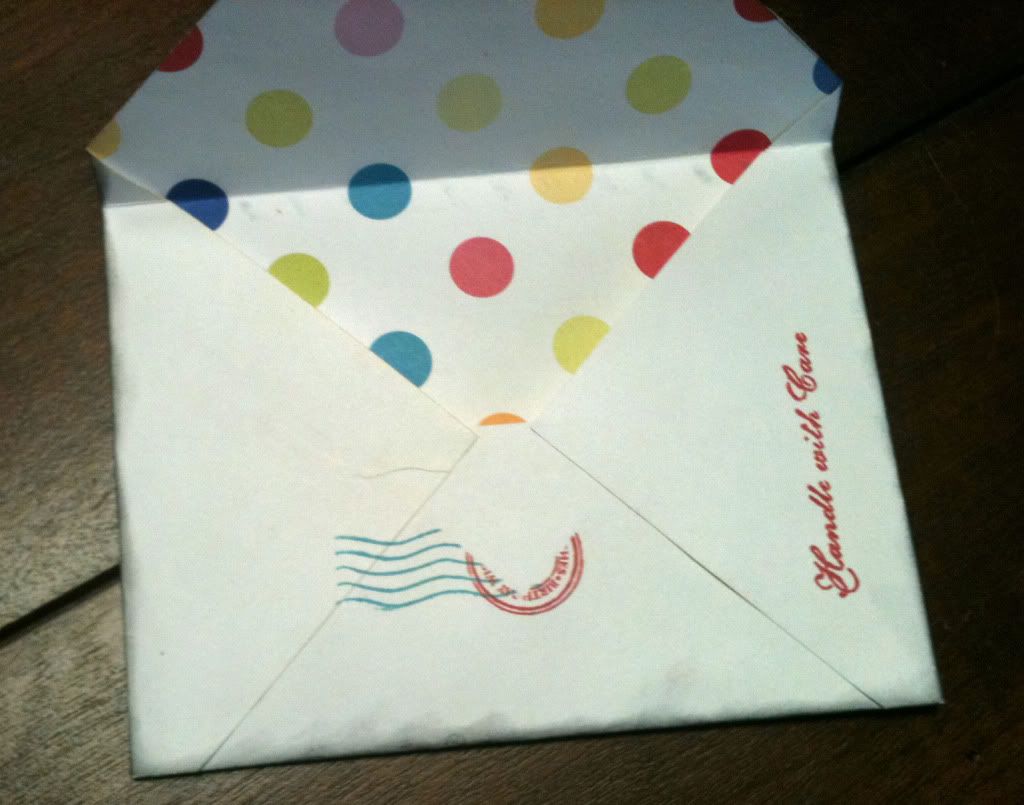
Do you have a stack of paper (as in a giant pad of patterned paper) that you bought several years ago and at a loss as to what to do with it as the paper is pretty light weight and the designs are so last decade?  I have several pads of paper that I wanted to figure out how to use (if I were sane I would have passed these papers on to a new home some time ago, but in my delusions I believe I can turn lemons into lemonade) and this is what I do: make the papers into custom envelopes using templates my mom bought me from QVC many years ago.  I place the pattern inside the envelope and decorate the white outside as I like (usually with Label Basics and Postmarks stamp sets by Papertrey Ink).
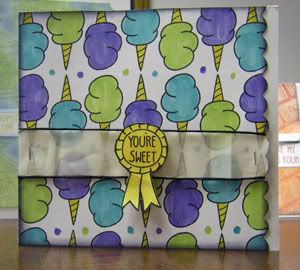
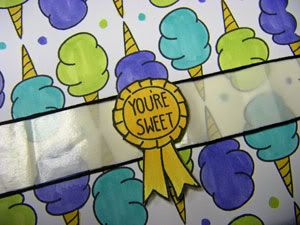
Matching Envelope:


Inside envelope:


Thanks for stopping by!

Happy creating,
Shay.


{ladies with sass birthday card}

stamps: make your own (CG175), Hero Arts; button boutique and fillable frames #1 (inside card), Papertrey Ink
ink: fountain pen, Jenni Bowlin for Ranger; broken china and black soot, Tim Holtz Distress Ink by Ranger
cardstock: white, Georgia Pacific
patterned paper: all scraps from an old Scarlet Lime kit
die: buttoned up #1, Papertrey Ink
other: scallop black border, Carolee's Creations Adornit; crop-a-dile corner chomper, We R Memory Keepers; embroidery floss, DMC; cuttlebug, Provo Craft

{matching envelope}
stamps: label basics and postmarks, Papertrey Ink; simply handmade (CL429), Hero Arts
ink: chili powder and fountain pen, Jenni Bowlin for Ranger; broken china and black soot, Tim Holtz Distress Ink by Ranger
patterned paper: DCWV
envelope template: Kreate-a-lope by Green Sneakers Incorporated

January 11, 2012

Clean & Simple Card Making: Lessons 1 & 2

Dear Reader,

I am currently enrolled in the Clean & Simple Card Making class at Online Card Classes.  Last night when I should have been going to sleep (in fact I put the dogs to bed and they happily slept without me), I went into the studio to catch up on the videos for the class and try my hand at the lessons.  I was really inspired by Julie Ebersole's (I really loved her video and I hope she does more videos in which she talks as she has such great energy and an infectious laugh) one layer cards so I tried my hand at that first.


This card should have been a breeze and once I figured out exactly what I wanted to do, it was.  With full disclosure, I ended up making it 3 times.  The first time I used too heavy of a hand with the background and hearts.  The second time it turned out well with a simpler background and only one heart, but I didn't like the size of the card.  The last time was the charm.

I wanted to create a Valentine's card with the cute plane from Bon Voyage by Lawn Fawn and have a banner sign being pulled by it with a customized sentiment.  I love all of the abcs by Lawn Fawn as they are designed to make it easy to stamp any word or sentiment you desire.  I wanted to stamp "sending" so I used my Smitty's ABCs and paired that with the sweet "love" from Sophie's Sentiments (suggestion: if you are new to Lawn Fawn start with Sophie's Sentiments along with whatever other stamp sets catch your fancy) and then added a little heart from Cruising Through Life in red for a little interest and drama (in the future I may fill in the heart with stickles or just a marker or emboss it, but I wanted this card to be a simple stamp and ink card).  The banner is a two sided ribbon banner from Bannerific, but I wanted one side to be plain so I simply removed the ink from one edge of the inked up stamp and once stamped filled in the area with a marker as I wanted it and added the attachment to the plane.  I stamped the banner and plane first, then masked them off before stamping the cloud background.  Lastly, I rounded the bottom right corner.


The second card I made uses one of the simple sketches by Kristina Werner.  I needed a masculine birthday card so I grabbed my Oxford 6x6 patterned paper pad by Basic Grey.  Stuck in there was a strip of the claret colored paper I had left over from a previous card so that was my jumping off point.  I began with a white card and stamped the Dash Pattern background stamp by Basic Grey/Hero Arts, but after adding the plaid strip of paper over the claret the white wasn't right so I colored all the white cardstock using my Antique Linen Distress Ink.  As my card is for a relative that has an interest in cars I used the vintage car from the Going stamp set by Hero Arts on a circle cut using a Spellbinders' die and also decided to also use the "to arrow" image in the set for further interest and to begin a sentiment.  I embossed the "to arrow" stamp and filled in the unembossed section with Shabby Shutters Distress Ink with white embossing powder, but since I changed the color scheme away from bright white I colored over the white embossed image with some Copic markers.  Usually I would have used some dimensional adhesive on a card, but I wanted to go away from my usual modus operandi (can you tell I have been reading some mystery novels?) on this card.  I added a "u" sticker from Studio Calico and rounded the bottom corners of the card.

Thanks for stopping by! 

Happy creating,
Shay.


{sending love card}
stamps: (sending)smitty's abcs, (plane&cloud)bon voyage, (heart)cruising through life, (love)sophie's sentiments; banner(bannerific), Lawn Fawn
ink: tuxedo black, Memento; soap powder & cough syrup, Jenni Bowlin for Ranger
cardstock: white, Georgia Pacific
marker: soft black memory marker, American Crafts
other: crop-a-dile corner chomper, We R Memory Keepers

{to u card}
stamps: (to arrow&car)going, Hero Arts; dash pattern, Basic Grey/Hero Arts
ink: tuxedo black, Memento; shabby shutter, antique linen & black soot, Tim Holtz Distress Ink by Ranger; weather vane, Jenni Bowlin for Ranger; versamark, Tsukineko
embossing powder: opaque white, Judi Kins
cardstock: white, Georgia Pacific
patterned paper: oxford 6x6 paper pad, Basic Grey
markers: Copic
die: from nesties classic & standard circles nestabilities set, Spellbinders
stickers: u from documentary collection alphabet stickers, Studio Calico
other: crop-a-dile corner chomper, We R Memory Keepers; cuttlebug, Provo Craft

January 9, 2012

For Some Boys

Dear Reader,

I am amazed by the bevy of sensational cards found on the Lawn Fawn CHA Challenge.  I hadn't a prayer of winning, but it was such a great experience and well worth it to see all the talent out there.  If you want to see some awesome Lawn Fawn stamping in action check in out.  For the winners check them out HERE.

I thought I would share a couple of older cards with you.  One was a get well for a little cousin who got his tonsils out a while back using Admit One (and Sophie's Sentiments inside).  I used some older paper from the Get Happy collection by Cosmo Cricket that is great for boys and men.  I made the ticket paper (look familiar?) that was right behind the Ferris wheel.

Get Well Soon:


Inside:


The Congrats card was for yet another cousin who had a Bar Mitzvah in August.  The background was paper I created using stamps from the Daily Junque collection by House of 3 produced by Pink Paislee that I then watercolored over using Caran d'Ache watercolor crayons that my friend Liz Allen introduced to me and bought me for my birthday a couple years back.  They are extremely fun to play with.

Congrats:


Inside:


The "CONGRATS" letters for the Bar Mitzvah card are Signature Alpha by Kitty Designs, but they remind me a little of Quinn's ABCs which I love yet haven't bought yet.  I spelled out the word using the letters in Microsoft Word and then printed it out on Neenah cardstock so I could color them in later with Copic markers (inside I used an old, but still good alphabet stamp set from Fontwerks...I wonder whatever became of that company?).  The Star of David is by DeNami Designs from way back when and it is still one I use...good design never goes out of style, right?

Thanks for stopping by and have a joy-filled evening.

Happy creating,
Shay.

{Get Well Soon card}
Stamps: Admit One and Sophie's Sentiments, Lawn Fawn
Ink: tuxedo black, Memento; shabby shutters and peeled paint, Tim Holtz Distress Inks for Ranger
Cardstock: Neenah Papers
Patterned Paper; Take Five from Get Happy collection, Cosmo Cricket
Markers: Copic
Other: baker's twine, Divine Twine


{Congrats card}
Digital: signature alpha, Kitty Designs
Stamps: Daily Junque, House of 3/Pink Paislee; Star of David, DeNami Designs; George alphabet, Fontwerks
Ink: tuxedo black, Memento; seed packet, Jenni Bowlin for Ranger; chipped sapphire, Tim Holtz Distress Ink by Ranger
Cardstock: Neenah Papers; either Belgium blue or ocean blue, DoubleMates by WorldWin Papers
Markers: Copic
Water Color crayons: Caran d'Ache
Other: baker's twin, Divine Twine; crop-a-dile corner chomper, We R Memory Keepers

January 5, 2012

Lawn Fawn CHA Challenge: Admit One

Dear Reader,

I hope you are enjoying the best year yet!  I am optimistic that 2012 will be a great year full of new beginnings and adventures.

Over at Lawn Fawn they issued a challenge that I could not pass up HERE.  Since I only own one of the stamp sets they wish to showcase I spent last night coming up with several cards using Admit One.  There was one little caveat that no patterned paper could be used.  No problem!  I went ahead and did something I love and created patterned paper with the stamps.  I used Admit One almost exclusively on these cards with two exceptions: the clouds are from Bon Voyage and the little heart is from Cruising Through Life.  I think I only left a single image untouched, but had I had a little more time I would have worked that in too.  I hope you enjoy the cards and see how fun and versatile this stamp set is.

You're Sweet (I think I am partial to this card because of how bright and happy it is):


The close up (on my table, which is admittedly a mess, was the backing paper the glue dots come on--aka trash.  I used this strip before on a card and thought it would be just right to make the You're Sweet Award Ribbon sentiment pop off the vibrant background.  I edged the strip with black embroidery floss.):


Admit One (this is a dreamy little number.  How sweet is the carousel image?):


The close up (my second attempt of the carousel as the first I edged with a black Copic marker and it bled a lot...too bad as this was the most time consuming part of the whole lot of cards!):


You Make My World Go Round (adorable love sentiment!  Put me right in the mood for Valentine's and I had to add the pretty little heart from Crusing Through Life.):


 The close up (perhaps you can see the shimmer a bit here on the ticket paper I made):


Enjoy The Ride (I really wanted to showcase the balloons and I love the clouds from Bon Voyage so I thought it would be a great backdrop to the balloon cluster.  The clouds are embossed with white embossing powder.  I stamped the balloons before I embossed the clouds for placement of the ticket balloons later.) 


The close up (notice the pattern on the balloons? Yes, I used some of my ticket paper here too):


Happy and bright creating,
Shay.

LinkWithin

Related Posts with Thumbnails